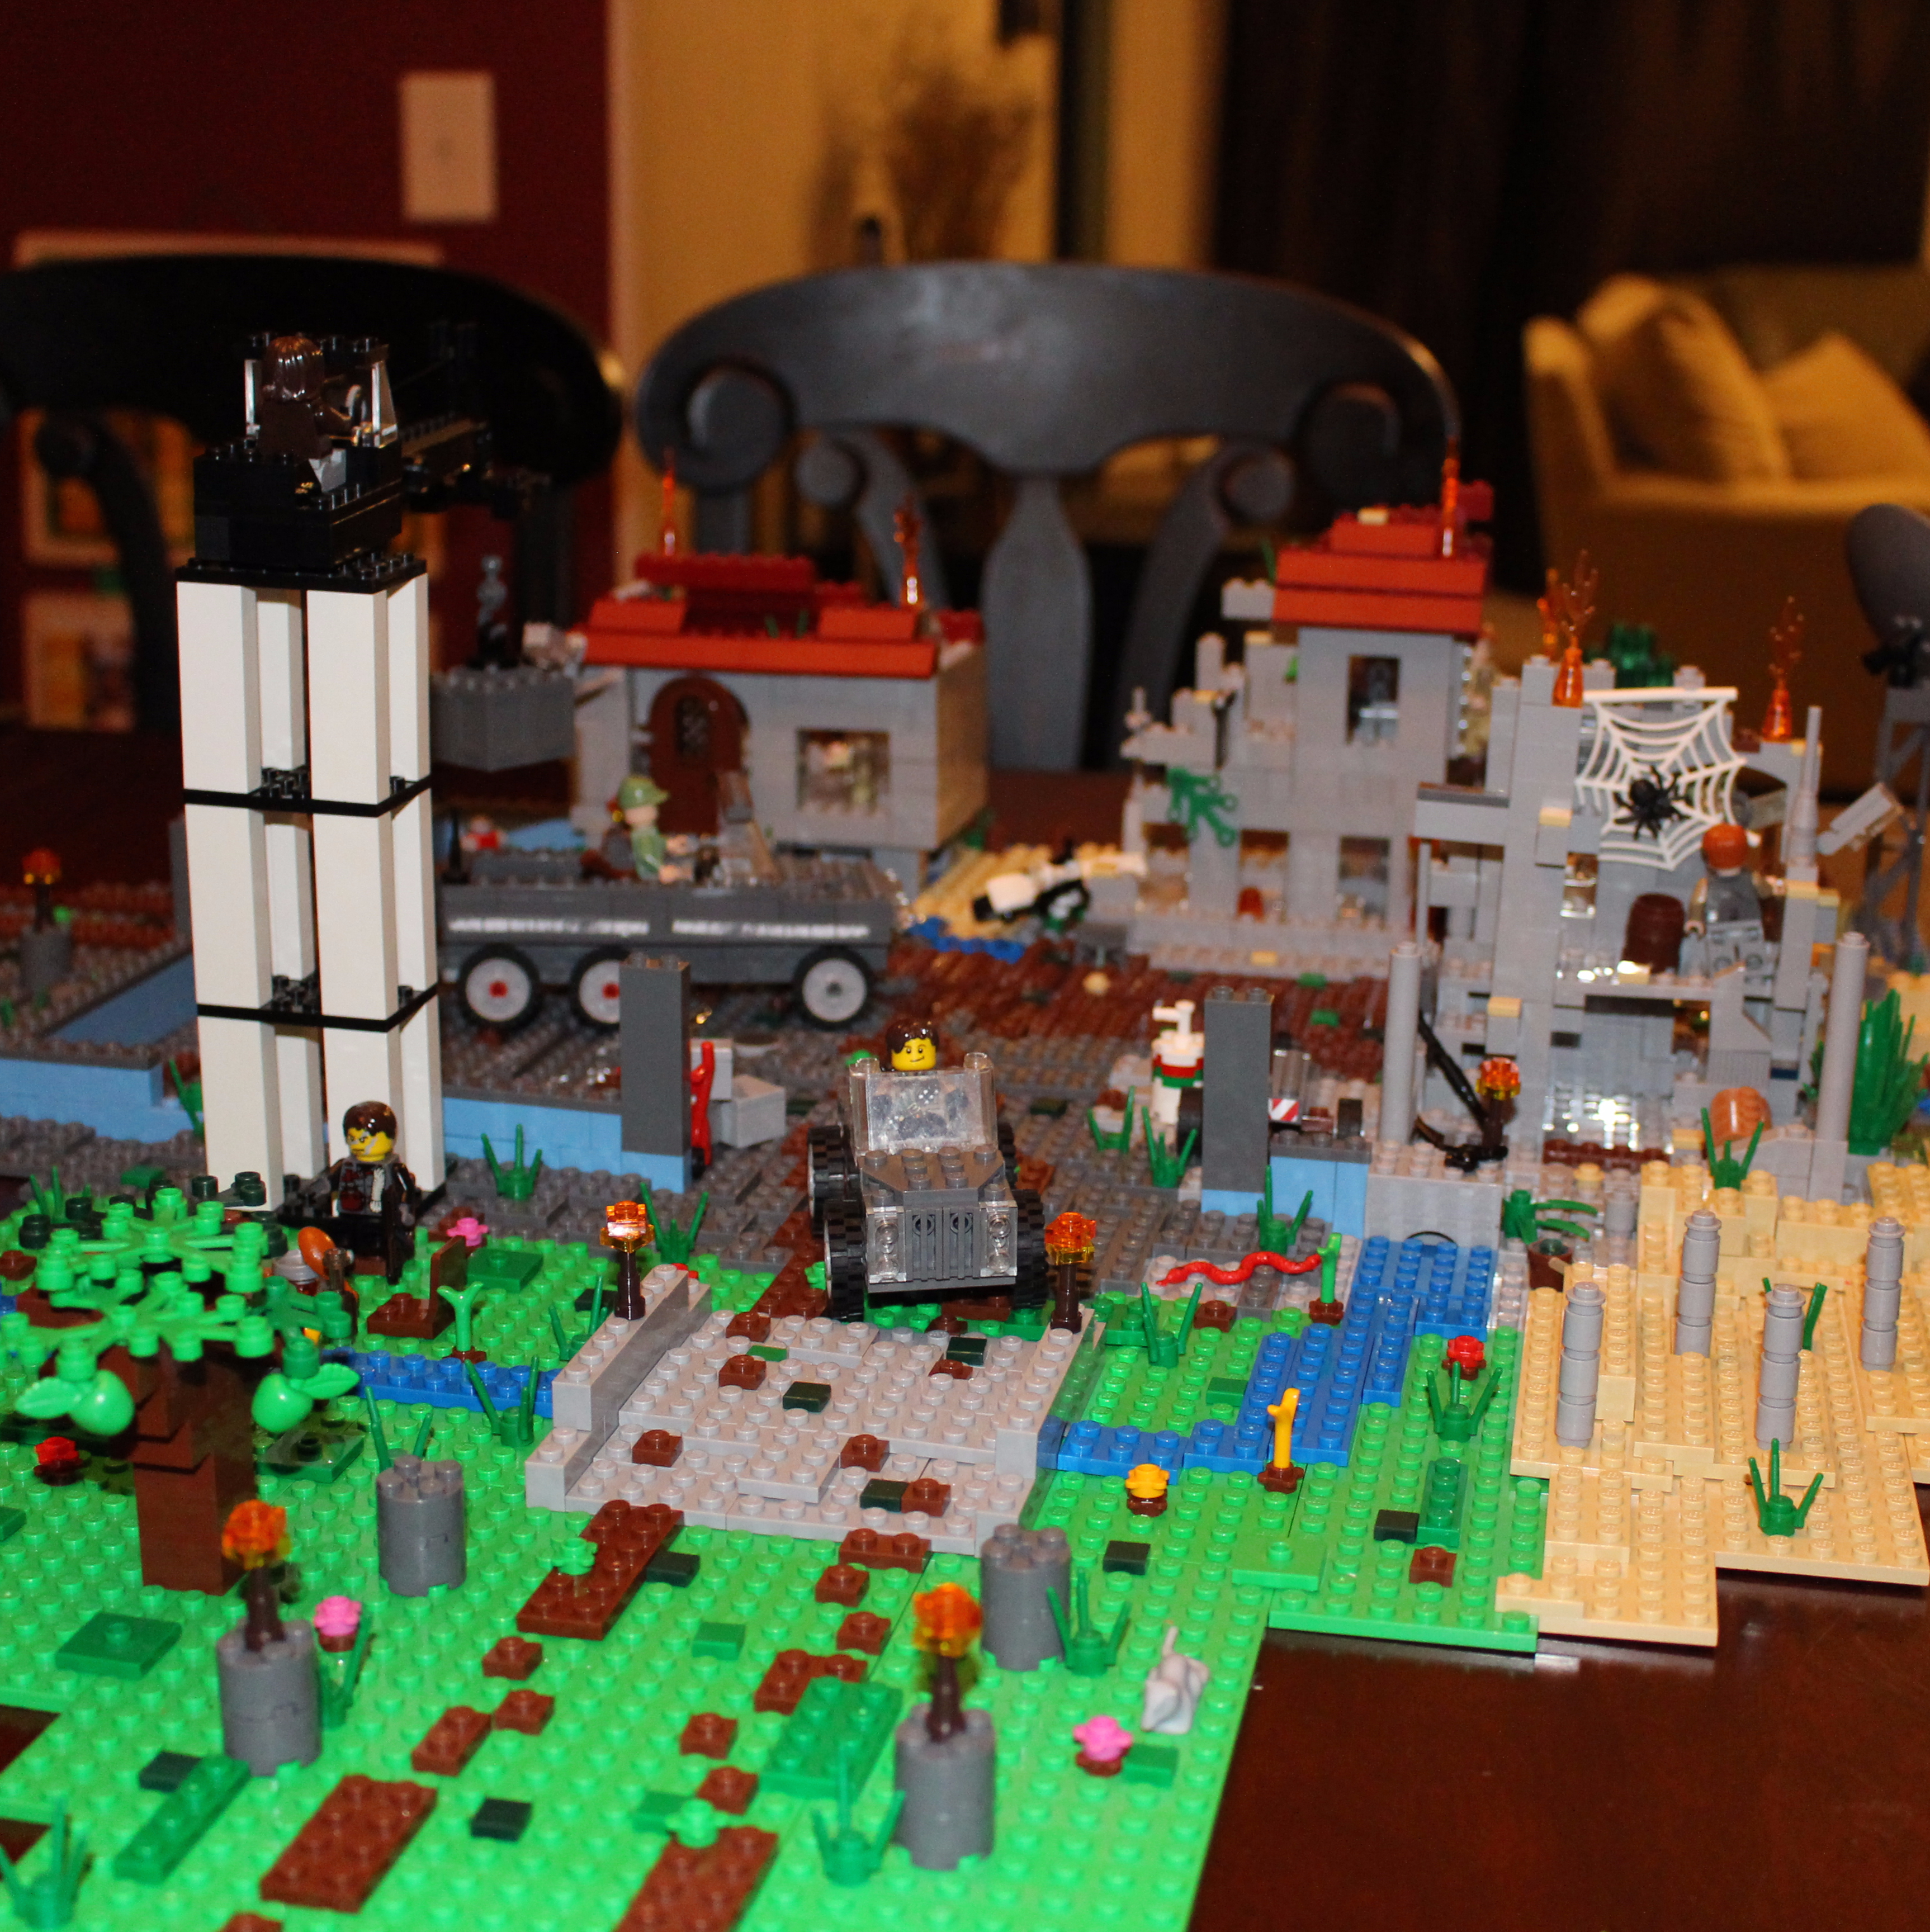
Smash a LEGO® build to free your bricks for a new invention
Carefully dismantle an old LEGO build to free bricks, sort pieces by type or color, then design and build a brand-new invention.


Step-by-step guide to smash a LEGO® build to free your bricks for a new invention
LEGO Sets You Can't Take Apart
Step 1
Lay the towel or soft mat on a flat table so bricks won’t roll away.
Step 2
Put the old LEGO build in the middle of the mat.
Step 3
Decide which section of the build you will start taking apart.
Step 4
Carefully remove the top pieces first using your fingers.
Step 5
Continue taking the build apart piece by piece until all parts are separated.
Step 6
Put all the separated bricks into one pile on the mat.
Step 7
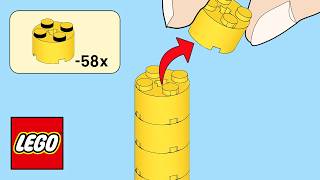
Sort the pile into the small bowls or muffin tin by color or by type.
Step 8
Move special parts like wheels or minifig pieces into the small box or tray.
Step 9
Sketch a quick plan for your new invention on the paper with the pencil.
Step 10
Choose base parts from the bowls that match your sketch.
Step 11
Attach the chosen parts to the baseplate to begin building your new invention.
Step 12
Gently press different parts to test the stability of your build.
Step 13
If anything is wobbly remove and replace loose connections to make it stronger.
Step 14
Add finishing details using extra small pieces from the bowls to make it look awesome.
Step 15
Share your finished invention by posting a photo and a short description on DIY.org.
Help!?
I don't have a towel, muffin tin, or small bowls — what can I use instead?
Use a folded clean blanket or bath towel on the flat table in place of the towel/soft mat, and repurpose an egg carton, ice cube tray, or small cups to sort the separated bricks instead of the muffin tin or small bowls.
Some bricks are stuck when I try to 'carefully remove the top pieces first using your fingers' — how do I get them apart without breaking anything?
Use a LEGO brick separator or gently twist and pry with your fingernail while following the step to remove top pieces first so you can continue taking the build apart piece by piece without forcing connections.
How can I change this activity for a 3‑year‑old, a 7‑year‑old, or a 12‑year‑old?
For a 3‑year‑old, pre-sort the pile into bowls and let them attach large base parts with adult help; for a 7‑year‑old, have them sketch a quick plan on paper, choose base parts, and test stability by gently pressing parts; for a 12‑year‑old, challenge them to design a complex invention, organize special parts like wheels or minifigs into the small box, and strengthen connections by removing and replacing loose pieces.
How can we make the new invention more creative or display-worthy beyond the instructions?
Enhance the build by moving special parts like wheels or minifigs into the small box to plan features, add finishing details from the bowls, create a themed scene on the baseplate, and share a styled photo with a short description on DIY.org.
Watch videos on how to smash a LEGO® build to free your bricks for a new invention
LEGO Sets That Make You Remove Bricks...
4 Videos
LEGO Sets That Make You Remove Bricks...
LEGO BUILDS you can use in REAL LIFE...

I Built Hidden LEGO Safes!

How To Repair Bumblebee in LEGO | Pen Bricks
Facts about LEGO building and creative play
🧱 There are more LEGO bricks in the world than people on Earth — billions ready for new inventions.
🔗 LEGO bricks made after 1958 are still compatible with today's pieces, so old builds can mix with new ones.
♻️ The LEGO Group has pledged to make all core products from sustainable materials by 2030 to cut plastic waste.
🧩 Over 4,000 unique LEGO minifigure designs exist, giving you tons of parts and ideas to repurpose.
🧰 Pro builders and fans sort bricks by color or type — it speeds building and helps new ideas pop up.
How do I carefully dismantle a LEGO® build so my child can reuse the bricks?
What materials do I need to smash a LEGO® build and prepare for a new project?
What ages is dismantling and rebuilding LEGO® appropriate for?
What are the benefits of dismantling and rebuilding LEGO® creations?


