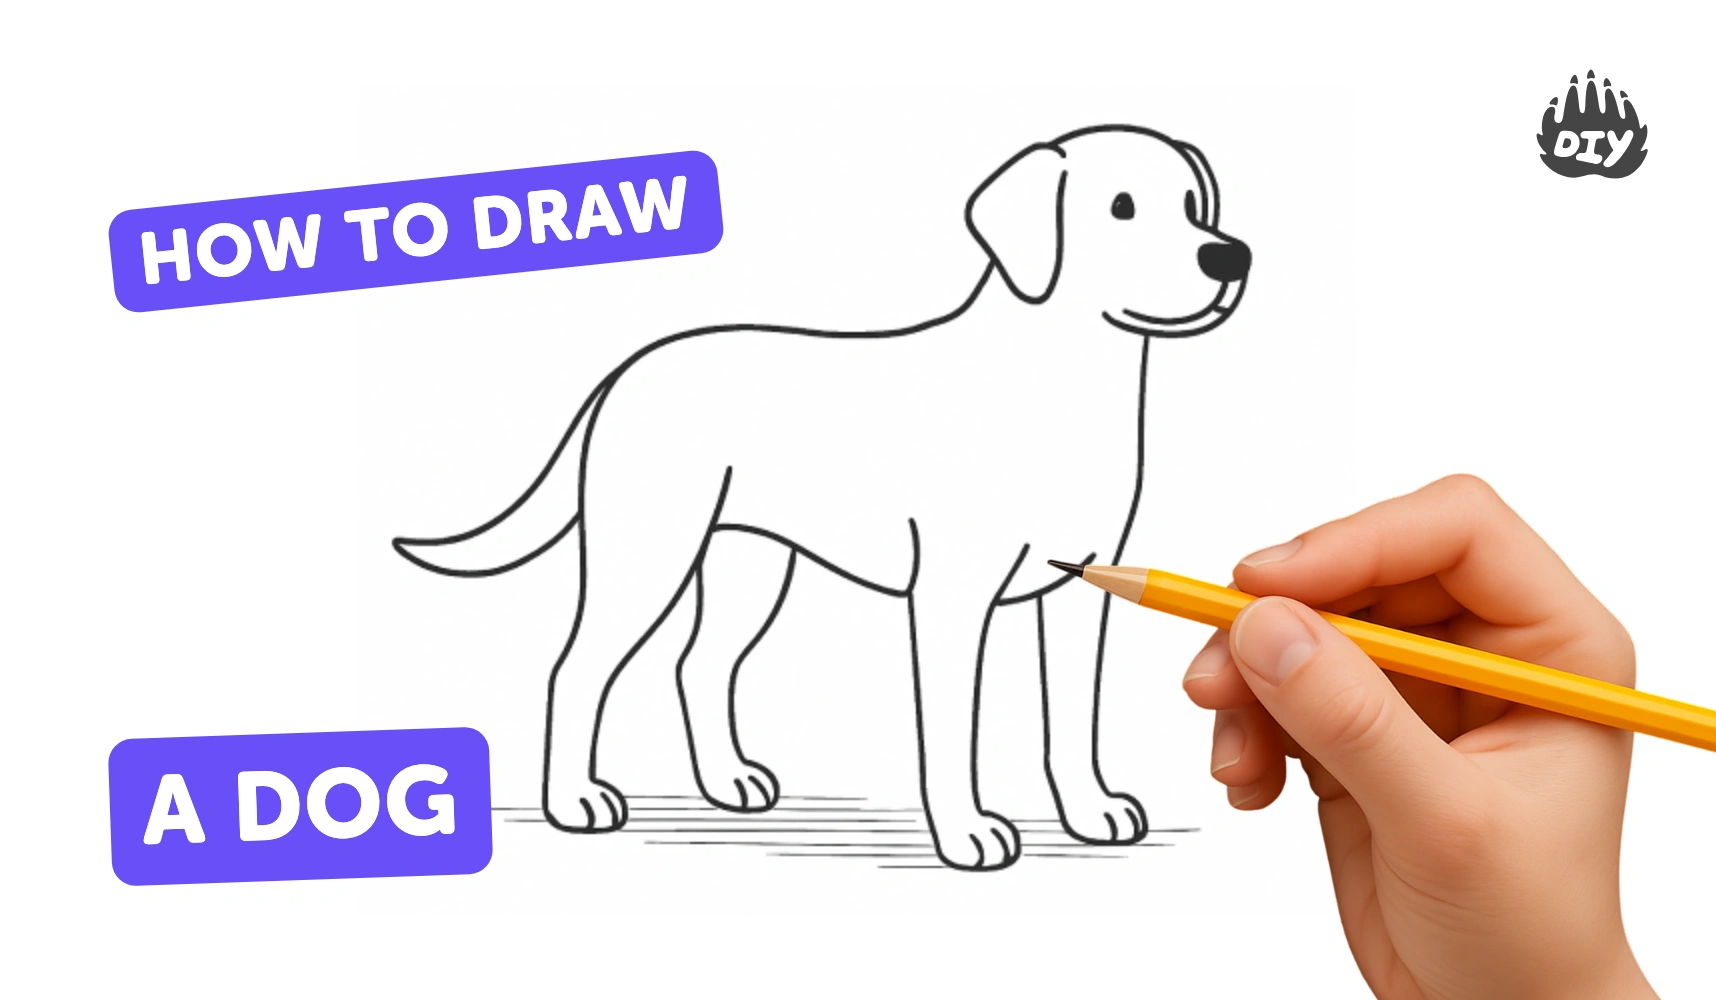
How to draw a dog - a free dog drawing guide
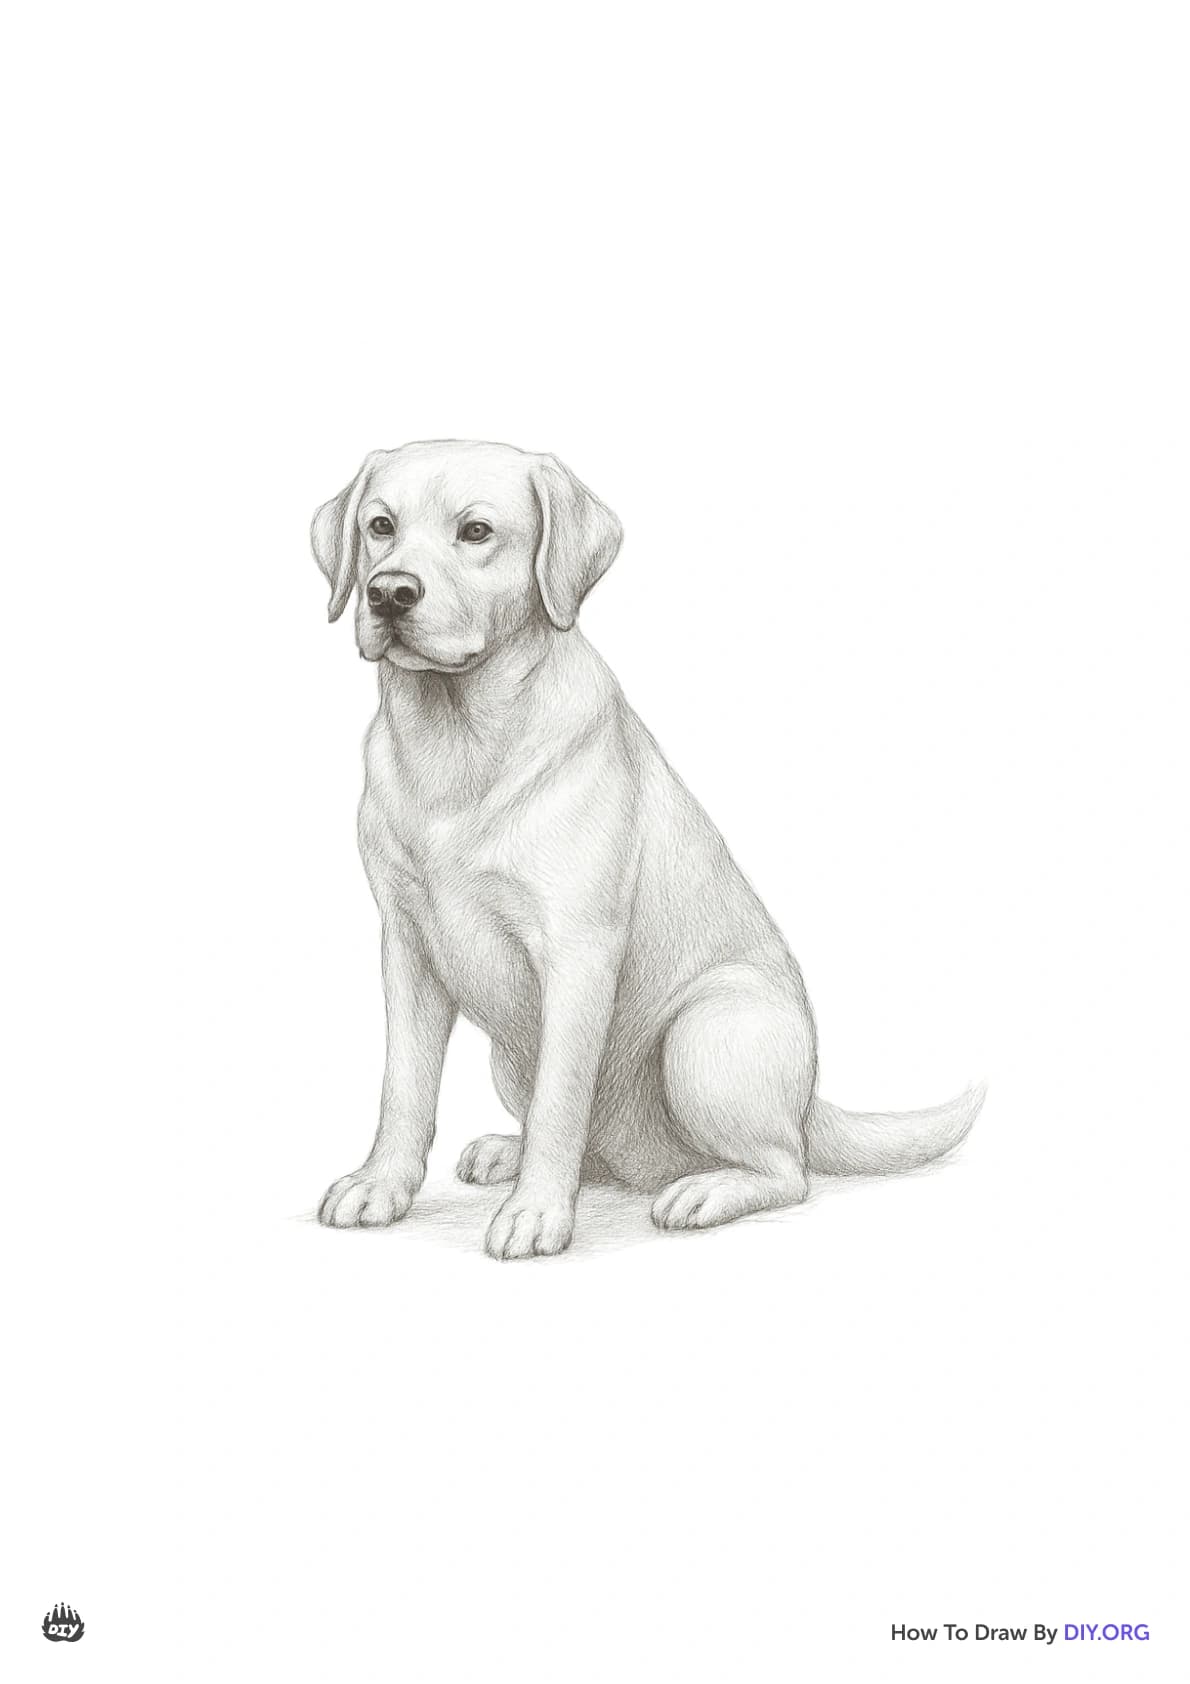
Draw a realistic dog step-by-step using basic shapes, contours, and shading. Practice observation, proportions, line control, adding texture and color.

Drawing Apps
Get inspired with these

Instructions
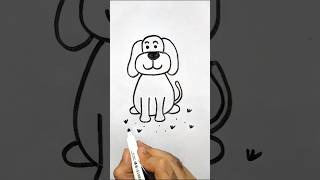
How to Draw a Dog | Easy Step-by-Step Drawing for Kids
Step 1
Place a clean sheet of paper on a flat table and put a sharpened pencil and eraser next to it.
Step 2
Lightly draw a circle near the top of the paper to make the dog’s head.
Step 3
Lightly draw an oval slightly below and overlapping the circle to make the dog’s body.
Step 4
Draw light vertical and horizontal guideline lines across the head to help place the eyes and nose.
Step 5
Draw a small oval that sticks out from the front of the head to make the snout.
Step 6
Add two ear shapes on top or on the sides of the head to choose the dog's ear style.
Step 7
Draw four straight or slightly curved lines under the body and add little rectangles or ovals for paws to make the legs.
Step 8
Draw a curved or fluffy shape at the back of the body to make the tail.
Step 9
Draw two small circles or ovals on the horizontal guideline for the eyes.
Step 10
Draw a small triangle or oval at the tip of the snout for the nose.
Step 11
Draw a curved line under the nose to make a smiling mouth.
Step 12
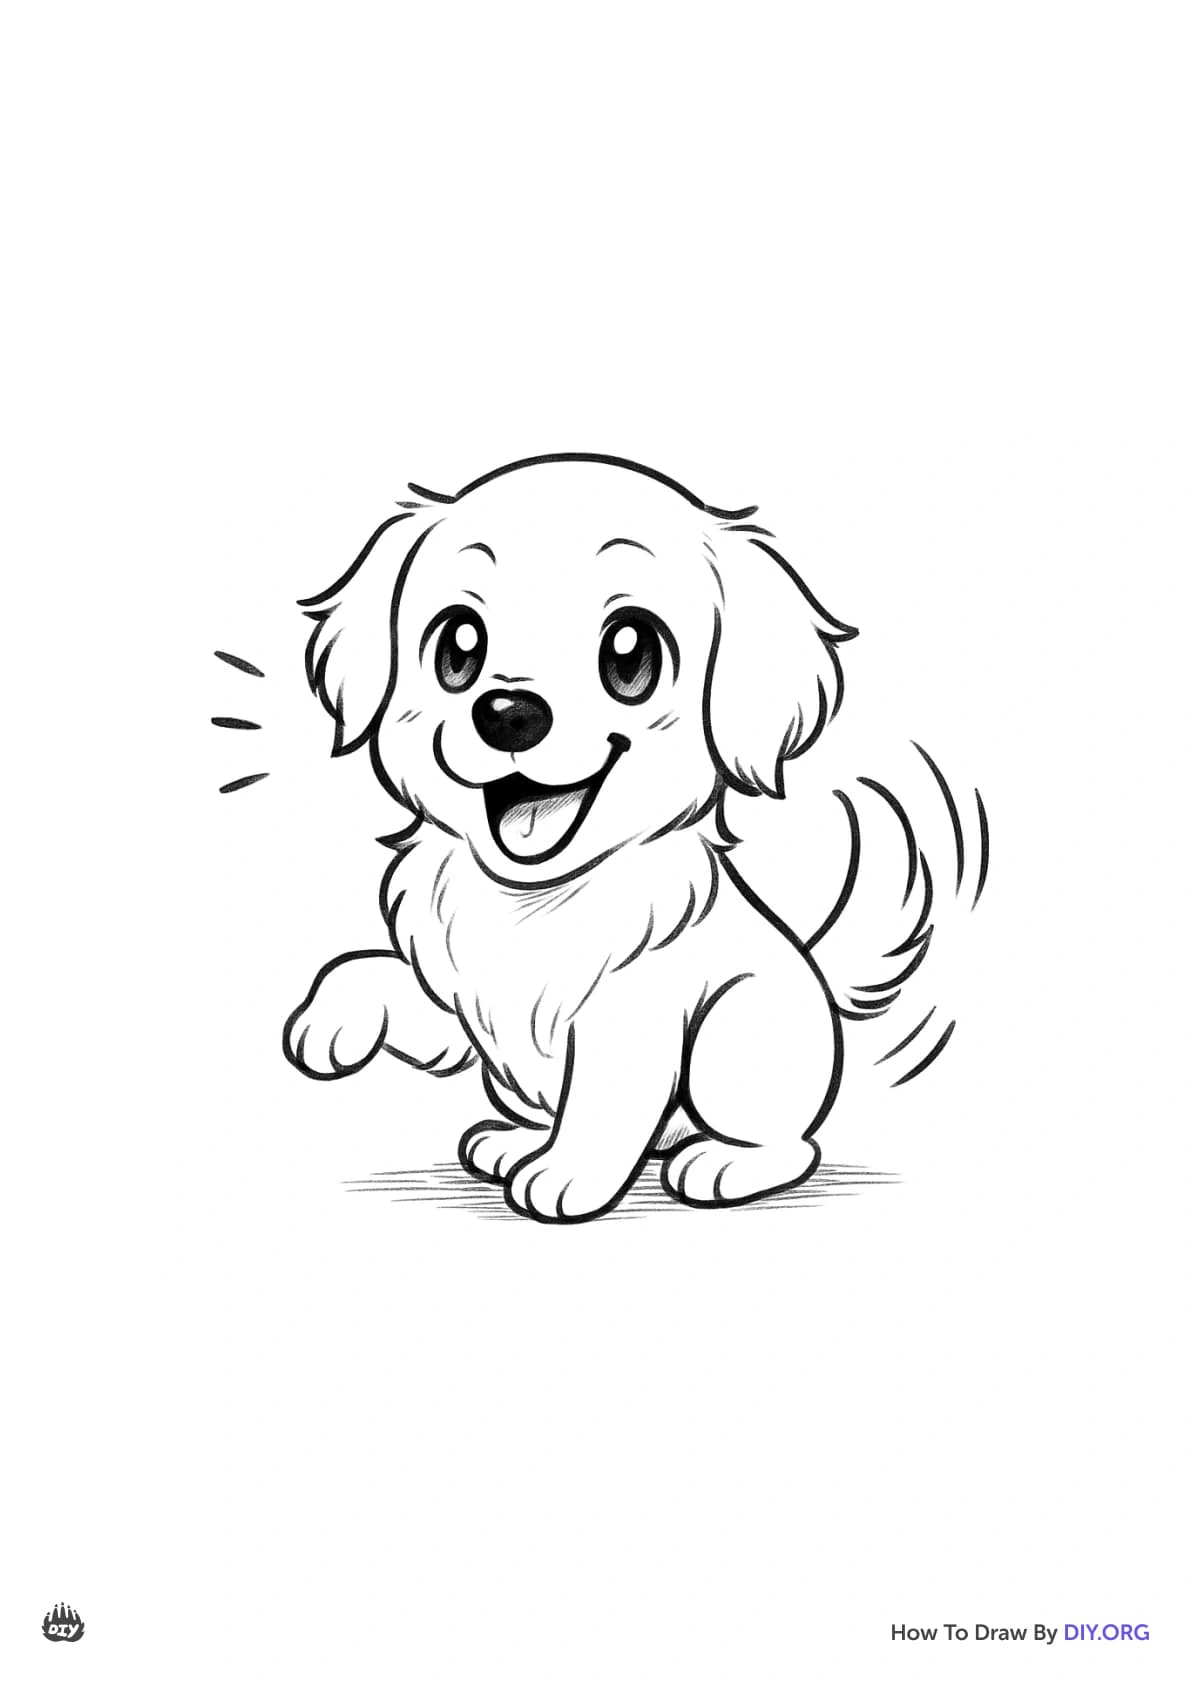
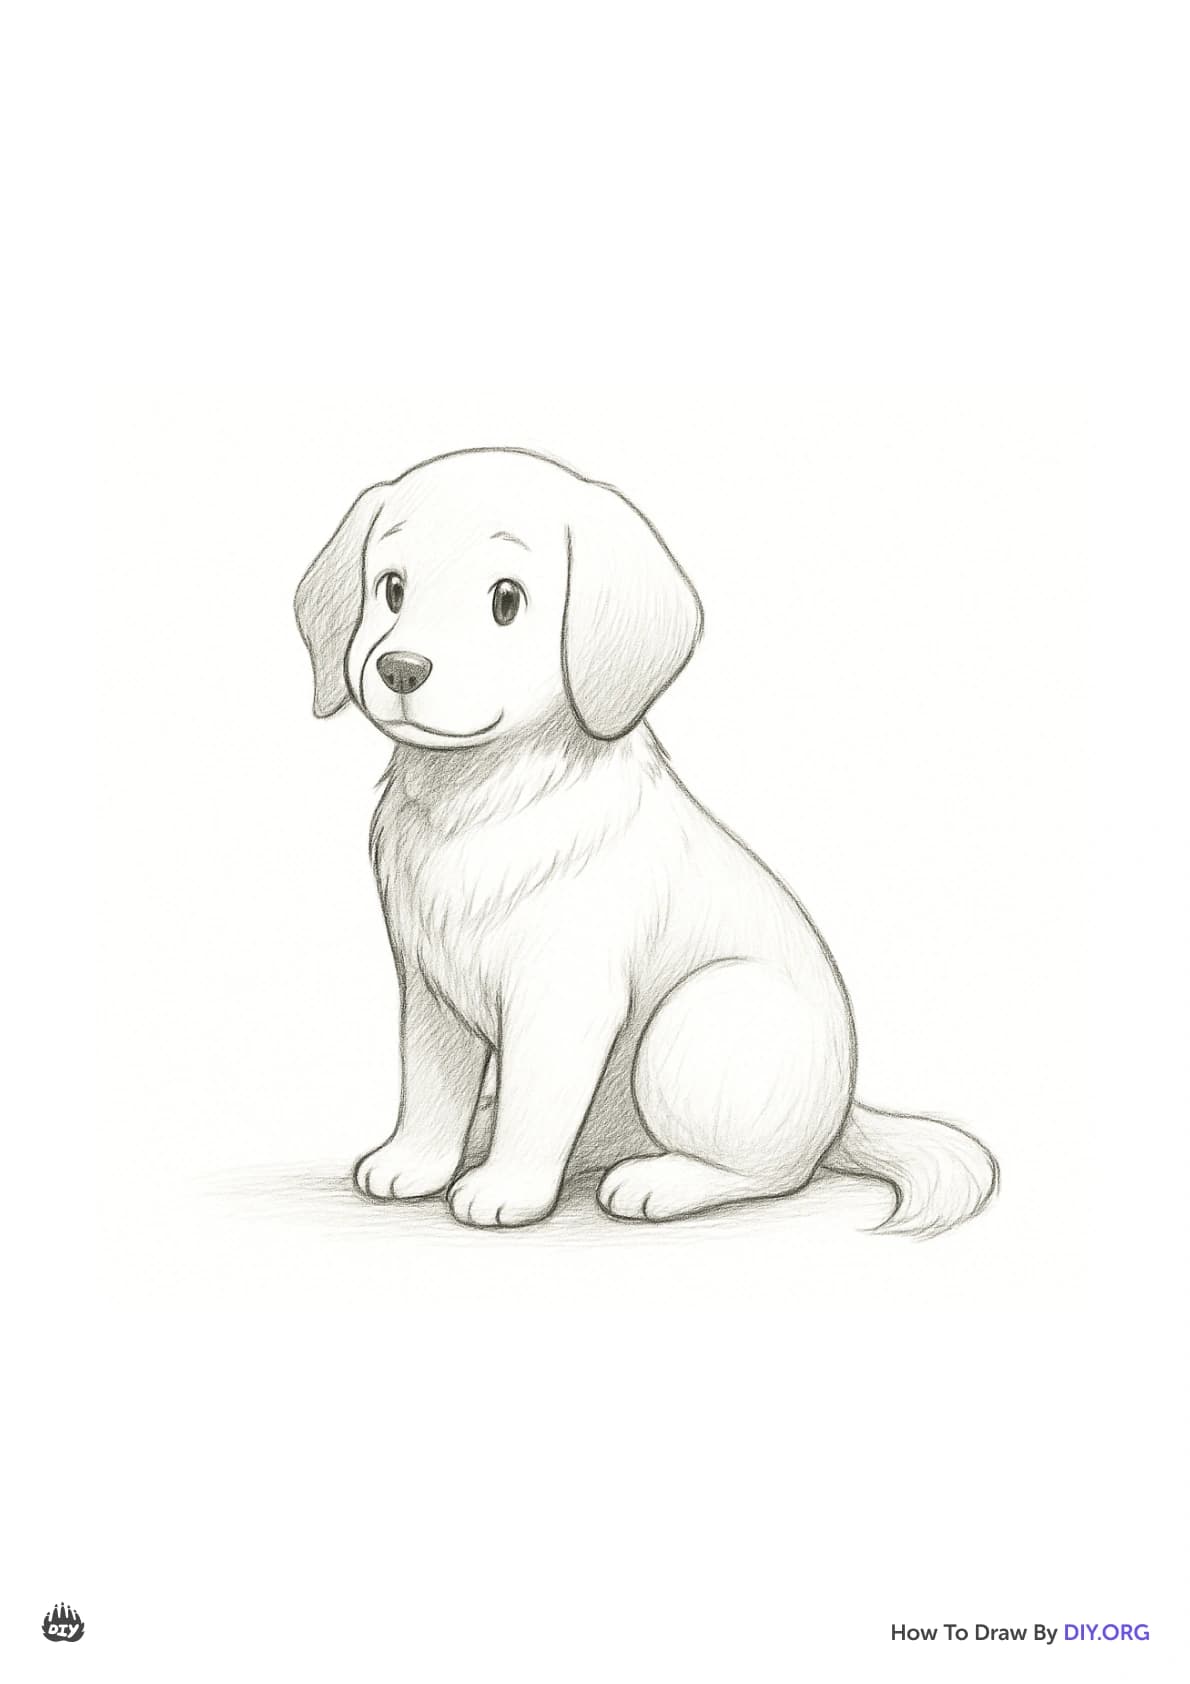
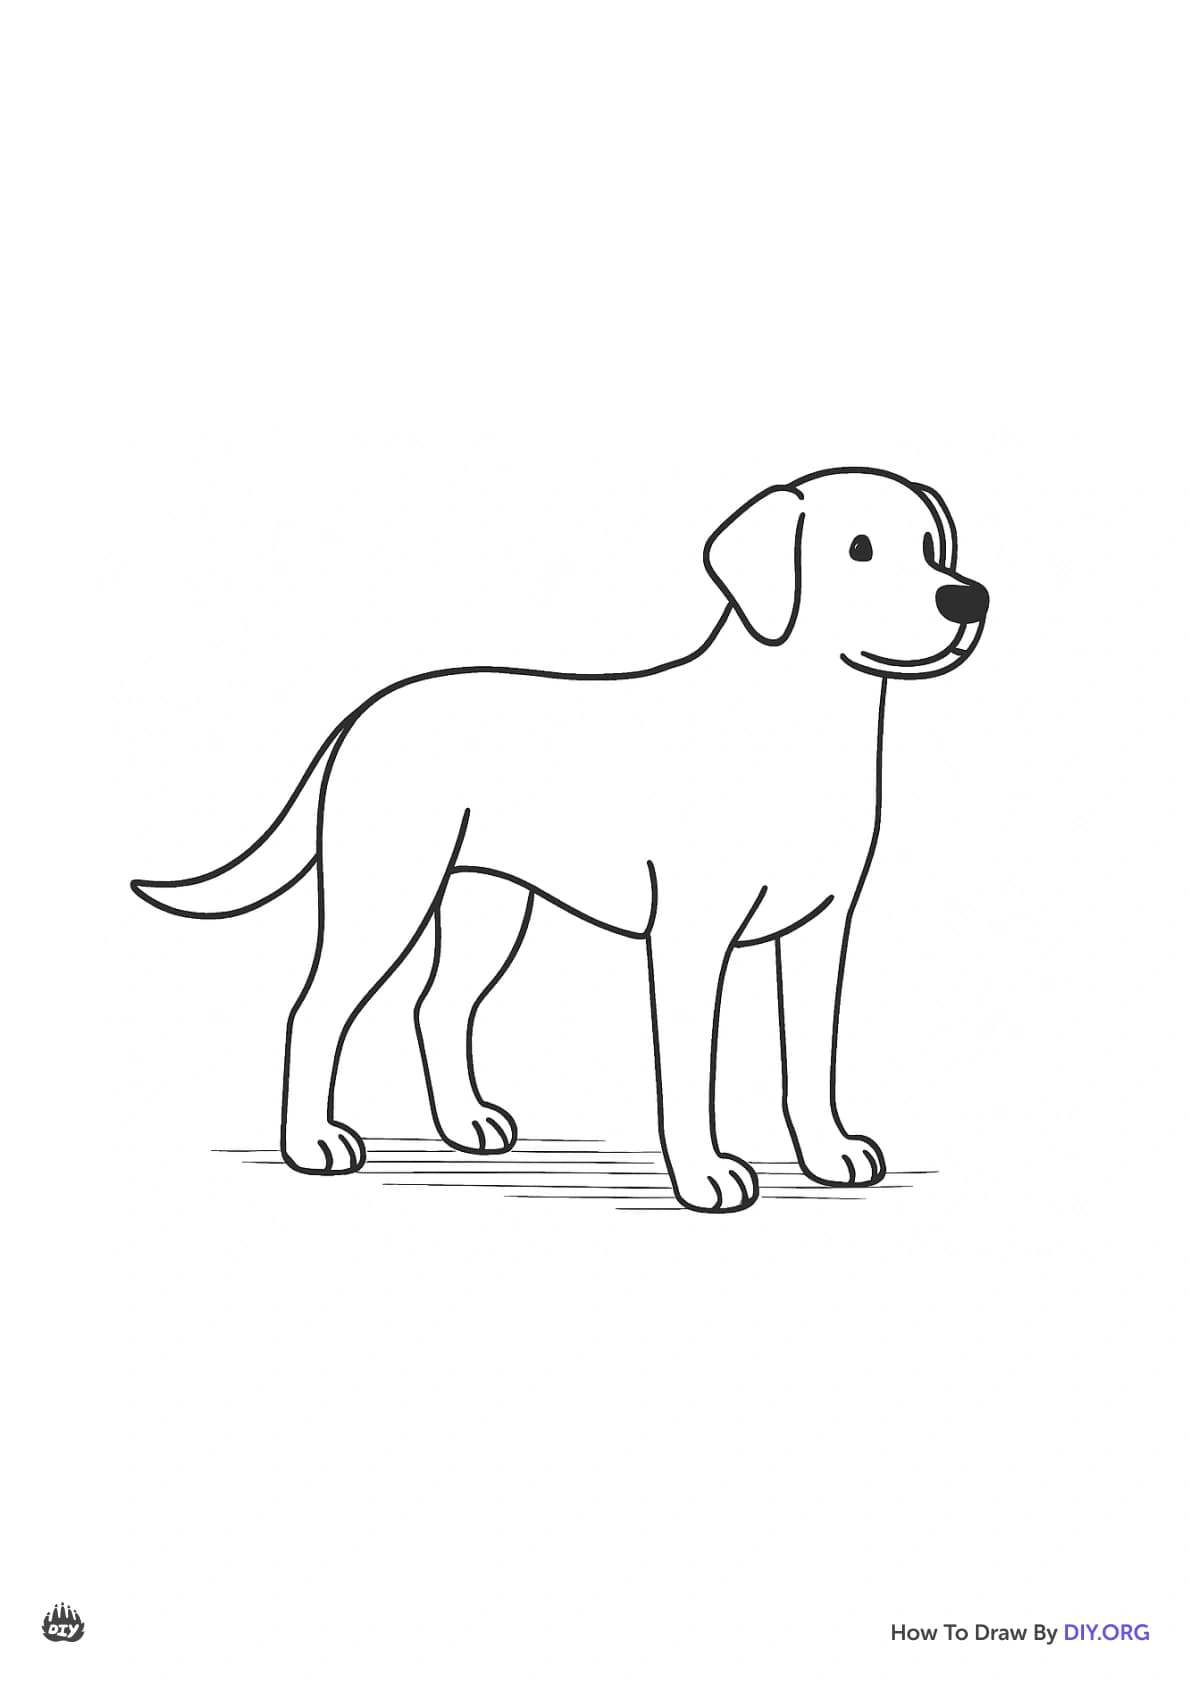
Smooth and connect the shapes with one continuous outline to turn the basic shapes into a dog silhouette.
Step 13
Erase the extra guidelines and light sketch lines so only the finished dog lines remain.
Step 14
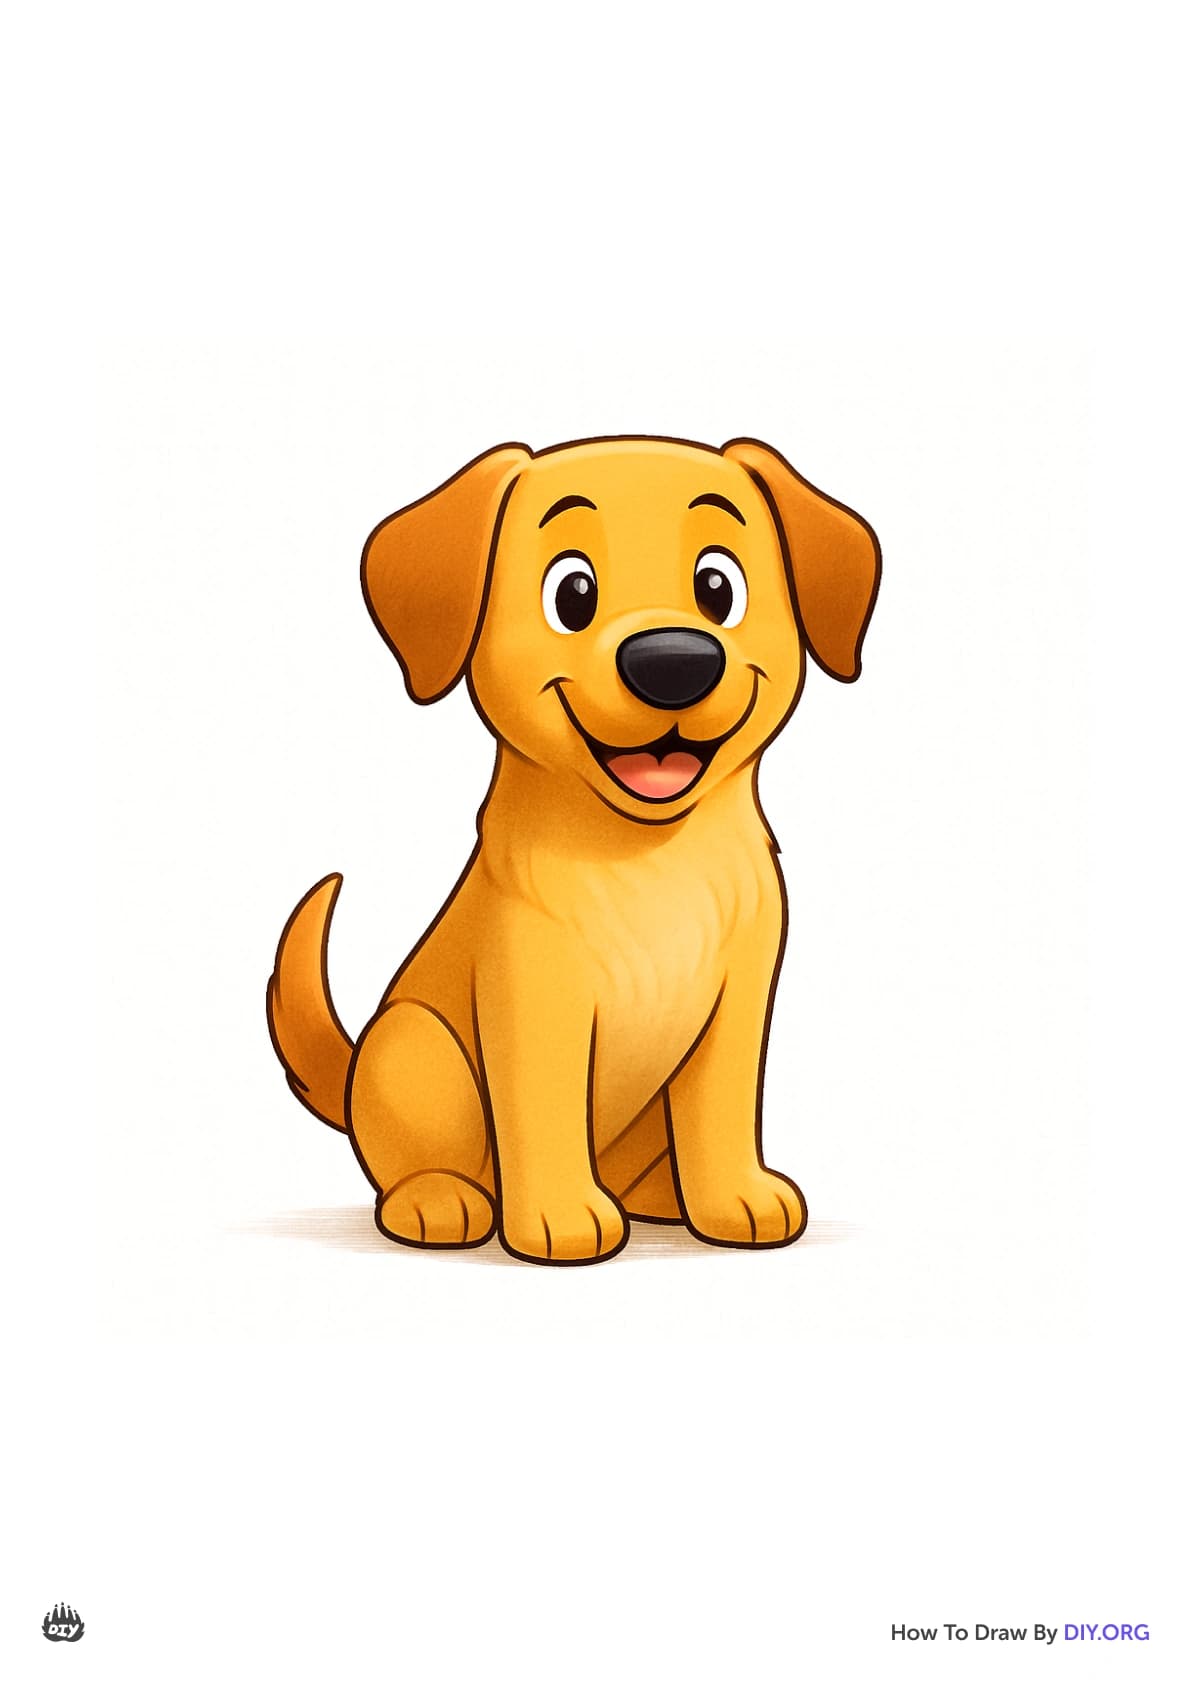
Add light shading and short fur strokes with your pencil and blend gently with a tissue if you like.
Step 15
Take a photo or ask an adult to help upload your finished dog drawing and share it on DIY.org.
Help!?
What can we use if we don't have a sharpened pencil, eraser, or tissue?
Use a mechanical pencil or a sharp colored pencil for the light sketching, a kneaded or white vinyl eraser instead of the listed eraser, and a soft cloth or cotton pad to blend the short fur strokes in place of the tissue.
My circle for the head and the oval for the body aren't lining up—how do I fix it?
Lightly erase the overlapping area, redraw the oval so it slightly overlaps the circle following the head guideline lines, and keep your marks light so you can adjust before smoothing and connecting the shapes into the final outline.
How can I adapt the steps for different age groups?
For younger children, pre-draw the circle and oval for the head and body and let them trace and add big simple ears, legs, and a tail with crayons on larger paper, while older kids can follow all steps, add detailed short fur strokes and light shading, and blend with a tissue for texture.
How can we enhance or personalize the finished dog drawing?
Choose different ear styles from the instructions, add a collar or patterned fur, draw a background scene, color with markers or colored pencils after erasing guidelines, and deepen texture with extra short fur strokes before photographing to upload to DIY.org.
Related videos
How to Draw a Dog (Easy Step-by-Step Tutorial for Beginners)
4 Videos
How to Draw a Dog (Easy Step-by-Step Tutorial for Beginners)
How to Draw a Cute Dog 🐶 | Easy Step-by-Step Drawing for Beginners & Kids
Easily draw a Dog 🐕 | Step-by-Step Cute puppy drawing for beginners and kids
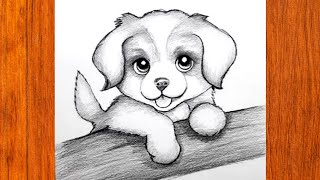
How to Draw a Dog | Step by Step Simple and Realistic Dog Drawing | Drawing Tutorial
Fun Facts
✏️ Artists often start drawings by blocking in simple shapes (circles, ovals, rectangles) to map out proportions fast.
⏱️ Quick 1–5 minute gesture sketches warm up your hand and make your final lines looser and more confident.
👀 A center guideline plus an eye-line helps keep a dog's face symmetrical and places features correctly.
🐾 A dog's nose print is unique—no two are exactly alike, like a canine fingerprint.
🎨 Chiaroscuro (strong contrasts of light and dark) is a classic shading trick that makes flat drawings look 3D.
How do I teach my child to draw a dog step by step?
What materials do we need to draw a dog with basic shapes and shading?
What ages is drawing a dog with simple shapes suitable for?
What are the benefits, safety tips, and fun variations for drawing dogs?
