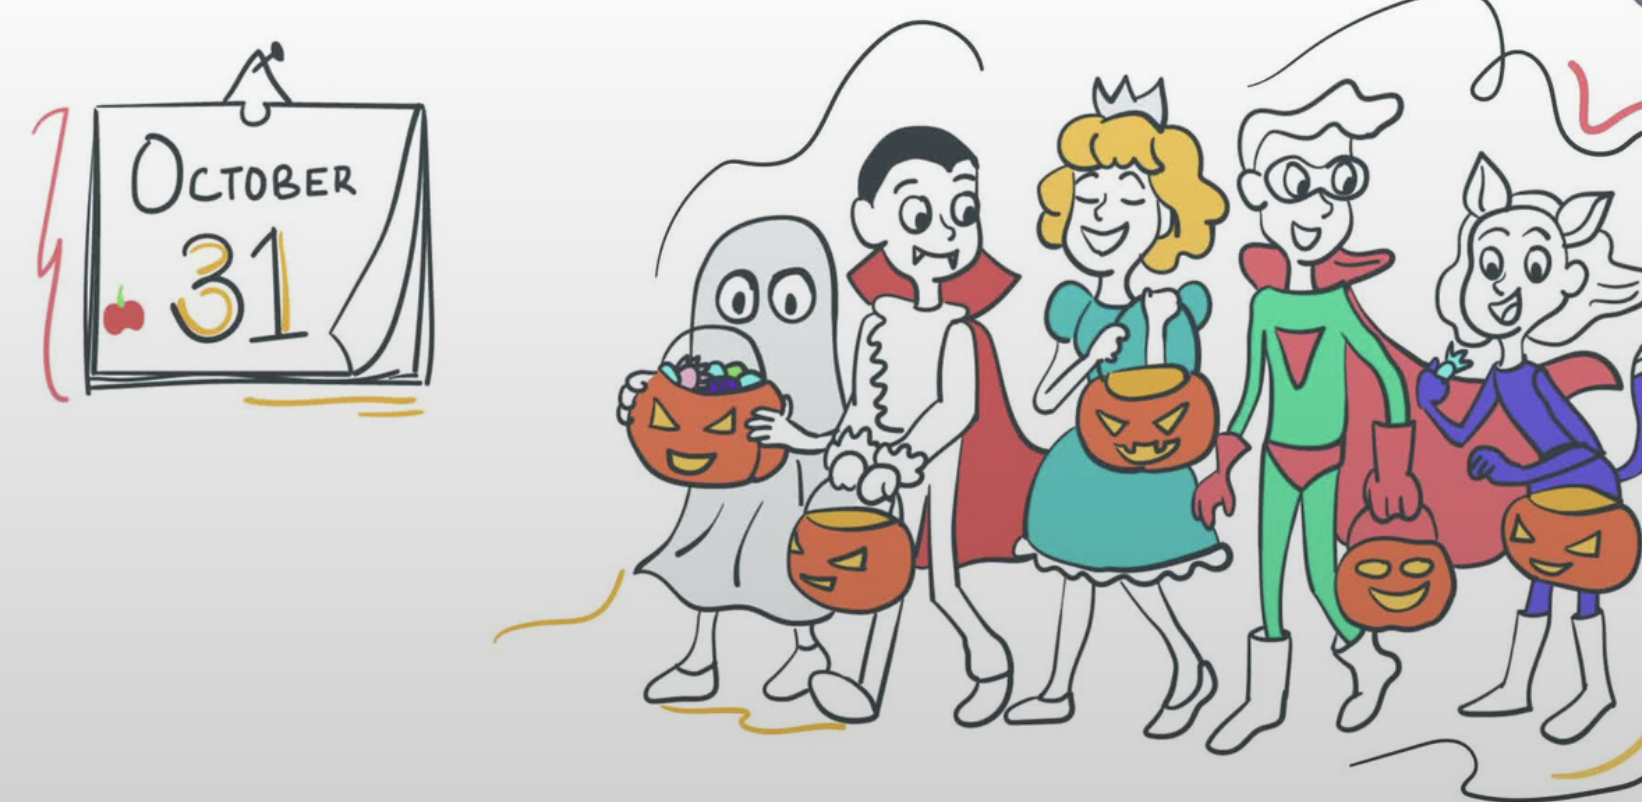
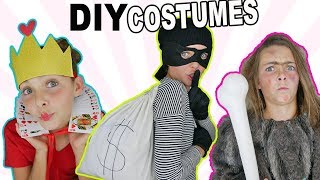
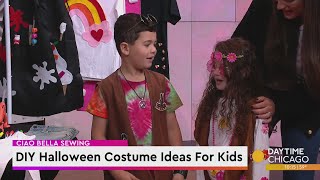
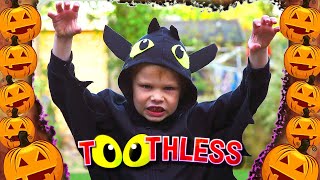
Make Your Own DIY Halloween Costumes
Design and create fun, safe DIY Halloween costumes using fabric, cardboard, glue, and basic sewing with adult help; learn measuring, planning, and problem-solving.


Step-by-step guide to make your own DIY Halloween costumes
Step 1
Choose a costume idea and draw a simple sketch showing the main shapes and colors.
Step 2
Measure the child's chest waist height and head circumference with the measuring tape.
Step 3
Pick the fabric cardboard and decorations that match your sketch and measurements.
Step 4
Trace simple pattern shapes onto cardboard or paper to use as templates.
Step 5
Cut out the traced patterns carefully with scissors.
Step 6
Lay a cardboard template on fabric and trace around it with a marker to transfer shapes.
Step 7
Cut the fabric pieces out following the traced lines.
Step 8
Pin the fabric pieces together with safety pins to check how the costume will fit.
Step 9
With adult help sew the pinned fabric pieces together using needle and thread or use fabric glue to join them.
Step 10
Attach cardboard details like masks wings or armor to the fabric base with glue or tape.
Step 11
Add elastic bands or tape to make straps fasteners or a comfortable waistband.
Step 12
Decorate the costume with markers paint buttons ribbons and other decorations to make it spooky or silly.
Step 13
Try on the costume to check fit movement and comfort.
Step 14
Check for loose parts sharp edges or anything uncomfortable and fix or remove them to make the costume safe.
Step 15
Share a photo and a short description of your finished costume on DIY.org
Help!?
What can I use if fabric glue or a sewing kit is hard to find?
If you don't have fabric glue or a needle and thread, use a low-heat hot glue gun with adult help, double-sided fabric tape, or secure the pinned fabric pieces with safety pins as you join them in the sewing/attach step.
What should I do if the costume pieces don't fit or fall apart when I pin them?
If pieces don't fit or shift when you pin them, re-measure chest/waist/head (step 2), add a 1–2 cm seam allowance to your traced cardboard templates (step 4), re-cut the fabric, and test the fit again with safety pins before sewing or gluing (step 7).
How can I adapt the project for younger children or older kids who want more challenge?
For toddlers, use pre-cut felt shapes glued onto a loose elastic waistband and have adults handle measuring and cutting (steps 2, 5, 11), while older kids can trace detailed cardboard templates, sew seams themselves, and add painted cardboard armor or masks (steps 4, 8, 10).
How can we make the costume more special or longer-lasting?
To personalize and extend the costume, sew or glue small battery LEDs into fabric seams, paint and varnish cardboard details for durability, add Velcro straps for removable wings or armor, and include a short description when you share your photo on DIY.org (steps 9, 10, 11, 15).
Watch videos on how to make your own DIY Halloween costumes
BEST DIY Halloween Costumes! Easy and Fun Last Minute Costumes For Kids
4 Videos
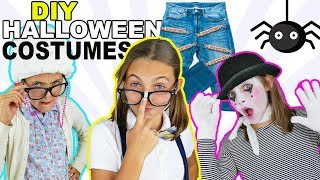
BEST DIY Halloween Costumes! Easy and Fun Last Minute Costumes For Kids
DIY Halloween Costumes | Last Minute Easy Crafts For Kids
DIY Halloween Costume Ideas For Kids
DIY Halloween Costumes For Kids
Facts about DIY costume making for kids
🎃 Halloween comes from the ancient Celtic festival Samhain — people long ago wore costumes to hide from or scare away spirits.
✂️ Two beginner sewing stitches, the running stitch and the backstitch, are super useful for simple costume assemblies and repairs.
🧵 Cotton is breathable and comfy while polyester is durable and wrinkle-resistant — choosing the right fabric makes costumes safer and comfier.
📏 Making a paper pattern and measuring twice before cutting helps costumes fit well and saves time (and fabric!).
♻️ Cardboard, old clothes, and scrap fabric make awesome upcycled costume materials — creative, cheap, and kind to the planet.
How do I make a simple DIY Halloween costume at home?
What materials do I need to make a DIY Halloween costume?
What ages is making DIY Halloween costumes suitable for?
What safety tips should I follow when making DIY Halloween costumes?


