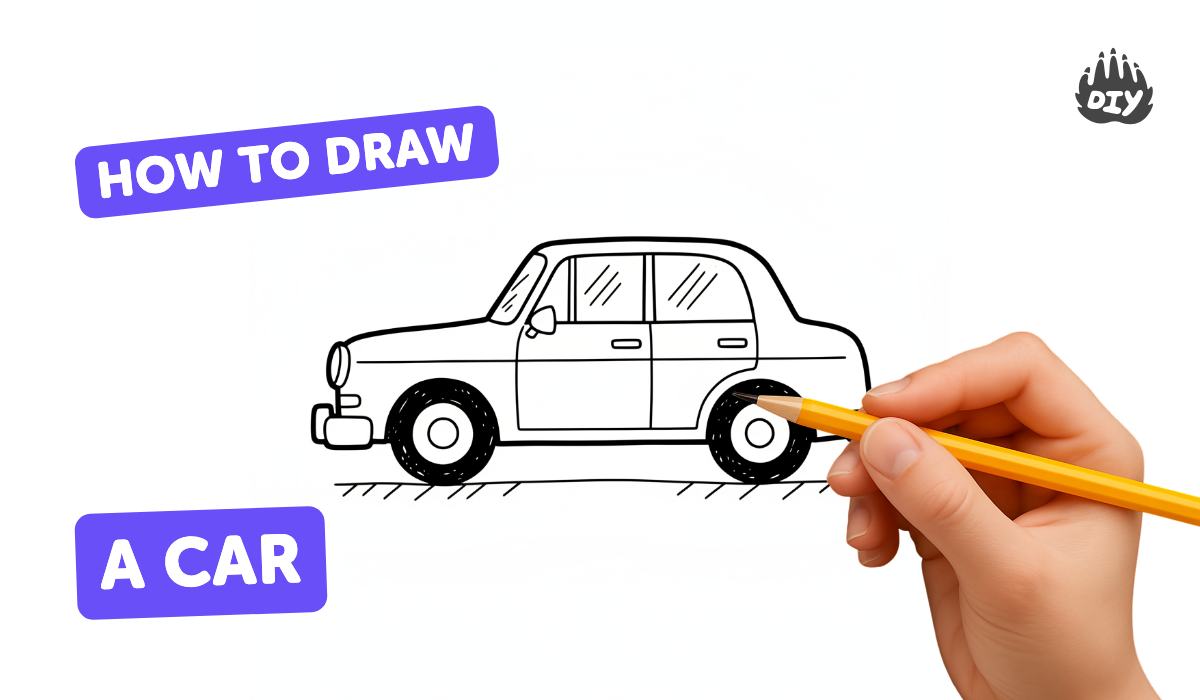
How to draw car - a free car drawing guide
Draw a simple car step-by-step using basic shapes, add wheels, windows, and shading. Practice proportions and observation to complete a neat car.

Drawing Apps
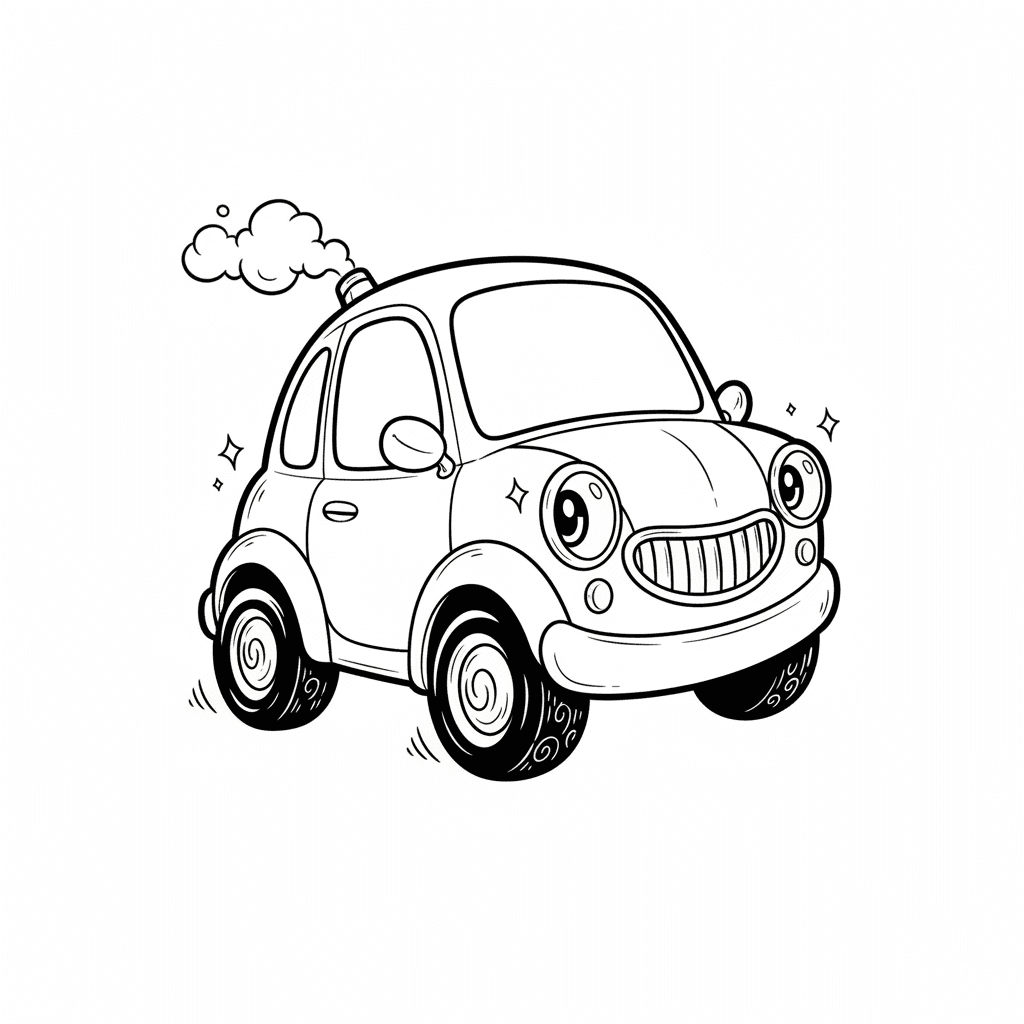
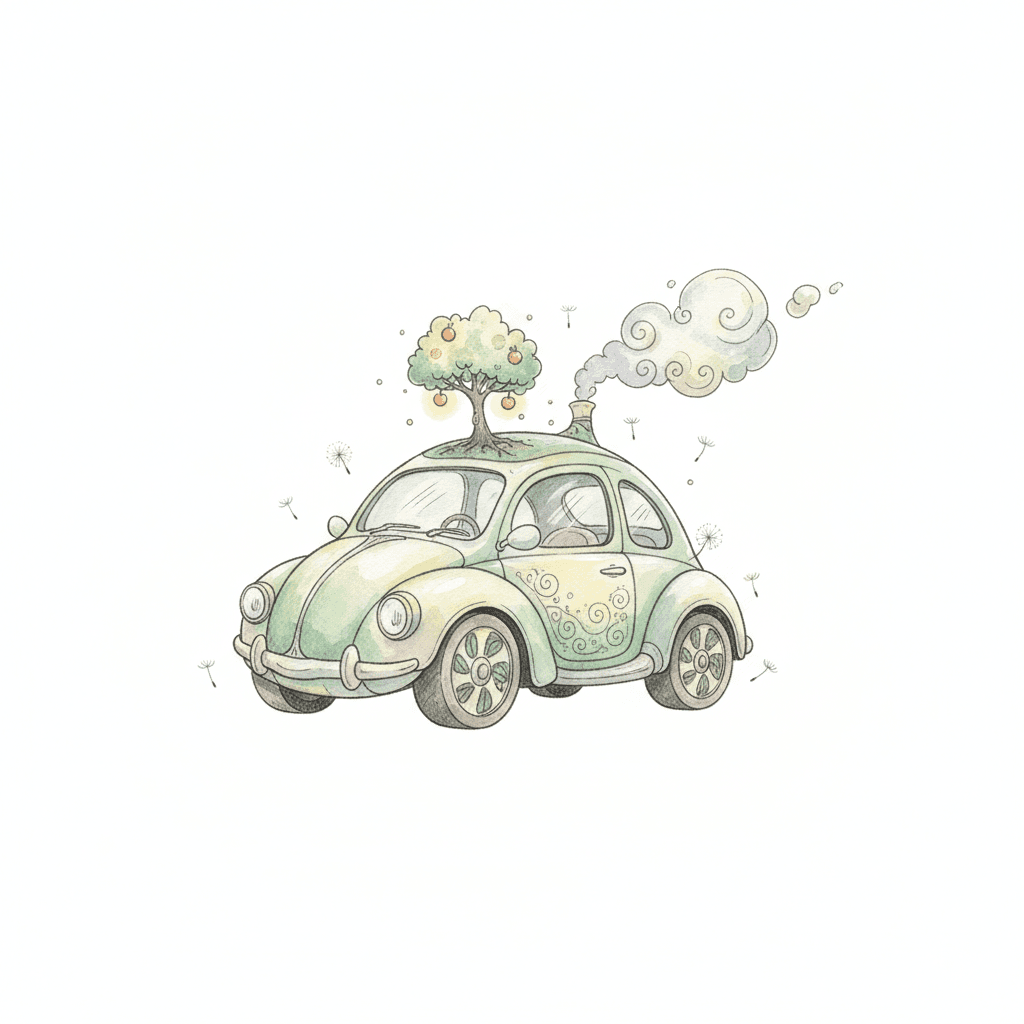
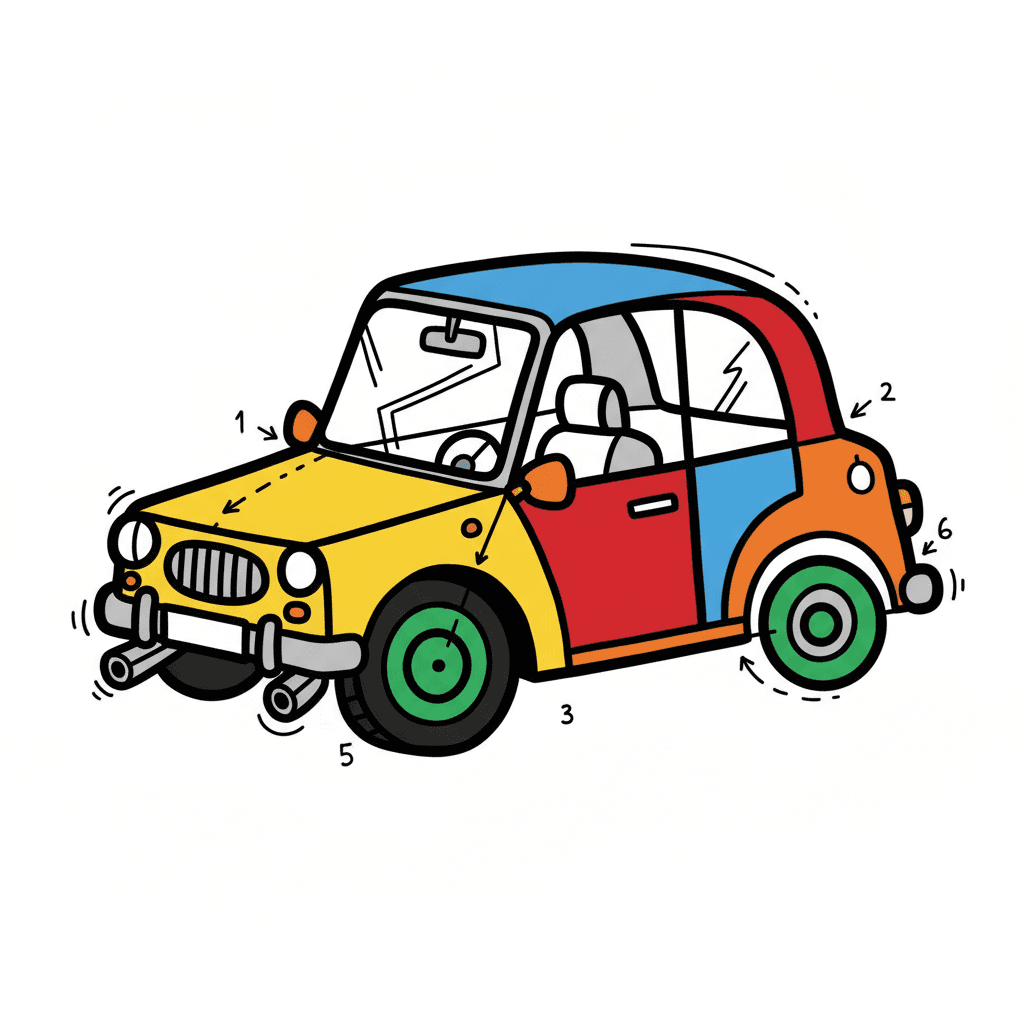
Photos of car drawing examples
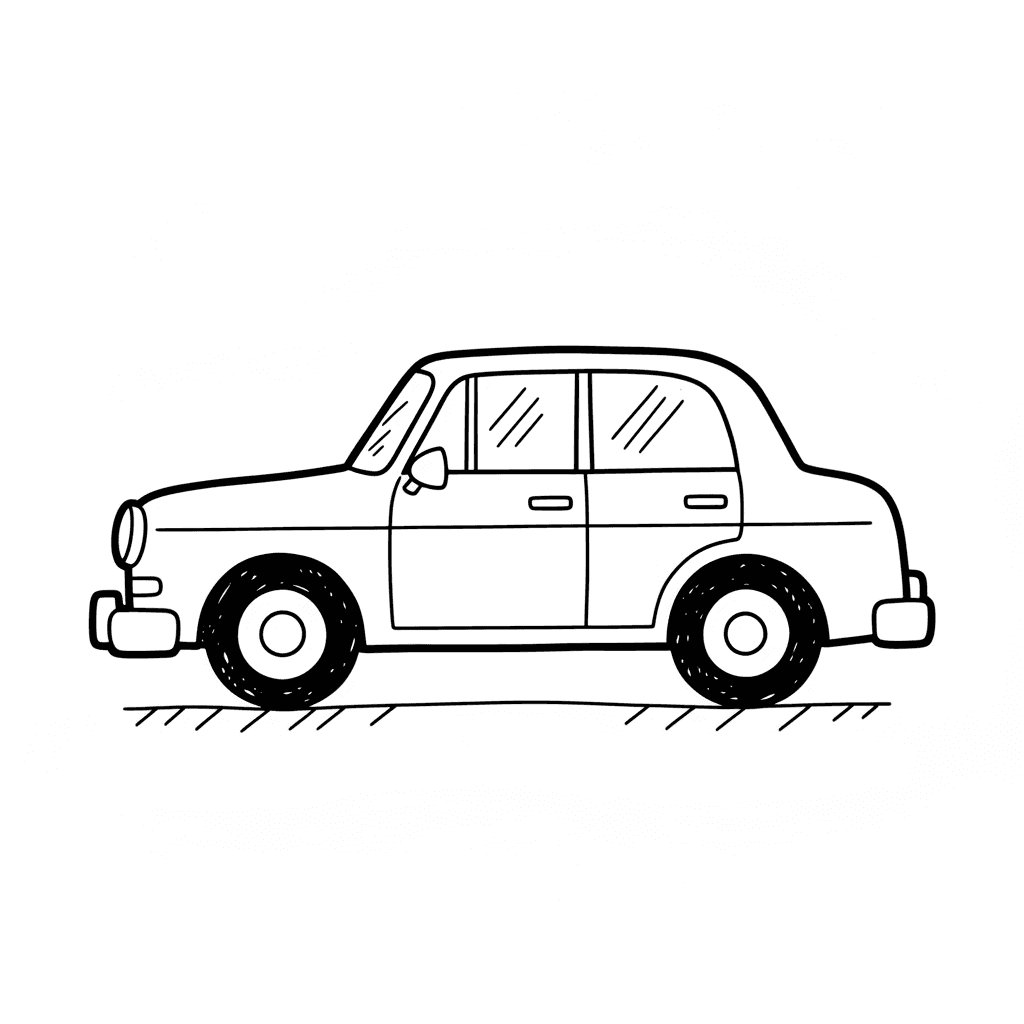


Step-by-step guide to draw a car
How to Draw a Car | Super Easy Step-by-Step Tutorial!
Step 1
Place your paper on a flat surface so it will not move while you draw.
Step 2
Put your pencil and eraser next to the paper where you can reach them easily.
Step 3
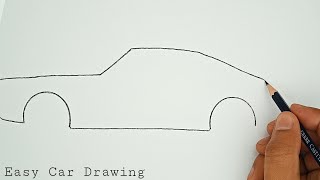
Lightly sketch the main car body as a long horizontal rounded rectangle across the middle of the page.
Step 4
Draw a smaller rounded rectangle or trapezoid on top of the body for the roof and windshield.
Step 5
Draw two circles touching the bottom edge of the car body for the wheels.
Step 6
Draw curved lines above each wheel to make the wheel wells.
Step 7
Draw the window shapes inside the roof area by sketching the front windshield and side window outlines.
Step 8
Draw a vertical line on the side of the car to mark the door seam.
Step 9
Draw a small rectangle or circle on the door for the door handle.
Step 10
Draw small shapes at the front and back of the car for headlights and taillights.
Step 11
Add simple lines at the front for the grill and a line for the bumper.
Step 12
Erase any extra light sketch lines so your car looks neat.
Step 13
Trace over the final outlines with a black pen or darker pencil to make them stand out.
Step 14
Add light shading under the car and on the lower body and windows to make it look 3D.
Step 15
Share your finished car on DIY.org
Help!?
What can I use if I don't have the black pen, pencil, or eraser listed in the materials?
Use a dark fine-tip marker or felt-tip pen to trace the final outlines, any mechanical or colored pencil for the light sketching of the car body on your paper, and a kneaded or white vinyl eraser to lift extra sketch lines.
My wheels and body look uneven — how do I fix that when following the steps?
Lightly draw a horizontal guideline for the car body (step 3) and a thin axle line where the wheels go (step 5), use a coin to trace perfect circles for the wheels, then erase the guidelines before you trace the final outlines (steps 11–12).
How can I adapt this drawing activity for younger children or older kids?
For younger children, pre-draw the rounded rectangle car body and wheel circles for them to color and place simple shapes for headlights (steps 3–5, 9), while older kids can add perspective, detailed grills, rim designs and the light shading under the car (steps 12–13) for more challenge.
What are easy ways to enhance or personalize my finished car drawing?
After tracing the final outlines (step 12) and adding shading (step 13), personalize the design with colors, stickers or racing stripes, different wheel rims or a background scene, then photograph and share it on DIY.org (step 14).
Watch videos on how to draw a car
How to Draw a CAR - Easy Kids Drawings
4 Videos
How to Draw a CAR - Easy Kids Drawings
How to Draw a Car - Easy Drawings for Kids and Beginners - Drawing Tutorial
How to Draw a Car Simple & Easy Step by Step for Kids | Car Drawing
How to Draw a Car - The Easiest way !
Facts about basic drawing techniques
🚗 Karl Benz built the first practical gasoline-powered automobile in 1886.
✏️ Artists often begin complex drawings by sketching simple shapes like circles, rectangles, and triangles.
🔭 Linear perspective tricks the eye so a flat drawing looks three-dimensional—great for making cars look real.
🛞 Wheels have been used on vehicles for over 5,000 years, with early examples from ancient Mesopotamia.
🎨 Simple pencil shading techniques like hatching and blending can make windows and metal parts look shiny and rounded.
How do I draw a simple car step-by-step?
What materials do I need to draw a simple car?
What ages is drawing a simple car suitable for?
What are the benefits of drawing a simple car and how can I vary the activity?


