How to draw anime hair - a free anime hair drawing guide
Draw three anime hairstyles, straight, wavy, and spiky, using pencil and markers. Practice guiding lines, volume, and simple shading neatly.


Instructions
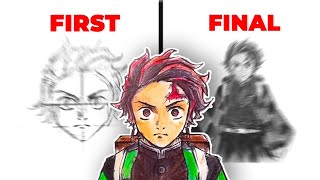
How to draw anime hair | Step by step easy!
Step 1
Gather your materials and sit at a flat clean surface.
Step 2
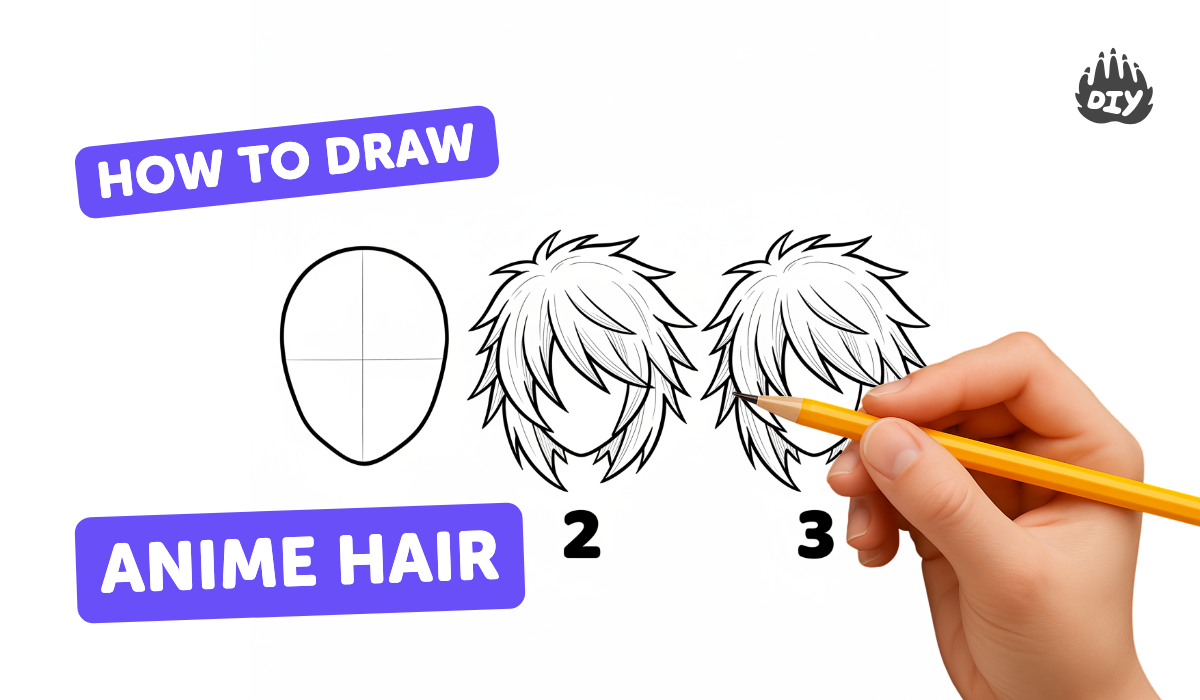
Lightly draw an oval for the head and add a vertical center line and a horizontal eye line as guides.
Step 3
Draw a soft curved hairline where the hair will start on the forehead.
Step 4
For the straight hairstyle sketch several long smooth panels that follow the head curve to show volume and flow.
Step 5
Trace the straight hair panels with the black marker to make clean outlines.
Step 6
Add simple pencil shading to the straight hair by darkening near the roots and under overlapping panels.
Step 7
For the wavy hairstyle sketch big S-shaped panels and loose curls from the hairline to the ends to show bounce.
Step 8
Trace the wavy hair outlines with the black marker to define the curls.
Step 9
Shade the wavy hair with pencil strokes that follow each wave, darkening where panels overlap.
Step 10
For the spiky hairstyle sketch angled spikes radiating from the hairline with varied lengths and overlapping shapes for volume.
Step 11
Trace the spiky hair outlines with the black marker to make crisp spikes.
Step 12
Add simple pencil shading to the spikes by darkening at the roots and between spikes.
Step 13
Gently erase the pencil guide lines to make each hairstyle neat and tidy.
Step 14
Share your finished drawing of the three anime hairstyles on DIY.org.
Help!?
What can we use instead of a black marker if we don't have one?
If you don't have a black marker for tracing the outlines, use a dark fine-tipped pen, a Sharpie, or carefully press with a sharpened dark-colored pencil to trace the straight, wavy, and spiky panels.
My hair looks flat—how do I make it look like it has more volume?
If the hair looks flat, follow the instructions to add simple pencil shading by darkening near the roots and under overlapping panels (or between spikes) to create volume and depth.
How can I change this activity for kids of different ages?
For younger kids, pre-draw the oval and hairline and let them draw and trace a few large panels with a chunky marker, while older kids can add more panels, detailed pencil shading along panel curves, and erase guides neatly as instructed.
How can we make the hairstyles more unique or detailed?
To personalize or enhance, mix straight and wavy panels, add colored-pencil highlights along the traced panel curves after erasing the guide lines, or draw hair accessories before sharing the finished drawing on DIY.org.
Related videos
How to Draw Anime Hair Tutorial | 4 Beginner Mistakes and 6 Simple Tips you need to know!
4 Videos
How to Draw Anime Hair Tutorial | 4 Beginner Mistakes and 6 Simple Tips you need to know!
3 Easiest Anime Hairstyles for beginners | How to draw anime hair (girl) tutorial #howtodrawanime
How to Draw a Cute Anime Girl Step by Step | Easy Pencil Drawing Tutorial
Easy Way to DRAW anime character Like A PRO!
Get inspired with these


Fun Facts
✏️ Many anime artists begin hair with simple guiding lines and 3–6 big 'clumps' to keep the shape readable and easy to shade.
🎨 Anime hair highlights are often shown as one or two white or lighter shapes instead of detailed gradients — it makes hair look shiny fast!
🖊️ Alcohol-based markers are popular for smooth color and easy blending, while fineliners or darker markers help define hair edges.
💡 Straight hair usually follows long parallel guide lines, wavy hair uses flowing S-curves, and spiky hair is built from overlapping triangles.
🌈 Anime characters often have bright, imaginative hair colors (like blue or pink) — color choices help show personality at a glance.
How do you draw three anime hairstyles (straight, wavy, spiky)?
What materials do I need to draw anime hair with pencil and markers?
What ages is drawing anime hair suitable for?
What are the benefits and safe variations of practicing anime hairstyles?


