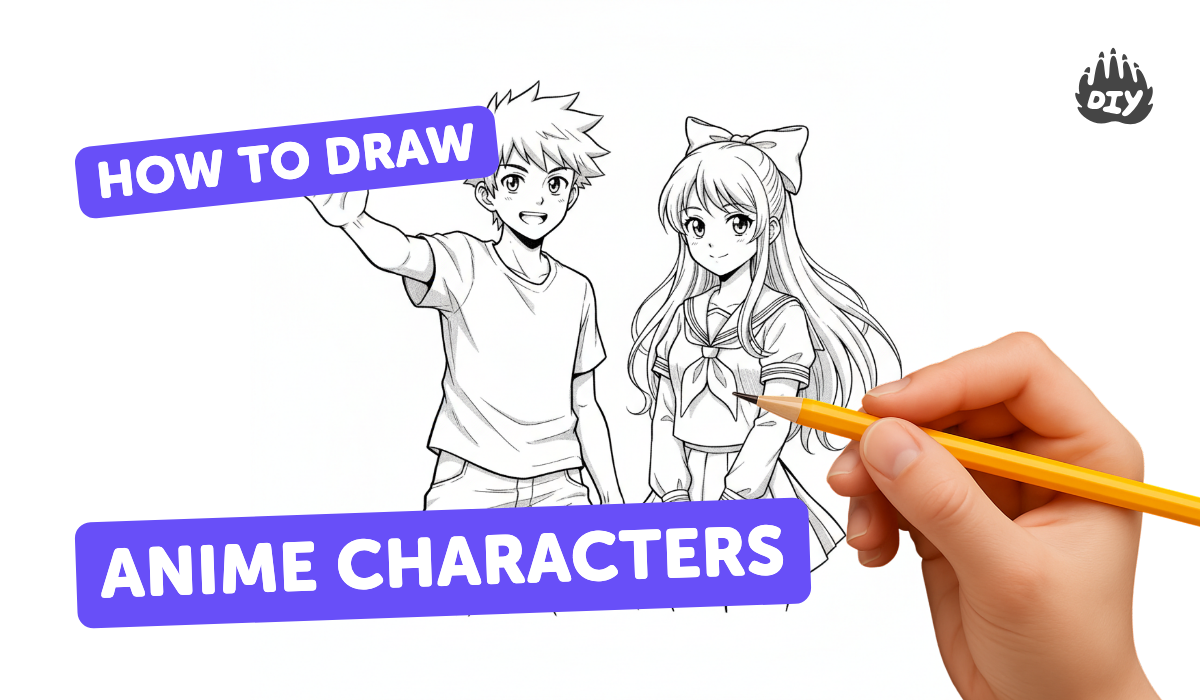
How to draw anime characters - a free anime characters drawing guide
Learn to draw anime characters step-by-step: faces, expressive eyes, hairstyles, and dynamic poses using pencil and eraser. Practice proportions and shading.


Instructions
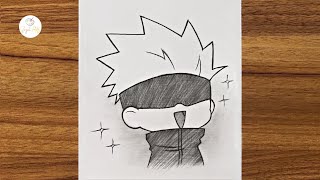
How to draw cute anime girl step by step || How to draw anime characters || Easy drawing tutorial
Step 1
Warm up your hand by drawing circles ovals and straight lines across the page for one minute.
Step 2
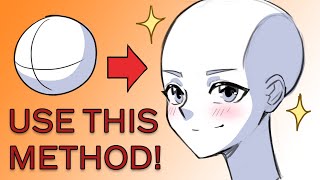
Lightly sketch a circle near the top of the paper for the head shape.
Step 3
Draw a vertical center line down the middle of the circle to mark facial symmetry.
Step 4
Draw a horizontal eye line across the middle of the circle to mark where the eyes will sit.
Step 5
Add a chin by drawing two angled lines from the lower sides of the circle to meet at a point.
Step 6
Draw two large eye shapes on the eye line filling each side of the center line.
Step 7
Draw the irises pupils and a white highlight inside each eye to make them expressive.
Step 8
Add a small simple nose on the center line between the eyes and chin using a short dash.
Step 9
Draw a small curved mouth under the nose to show the character’s expression.
Step 10
Sketch a big sweeping hairline and then draw hair strands around and over the head to create a hairstyle.
Step 11
Add a neck and shoulders using two short lines and simple curved shoulder lines.
Step 12
Lightly draw a gesture line for the spine and mark basic body proportions using head-length units then sketch simple limbs and pose shapes.
Step 13
Shade softly under the hair jaw and clothes with the side of your pencil then erase the extra guidelines to clean the drawing.
Step 14
Take a photo of your finished anime character and share it on DIY.org.
Help!?
What can we use if we don't have a pencil, eraser, or a phone to take the photo?
If you don't have a graphite pencil you can sketch with a mechanical pencil, soft charcoal stick, or colored pencil, use a regular or kneaded eraser to clean guidelines, and substitute a tablet or digital camera for the phone to photograph your finished anime character.
My head or eyes look off—what step usually causes this and how do I fix it?
Make the initial circle and the vertical center and horizontal eye lines very light to check symmetry, measure eye placement by equal head-length units across the eye line, and gently lift dark marks with a kneaded eraser before refining the irises and highlights.
How can I adapt these instructions for different age groups?
For younger kids focus on warm-up circles, a simple head circle, large eye shapes and easy hair with crayons, while older kids should follow the head‑length body proportions, gesture spine line, detailed irises and soft pencil shading before photographing for DIY.org.
How can we extend or personalize the finished anime drawing?
After erasing guidelines, personalize your character by adding unique hairstyles and clothing, use colored pencils or markers to add shading and background, emphasize the pupils' white highlight for expression, and create a series to photograph and share on DIY.org.
Related videos
Learn to Draw Anime Heads in 15 Minutes (Beginner Tutorial)
4 Videos
Learn to Draw Anime Heads in 15 Minutes (Beginner Tutorial)
Easy Way to DRAW anime character Like A PRO!
How to draw anime characters || How to draw Zoro from ONE PIECE || Anime art tutorial for beginners
How to draw kid Gojo Satoru | Easy Gojo drawing for beginners | Best Anime drawing easy step by step
Get inspired with these


Fun Facts
🎨 Osamu Tezuka, often called the "godfather of manga," was inspired by early Western cartoons (like Disney) when shaping modern anime styles.
👀 Big, expressive eyes in anime became a signature trait because they make emotions easy to read even in simplified drawings.
✏️ Many artists use harder H pencils for light construction lines and softer B pencils for shading and darker outlines.
🧍 Anime character proportions change the mood: chibi characters can be 2–4 heads tall, while more realistic designs are often 6–8 heads tall.
🪄 Erasers are powerful tools too — artists lift graphite to create highlights, texture, and clean edges when shading.
How do I teach my child to draw anime characters step-by-step?
What materials do I need to learn drawing anime characters?
What ages is learning to draw anime characters suitable for?
What are the benefits of learning to draw anime characters?


