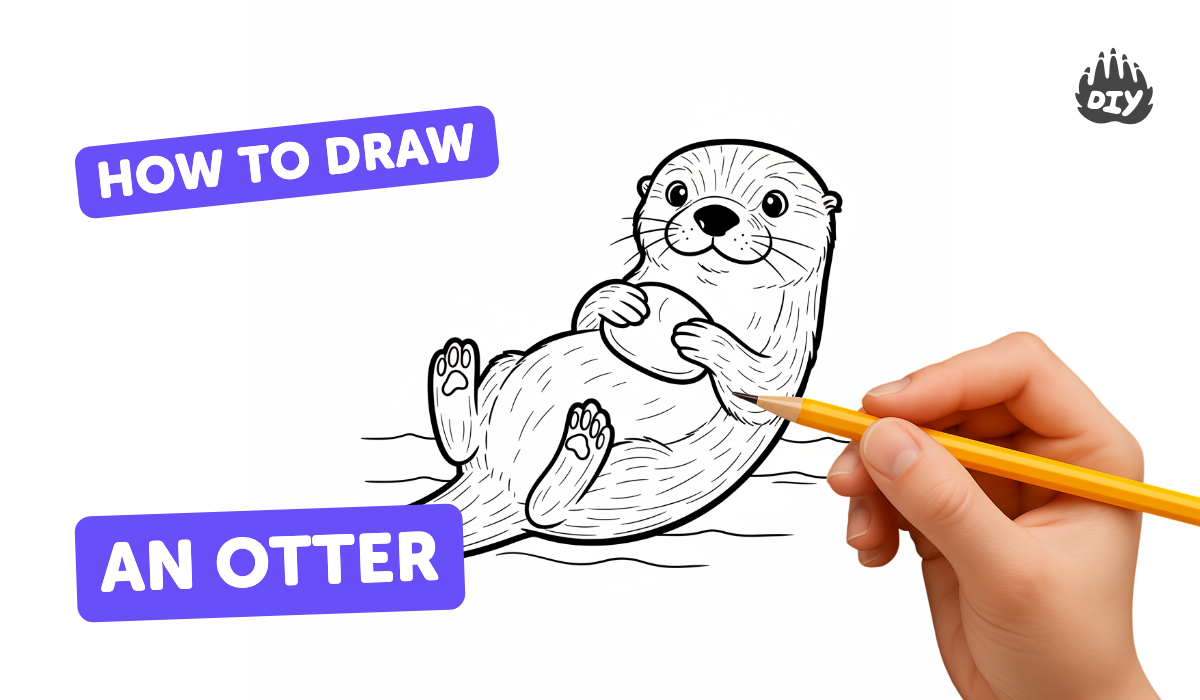
How to draw an otter - a free otter drawing guide
Draw a friendly otter step-by-step using simple shapes, lines, and shading. Practice proportions, textures, and adding expressive eyes to improve drawing skills.

Drawing Apps
Get inspired with these


Instructions
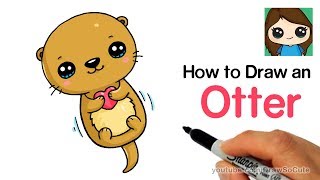
How to Draw an Otter | Easy Drawing Tutorial for Kids | Drawing Eazy
Step 1
Lightly draw a large horizontal oval in the middle of your paper for the otter's body.
Step 2
Lightly draw a smaller circle that overlaps the top of the oval for the otter's head.
Step 3
Draw a smooth curved tail shape that extends from the back of the body oval.
Step 4
Add two small rounded flippers at the front of the body by drawing short oval shapes.
Step 5
Add two slightly larger rounded flippers at the back of the body for the hind feet.
Step 6
Draw two small rounded ears on top of the head circle.
Step 7
Lightly draw a vertical center line and a horizontal eye line on the head to help place features.
Step 8
Draw two expressive eyes on the eye line using large ovals then add a dark pupil and a small white highlight in each.
Step 9
Draw a small rounded triangle or oval at the bottom of the face for the nose.
Step 10
Draw a smiling mouth under the nose and add three short whisker lines on each side of the face.
Step 11
Add short curved fur strokes along the body and lightly shade the belly with soft pencil strokes and blend with a tissue if you like.
Step 12
Colour your otter using your colouring materials and add darker shading where the fur is shadowed.
Step 13
Share your finished otter drawing on DIY.org.
Help!?
What can I use if I don't have a tissue or blending stump to blend the belly shading?
Use a clean fingertip, a cotton swab, or a small piece of scrap paper to gently blend the soft pencil strokes on the belly instead of a tissue.
My otter's head looks too big or the eyes are off-center — how can I fix it?
Erase lightly and reposition the smaller head circle so it overlaps the top of the body oval correctly and use the vertical center line and horizontal eye line as guides before redrawing the eyes.
How can I simplify or make this drawing more challenging for different ages?
For younger kids trace or stick pre-made ovals for the body and head and skip shading, while older kids can add the short curved fur strokes, detailed pupils with white highlights, and darker shading where the fur is shadowed.
How can we personalize or extend the otter drawing activity?
Add a background like river rocks or seaweed, draw a baby otter next to the body, experiment with watercolour washes when you colour your otter, and then share the finished otter drawing on DIY.org.
Related videos
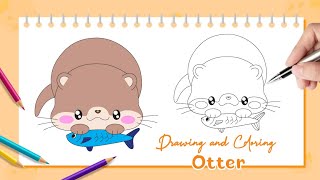
How to Draw an Otter Easy and Cute
4 Videos
How to Draw an Otter Easy and Cute
How To Draw Otters Mom And Baby
How to draw a Otter Step by Step | Otter Drawing Lesson
How to Draw Cute Otter Easy | Otter drawing and coloring Step by Step | Cartoon character drawing
Fun Facts
🦦 Sea otters have the densest fur of any mammal, which keeps them warm in cold water without a thick layer of blubber.
🪨 Some otters use rocks as tools to crack open shells while floating on their backs — smart snack time!
🧡 Otters often hold paws when resting in groups (called rafting) so they don't drift apart.
✏️ A great trick for drawing an otter is to build it from simple shapes first — circles for the head, ovals for the body and paws.
👀 Adding tiny highlights (small white dots) to the eyes instantly makes your otter look friendlier and more expressive.
How do you draw a friendly otter step-by-step?
What materials do I need to draw an otter?
What ages is this otter drawing activity suitable for?
What are the benefits of drawing otters with kids?


