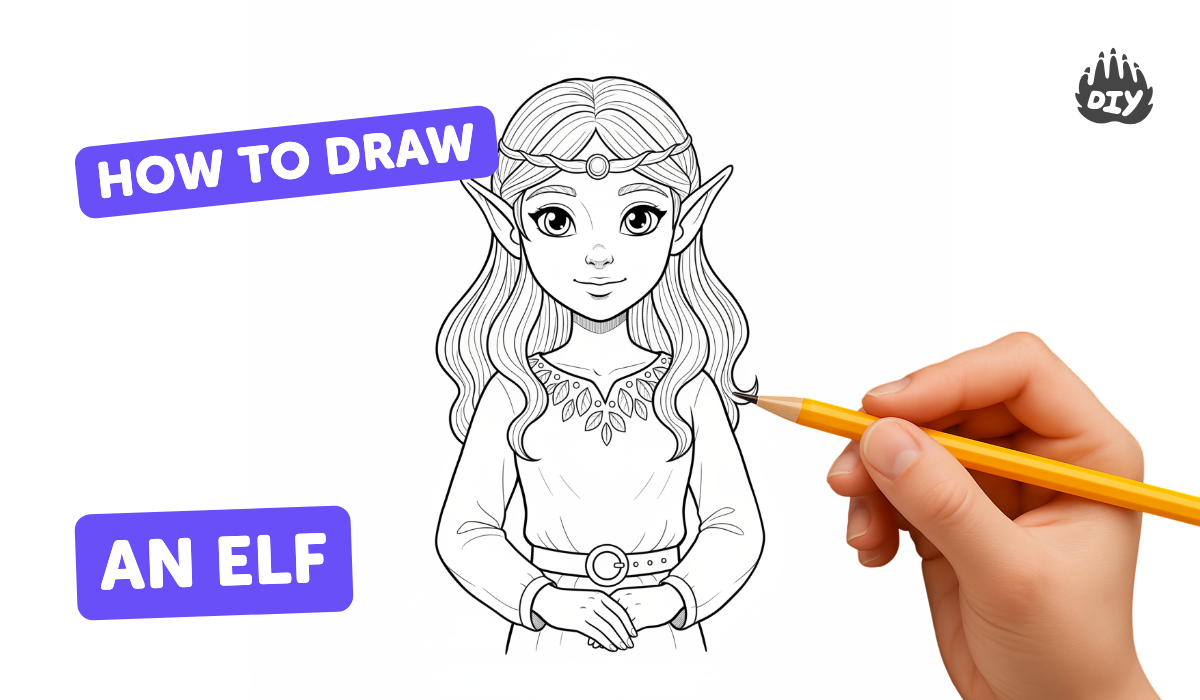
How to draw an elf - a free elf drawing guide
Draw a cheerful elf using simple shapes, step-by-step sketching, and coloring. Practice proportion, symmetry, and shading to finish your illustrated elf.

Drawing Apps
Photos of elf drawing examples


Step-by-step guide to draw an elf
How to Draw The Elf On The Shelf Easy Step by Step Drawing Tutorial for Beginners
Step 1
Gather your paper pencil eraser and coloring materials and find a comfy spot to draw
Step 2
Draw a light circle near the top of the page for the elf's head
Step 3
Draw a vertical center line down the middle of the circle to help keep the face symmetrical
Step 4
Draw a horizontal guideline across the lower third of the circle to mark the eye level
Step 5
Draw two oval eyes on the eye guideline one on each side of the center line and add small circles for pupils
Step 6
Draw a small button nose on the center line below the eyes
Step 7
Draw a wide cheerful curved smile under the nose
Step 8
Draw pointy elf ears on each side of the head aligned with the eye guideline
Step 9
Draw a tall pointed hat with a brim sitting on top of the head
Step 10
Draw a short neck a rounded torso and connect simple sleeves for the arms
Step 11
Draw two short legs and add pointy curled or booted elf shoes at the bottom
Step 12
Add clothing details like a collar a belt buttons and stripes on the hat or shirt
Step 13
Shade lightly along one side of the head cheeks and hat to show roundness and depth
Step 14
Color your elf using your coloring materials trying to keep colors balanced on both sides for symmetry
Step 15
Share your finished cheerful elf on DIY.org
Help!?
What can I use instead of colored pencils, crayons, or an eraser if I don't have them?
Use washable markers, watercolors, or glued-on construction paper after you've sketched the head and guidelines, and if you lack an eraser draw very lightly or hide small mistakes with the light shading along the head and hat.
My elf's face looks lopsided—how do I fix the symmetry?
Use the vertical center line you drew through the head to realign eyes, nose, and ears, lightly erase one side with your eraser and redraw the oval eyes and pointy ears so they mirror each other before finishing the smile and hat.
How can I adapt this activity for different ages?
For younger kids simplify by tracing a cup for the head and letting them color large shapes like the hat and shoes, and for older kids add hat stripes, clothing buttons, subtle cheek and head shading, and more detailed boots following the torso and leg steps.
What are easy ways to personalize or extend the finished elf drawing?
Add patterned fabric scraps for the collar and belt, glitter glue or extra stripes on the hat, a snowy background using white paint around the shoes, or fold the colored drawing into a greeting card to share on DIY.org.
Watch videos on how to draw an elf
How To Draw Elf On The Shelf (Easy Drawing Tutorial)
4 Videos
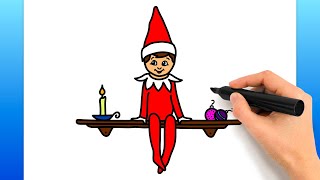
How To Draw Elf On The Shelf (Easy Drawing Tutorial)
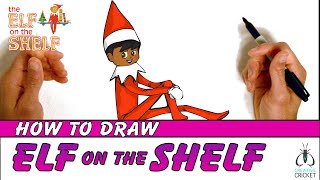
How to Draw Elf on the Shelf Step by Step - Easy Art Lesson
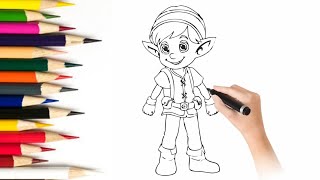
Learn How to Draw a Cute Elf - Step by Step for Kids l drawing ideas easy for kids
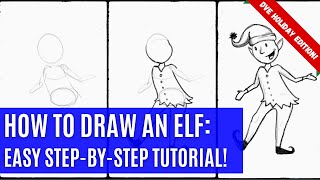
How to Draw an Elf: Easy Tutorial for Beginners!
Facts about drawing and sketching for kids
🎨 Many artists build characters from simple shapes—circles for heads, ovals for bodies, and rectangles for limbs—so complex drawings stay easy to manage.
🧝 The pointy-eared, graceful elf image many kids recognize was popularized by J. R. R. Tolkien and later fantasy illustrators.
👀 A classic proportion tip: the eyes usually sit about halfway down the head, which helps faces look balanced and natural.
🔆 Chiaroscuro (light-and-dark shading) has been used since the Renaissance to make flat drawings look three-dimensional and lively.
⚖️ Perfect symmetry is rare in real faces—adding tiny asymmetries (a tilted smile or one eyebrow higher) makes your elf feel more alive.
How do I draw a cheerful elf step by step?
What materials do I need to draw an elf?
What ages is drawing a simple elf suitable for?
What are the benefits of drawing an elf with my child?


