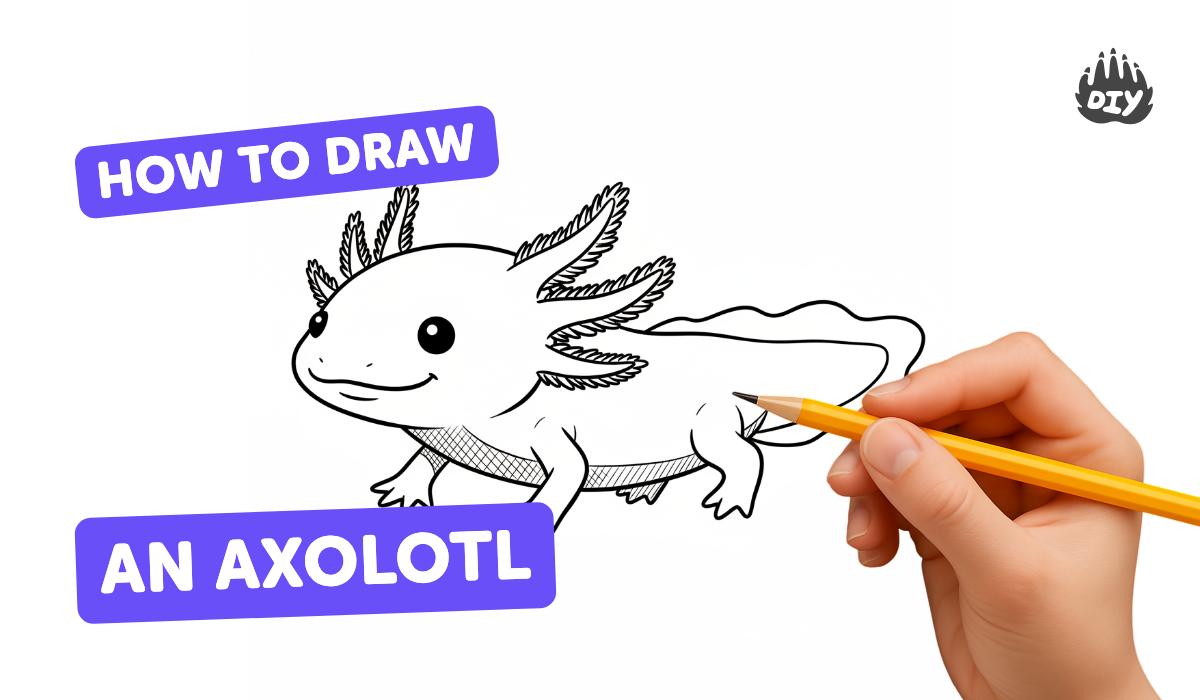
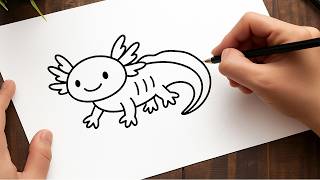
How to draw an axolotl - a free axolotl drawing guide
Draw an axolotl step by step, sketching body shape, legs, face, and frilly gills. Then add color and a simple watery background.

Drawing Apps
Get inspired with these


Instructions
How To Draw An Axolotl
Step 1
Gather your materials and find a comfy flat spot to draw.
Step 2
Lightly sketch a rounded sausage shape for the axolotl body using your pencil.
Step 3
Draw a gently curving tail that tapers from the back of the body.
Step 4
Add four short stubby legs under the body using simple U shapes two in front and two in back.
Step 5
Near the front of the body draw two small round eyes and a tiny curved smile.
Step 6
On each side of the head draw three feathery frill branches to make the axolotl gills.
Step 7
Trace the main outlines you like with your black marker or pen.
Step 8
Wait a minute for the ink to dry so it won’t smudge.
Step 9
Gently erase the pencil lines so only the inked drawing remains.
Step 10
Color the axolotl body with a light color like pale pink peach or cream.
Step 11
Add a simple watery background using light blue wavy lines and bubbles around the axolotl.
Step 12
Add small darker lines or lighter highlights on the body and gills to show depth.
Step 13
Take a photo of your finished axolotl and share your creation on DIY.org
Help!?
What can I use instead of the black marker or pen if I can't find one?
If you don’t have a black marker or pen for Step 7, trace outlines with a dark colored pencil or ballpoint pen and press lightly so you can still erase remaining pencil lines in Step 9.
My ink smudged when I traced the outlines in Step 7—how do I fix it?
If ink smudges in Step 8, rest a scrap paper under your drawing hand and wait an extra 2–3 minutes for the marker to dry before erasing pencil lines in Step 9.
How can I adapt this drawing activity for different ages?
For preschoolers, skip the light sketch (Step 2) and hand them a pre-drawn rounded sausage body to color in with crayons, while older kids can add depth in Steps 12–13 by using colored pencils to layer highlights and darker lines on the body and gills.
How can we make the axolotl drawing more special or challenging after finishing the basic steps?
To personalize and extend the activity, add unique patterns or freckles on the axolotl in Step 11, paint a watercolor wash for the light blue wavy background in Step 12, and add extra bubbles or a seaweed border before taking the photo to share on DIY.org in Step 14.
Related videos
🎨 How to Draw a Cute Axolotl | Easy Drawing for Kids 🖍️
4 Videos
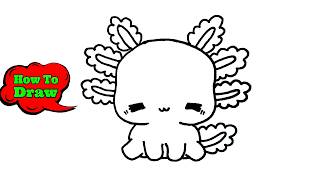
🎨 How to Draw a Cute Axolotl | Easy Drawing for Kids 🖍️
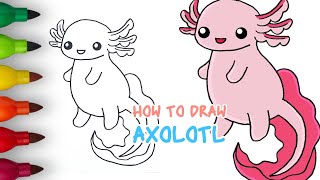
How to Draw Axolotl Easy Step by Step | Drawing Tutorial
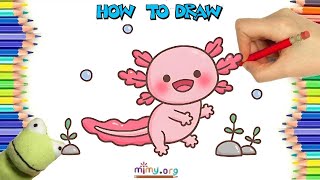
How to Draw an Axolotl | Step-by-Step Easy Tutorial for Beginners + Free Coloring Page! #mimyart
How to Draw a Axolotl 🦎 | Easy Step-by-Step Axolotl Drawing Tutorial for Beginners
Fun Facts
🦎 Axolotls are salamanders that keep their feathery external gills and stay aquatic as adults — this is called neoteny.
🌊 In the wild they live mainly in the canals of Xochimilco near Mexico City, a network of ancient waterways.
🧬 Axolotls can regrow whole limbs, parts of their heart, and even parts of their brain, which makes them superstars in scientific research.
🎨 The common pink axolotl you see in pet stores is usually a leucistic captive-bred form; wild axolotls are typically darker colored.
⚠️ Axolotls are critically endangered in the wild because of habitat loss, pollution, and invasive species.
How do I teach my child to draw an axolotl step by step?
What materials do I need to draw an axolotl with my child?
What ages is drawing an axolotl suitable for?
What are the benefits of drawing an axolotl with kids?


