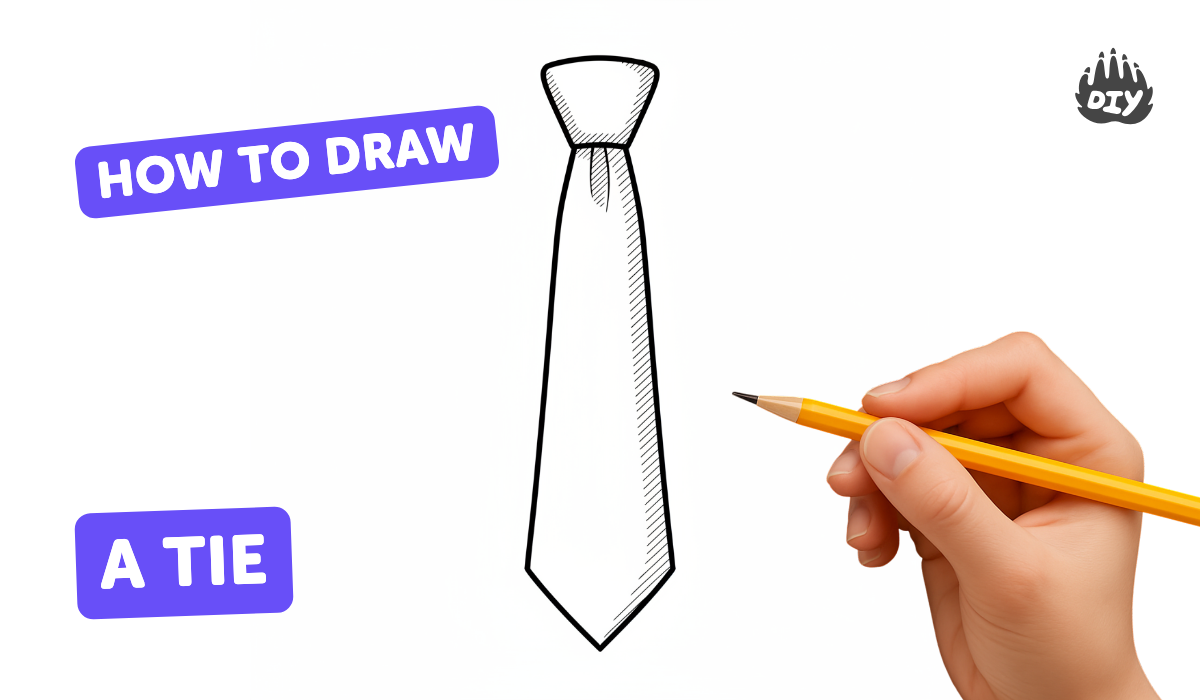
How to draw a tie - a free tie drawing guide
Learn to draw a tie step-by-step, creating a neat shaded necktie with correct proportions and visible folds. Practice shaping, shading, and adding patterns.

Drawing Apps
Get inspired with these


Instructions
How to draw a Tie Step by Step | Tie Drawing Lesson
Step 1
Place your paper in front of you and draw a very light vertical centerline down the middle.
Step 2
Draw a small upside-down triangle centered on the top third of the centerline to make the tie knot.
Step 3
From the bottom tip of the triangle draw two long slightly outward slanting lines toward where you want the tie to end to form the edges.
Step 4
Connect the two slanting lines with a wide V-shaped curve to make the pointed tip of the tie.
Step 5
Draw a thin straight line from the bottom of the knot down the middle to the tip to show the center fold.
Step 6
Erase any extra guide lines outside the tie shape so the tie outline is clean.
Step 7
Draw two short angled fold lines under the knot on each side to show the fabric tucking.
Step 8
Lightly shade the side of the tie you choose with your pencil to create a shadow.
Step 9
Gently smudge the shaded side with a tissue to make the shadow smooth.
Step 10
Darken the pencil along the center fold and near the edges to make the folds look deeper.
Step 11
Pick a pattern like diagonal stripes or dots and draw that pattern evenly across the tie using your ruler if needed.
Step 12
Colour your tie with colouring materials and blend the shaded areas so they look smooth.
Step 13
Share your finished tie drawing on DIY.org
Help!?
What can I use if I don't have a tissue or a ruler for smudging and drawing straight stripes?
If you don't have a tissue or a ruler, use a clean cotton ball or your fingertip to gently smudge the shaded side and the straight edge of a closed book or piece of cardboard to draw even diagonal stripes across the tie.
My tie looks lopsided or the knot is uneven—what should I do to fix it?
If the knot or edges look uneven, redraw a very light vertical centerline with a ruler, measure equal distances for the two slanting edge lines from that centerline before connecting them with the V-shaped curve, and erase guide lines gently with a soft eraser so the outline stays clean.
How can I change this activity for different age groups?
For younger kids, pre-draw the light vertical centerline and upside-down triangle knot so they can trace the slanting edges and add sticker patterns and crayons to color, while older kids can focus on the thin center fold, detailed diagonal stripes with a ruler, smooth pencil shading smudged with a tissue, and blended colouring for a realistic fabric look.
How can we make the finished tie drawing more creative or advanced?
To personalize and extend the project, create a set of ties with different patterns (diagonal stripes, dots, or a team logo), experiment with darkening the center fold and edges for deeper folds, add a matching pocket square, then photograph your best design and share it on DIY.org.
Related videos
How to draw a tie
4 Videos

How to draw a tie
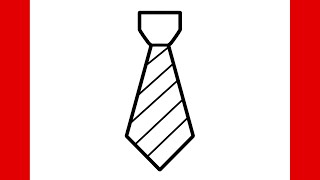
How to draw a TIE easy | Drawing necktie simple tutorial
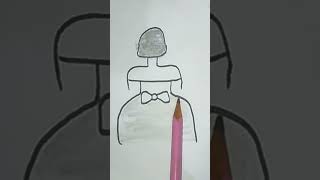
How to Draw a Cute Girl with Bow Tie 👧🎀 | Easy Drawing for Beginners"

How to Tie a Necktie: Step-by-Step Tutorial, First 5 Steps
Fun Facts
🪢 A mathematicians' study found there are 85 possible ways to tie a standard necktie knot.
🇭🇷 The modern necktie evolved from 17th-century Croatian soldiers' scarves, which inspired French fashion.
📏 Most adult neckties are about 57–58 inches (145–147 cm) long so you can get a proper knot and length.
✏️ Cross-hatching and varying pencil pressure are quick shading tricks that make fabric folds look three-dimensional.
🎨 Chiaroscuro—using strong contrasts of light and dark—has been used for centuries to show volume and works great when shading a tie.
How do you draw a tie step-by-step?
What materials do I need to draw a tie?
What ages is this activity suitable for?
What are the benefits of learning to draw a tie?


