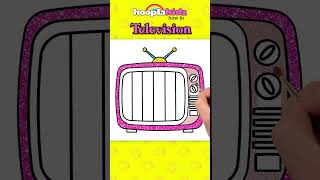
How to draw a television - a free television drawing guide
Draw a television using basic shapes; add screen, knobs, and antenna with pencil and ruler. Practice proportions, perspective, and shading.


Drawing Apps
Get inspired with these


Instructions
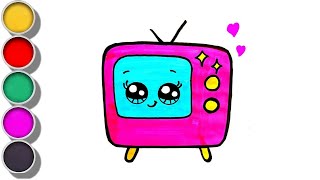
How to Draw a Cute Television | Easy Step by Step Drawing Tutorial for Kids
Step 1
Gather your materials and place them on a flat table so everything is easy to reach.
Step 2
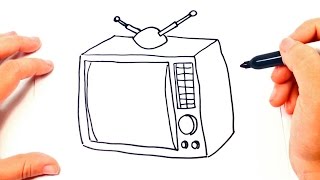
Lightly draw a large rectangle with your ruler to make the TV body.
Step 3
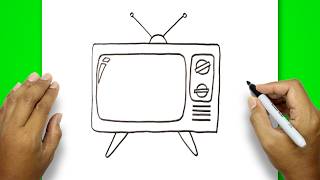
Lightly draw a smaller centered rectangle inside the first to make the screen, leaving an even border all around.
Step 4
Draw a thin side panel on the right or left of the TV body to show depth by extending short slanted lines from the TV edges and connecting them.
Step 5
Draw two round knobs on the bezel beside the screen by sketching two circles about the same size.
Step 6
Draw an antenna on top by sketching two straight lines that meet in a V shape and add a small circle at the tip if you like.
Step 7
Add a thin curved or rectangular highlight inside the screen to show reflection on the glass.
Step 8
Decide where the light comes from and shade the side panel and the edges of the screen with light pencil strokes to show depth.
Step 9
Erase extra construction lines and darken the TV outlines then add colour or texture if you want and sign your name.
Step 10
Share your finished television drawing on DIY.org.
Help!?
I don't have a ruler or pencil — what can I use instead?
For step 2, use a straight-edged book, a credit card, or a piece of cardboard as a ruler and a ballpoint pen, colored pencil, or charcoal stick to lightly sketch if you don't have a regular pencil.
My inner screen looks crooked or the side panel doesn't show depth — how do I fix it?
Go back to the light construction lines from steps 2–4, mark equal border points with your ruler or book, erase the misplaced lines, redraw the centered inner rectangle, then re-extend the short slanted lines and shade the side panel lightly to reinforce the depth.
How can I adapt this TV drawing for different ages or skill levels?
For preschoolers skip the ruler and have them trace a toy TV and use chunky crayons for shapes and stickers for knobs, while older kids should follow step 2 with a ruler, add the thin side panel in step 4, refine the reflection in step 6, and practice subtle shading in step 8.
What are simple ways to enhance or personalize the finished television drawing?
After step 9, customize it by drawing a show or pixel art on the screen, adding wood grain or metallic texture to the bezel and side panel, embellishing the knobs, signing your name, and then share the result on DIY.org.
Related videos
How to Draw a TV Step by Step 📺 - Easy Kids Drawing Tutorial #shorts #drawing #coloring
4 Videos
How to Draw a TV Step by Step 📺 - Easy Kids Drawing Tutorial #shorts #drawing #coloring
How To Draw Television Easy Drawing For Kids and Toddlers
How to draw a TV | Television Easy Draw Tutorial
How to draw a television easy and very simple | Simple Drawing | TV Drawing | Television Drawing
Fun Facts
📺 Philo Farnsworth demonstrated the first fully electronic television system in 1927.
📐 Linear perspective was formalized during the Renaissance so artists could make flat drawings look 3D.
✏️ 'HB' pencils are a favorite for sketching because they balance hardness and darkness.
📏 Rulers became common as inexpensive, precise plastic tools in the 20th century for drawing straight lines.
📡 Old-style "rabbit ears" are simple dipole antennas that helped early TVs pick up broadcast signals.
How do you draw a television using basic shapes?
What materials do I need to draw a TV with pencil and ruler?
What ages is this drawing activity suitable for?
What are the benefits of practicing TV drawing with proportions, perspective, and shading?


