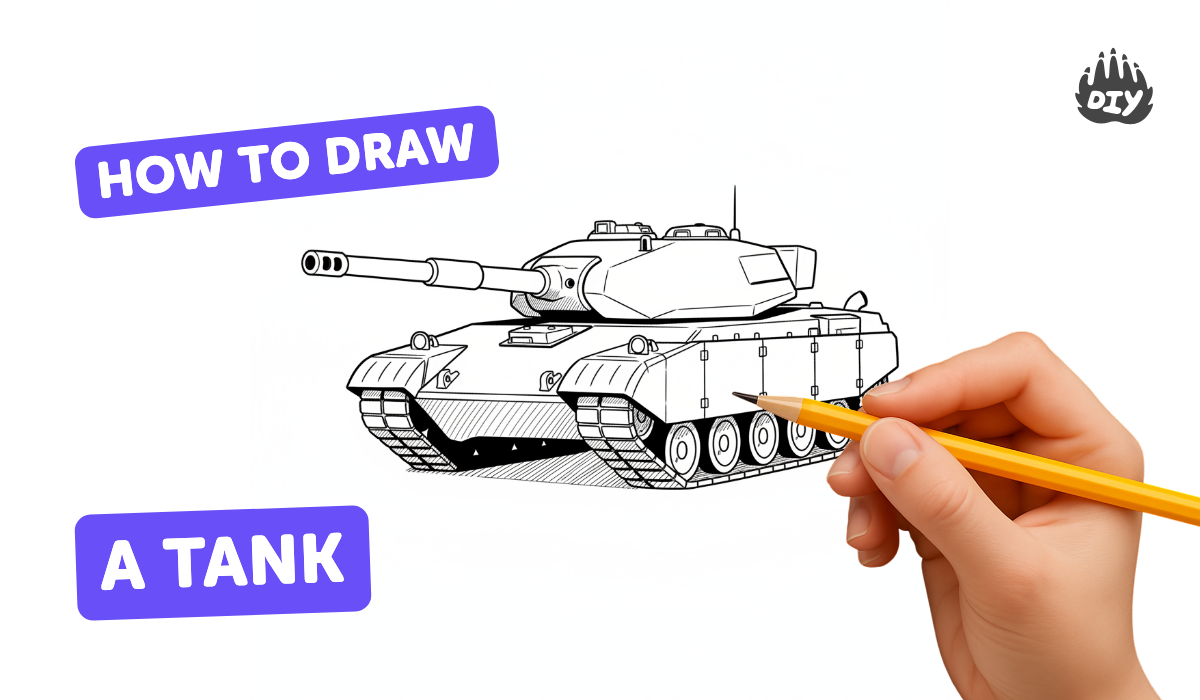
How to draw a tank - a free tank drawing guide
Draw a realistic tank step by step using simple shapes, shading, and perspective. Practice proportions, tracks, turret placement, and basic shading.

Drawing Apps
Get inspired with these


Instructions
How to Draw a Tank Step by Step | Easy Army Tank Drawing For Kids
Step 1
Place your paper in landscape orientation so you have more room for the long tank shape.
Step 2
Lightly draw a horizontal ground line near the bottom of the page to show where the tank sits.
Step 3
Lightly mark a vanishing point on the horizon above the ground line to help with perspective.
Step 4
Draw two faint perspective guidelines from the vanishing point down toward the ground line to set the tank’s length.
Step 5
Sketch the tank hull as a long rectangular box in perspective using the guidelines to keep the sides angled correctly.
Step 6
Add a sloped front armor face by drawing a slightly angled rectangle on the front of the hull.
Step 7
Draw long rounded rectangles under each side of the hull to show the tracks.
Step 8
Draw evenly spaced circles inside the tracks to make the road wheels.
Step 9
Sketch a slightly off-center oval on top of the hull behind the midpoint for the turret base.
Step 10
Draw a long tapered cylinder extending from the turret for the cannon barrel and make the muzzle slightly darker.
Step 11
Add small details like hatches hinges bolts and panel lines on the hull and turret to make it look realistic.
Step 12
Erase extra construction lines and any overlapping sketch marks you no longer need.
Step 13
Decide where the light is coming from and lightly mark an arrow pointing from that light source.
Step 14
Shade the surfaces opposite the light with gradual pencil strokes and darken under the hull and inside the tracks to create depth.
Step 15
Share your finished tank drawing on DIY.org.
Help!?
What can we use if we don't have a pencil, eraser, or ruler for the tank drawing?
If you don't have a graphite pencil use a colored pencil or charcoal stick for sketching and shading, replace an eraser with a kneaded eraser or gently lift lines with a clean cloth, and use the straight edge of a hardcover book as a ruler to draw the vanishing-point perspective guidelines and hull sides.
My tracks and road wheels look crooked—how do we fix that?
If the tracks or road wheels look uneven, redraw light perspective guidelines from the vanishing point, mark evenly spaced points along the long rounded rectangles for the tracks, and trace a coin for each road wheel to keep sizes consistent.
How can I adapt this tank drawing for younger or older kids?
For younger children simplify by skipping the vanishing point and using flat rectangles and ovals for the hull, tracks, and turret, while older kids can follow the full steps including the sloped front armor face, tapering cannon barrel, detailed hatches/bolts, and careful shading opposite the light source.
How can we make the finished tank more interesting or personal?
To enhance the drawing, add a camouflage pattern with colored pencils, deepen weathering by darkening under the hull and inside the tracks as in the shading step, sketch extra battle scuffs around the hatches and bolts from the small details step, and share the completed image on DIY.org.
Related videos
How To Draw a Tank | Tank Drawing Easy | YoKidz Drawing | YoKidz Channel
4 Videos
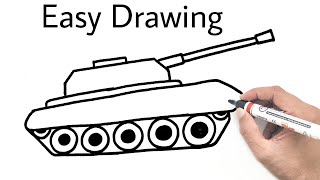
How To Draw a Tank | Tank Drawing Easy | YoKidz Drawing | YoKidz Channel
Draw a Tank in 60 Seconds! 🎨 (Easy Step-by-Step)
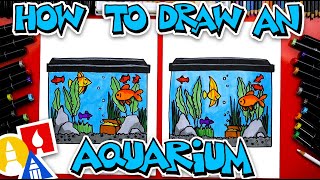
How To Draw A Fish Tank Aquarium
STEP-BY-STEP GUIDE TO DRAW A TANK FROM SCRATCH ! TANK DRAWING INSPIRATION: UNLEASH YOUR CREATIVITY !
Fun Facts
🪖 The name “tank” was a secret WWI code name — early crews sometimes called them “landships”!
🎯 Using one-point or two-point linear perspective makes a tank's barrel and body look convincingly 3D.
🛞 Caterpillar tracks spread a tank’s weight so it can cross mud and rough ground — that's why tracks are long and segmented.
✍️ Hatching and cross-hatching are classic pencil tricks to show curved armor and shiny metal with simple lines.
📐 Many real tanks have a low hull and a round or offset turret — nailing those proportions makes your drawing look realistic.
How do I draw a realistic tank step by step using simple shapes, shading, and perspective?
What materials do I need to draw a realistic tank?
What ages is drawing a realistic tank suitable for?
What are the benefits and safety tips for teaching kids to draw realistic tanks?


