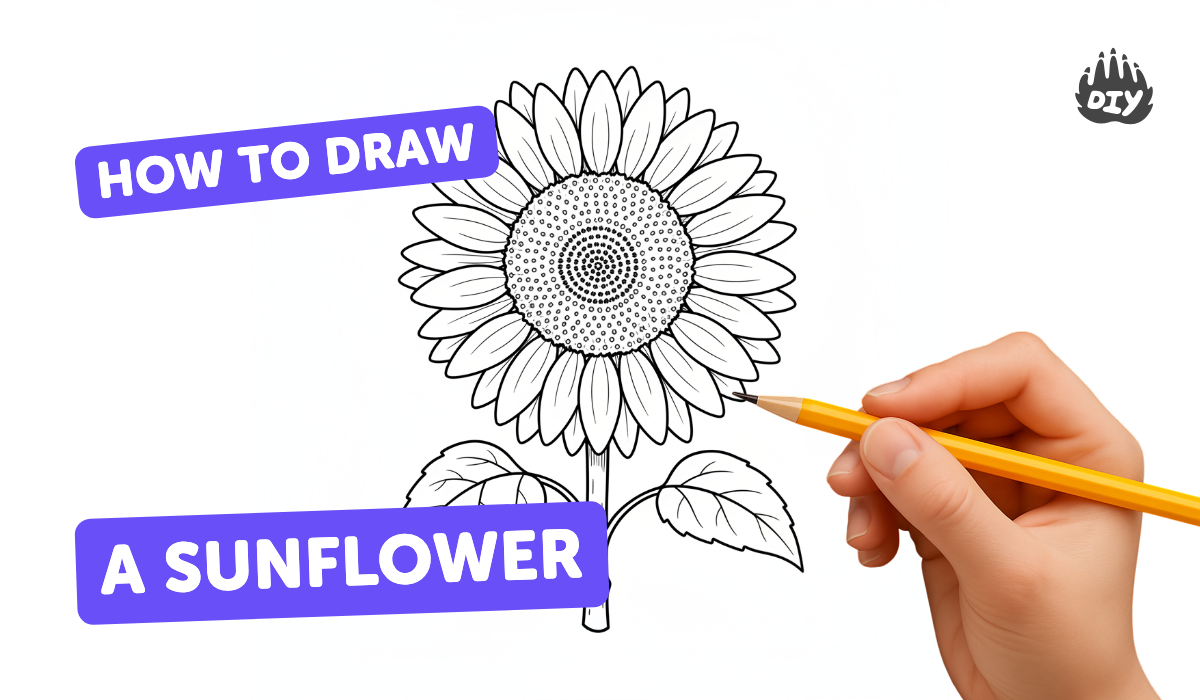
How to draw a sunflower - a free sunflower drawing guide
Draw a sunflower step-by-step using pencil, eraser, and colored pencils. Practice shapes, petal symmetry, center texture, shading, and color blending.

Drawing Apps
Get inspired with these


Instructions
How To Draw A Sunflower
Step 1
Place your drawing paper on a flat surface and make sure you have your pencil and eraser ready.
Step 2
Lightly draw a medium circle near the top-middle of the paper for the sunflower center.
Step 3
Draw a light vertical line and a light horizontal line through the circle to divide it into four equal parts as guides.
Step 4
Using the guide lines, draw eight evenly spaced teardrop-shaped petals around the circle.
Step 5
Between each of the front petals, draw a second layer of smaller petals peeking out behind the first row.
Step 6
Draw a long straight stem down from the bottom of the flower center.
Step 7
Draw two simple leaves on either side of the stem.
Step 8
Erase the guide lines and any stray sketch marks so your flower looks neat.
Step 9
Fill the center circle with lots of small dots and tiny circles to make a textured seed pattern.
Step 10
Lightly shade the outer edge of the center with your pencil to add depth.
Step 11
Color all the petals with a base layer of yellow using light even strokes.
Step 12
Add orange or darker yellow near the bases of the petals and gently blend outward to create depth.
Step 13
Color the stem and leaves with green using smooth strokes.
Step 14
Add a darker green to the underside of leaves and one side of the stem to show shadows.
Step 15
Share a photo of your finished sunflower on DIY.org.
Help!?
What can we use if we don't have the exact coloring supplies (yellow, orange, green) listed in the instructions?
If you don't have yellow, orange or green colored pencils for steps 11–13, substitute crayons, markers, watercolor paints, or torn-paper collage to fill the petals, bases, stem and leaves.
My petals look uneven when I try to draw eight teardrops around the center—how can I fix that?
If the eight teardrop-shaped petals in step 4 are uneven, mark eight small spacing dots around the circle using the light vertical and horizontal guide lines, draw each petal to those dots, then erase the dots.
How can I adapt the activity for younger or older kids?
For toddlers skip the guide-line divisions and have them glue pre-cut petals after step 2, school-age kids can follow all steps including shading in steps 10–14, and older kids can add more seed detail in step 9 and layered blending in step 12 for realism.
How can we enhance or personalize the finished sunflower before sharing it on DIY.org?
To personalize the drawing before sharing in step 15, add textured seeds in step 9 using tiny dots of paint or glue, do a watercolor background behind the stem after step 6, and sign your name and date on the paper.
Related videos
How to Draw a Sunflower Easy | Realistic
4 Videos
How to Draw a Sunflower Easy | Realistic
How To Draw A Funny Summer Sunflower
How To Draw A Sunflower (Plants vs. Zombies)
How To Draw A Kid Planting A Flower
Fun Facts
🌻 Some sunflowers grow over 3 meters tall — the tallest recorded reached about 9.17 m (30 ft 1 in).
🌞 Young sunflower heads track the sun across the sky (heliotropism), but mature blooms usually face east.
🌀 The spiral pattern of sunflower seeds follows Fibonacci-related phyllotaxis, a natural math pattern.
🎨 Vincent van Gogh painted a famous 'Sunflowers' series to explore bright yellows and contrast.
✏️ What look like petals are actually individual 'ray florets' and the center is hundreds of tiny disc florets — neat details to draw!
How do you draw a sunflower step-by-step?
What materials do I need to draw a sunflower with my child?
What ages is this sunflower drawing activity suitable for?
What are the benefits, safety tips, and variations for drawing sunflowers?


