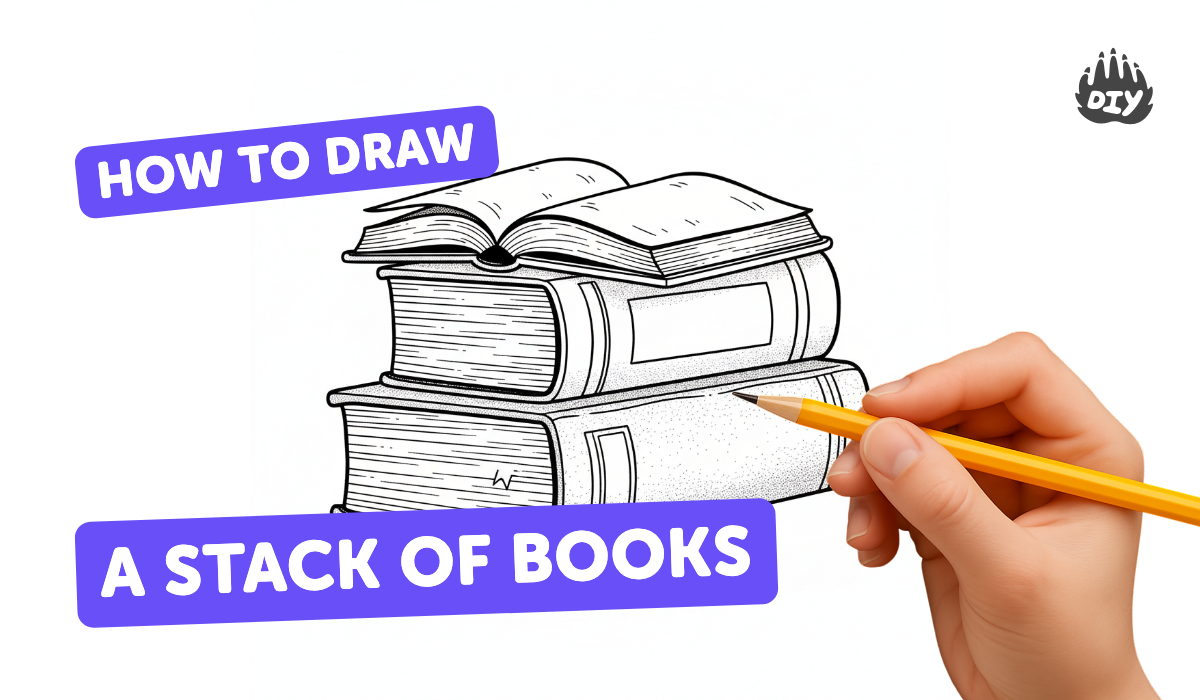
How to draw a stack of books - a free stack of books drawing guide
Draw a stack of books with visible covers and spines using simple rectangles and lines. Practice spacing, perspective, and shading.

Drawing Apps
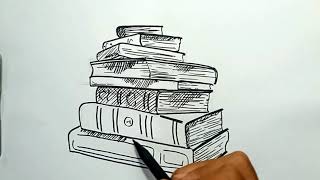
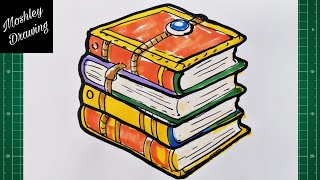
Photos of stack of books drawings and examples


Step-by-step guide to draw a stack of books with visible covers and spines
How to Draw a Stack of Books Step by Step
Step 1
Place your paper in front of you in portrait orientation so you have room for a tall stack.
Step 2
Lightly draw a slightly tilted horizontal rectangle near the top center for the top book cover.
Step 3
Draw a thin parallel line just below the bottom edge of that rectangle to show the pages of the top book.
Step 4
Draw a second horizontal rectangle beneath the first one and shift it a little to the right and down to show perspective.
Step 5
Add a thin parallel line under the second rectangle to show the pages of the second book.
Step 6
Draw a third rectangle beneath the second rectangle using the same right-and-down offset to keep the stack shape.
Step 7
Draw a fourth rectangle beneath the third rectangle using the same offset so you have a stack of books.
Step 8
On the front edge of each book draw a vertical skinny rectangle to make the visible spines.
Step 9
Add one or two short horizontal lines or small rectangles on each spine to suggest title bands and details.
Step 10
Use your ruler to straighten any cover edges and make the stack look neat.
Step 11
Gently erase extra guide lines so only the book shapes and spine lines remain.
Step 12
Trace over the final outlines with a darker pencil or black pen to finish the drawing.
Step 13
Shade under each book and along one side of each spine with soft pencil strokes to show depth and light.
Step 14
Color the book covers and spines with your coloring materials to make a bright stacked-book picture.
Step 15
Take a photo or scan your finished stack of books and share your creation on DIY.org
Help!?
What can we use if we don't have a ruler, black pen, or a scanner as listed in the instructions?
Use the straight edge of a hardcover book or a cereal box instead of a ruler, trace final lines with a darker pencil or marker if you don't have a black pen, and use your phone camera to take the photo instead of a scanner.
My rectangles look messy or the stack doesn't sit right—what step should I redo or fix?
If the stack shape is off, lightly erase the problematic rectangles, redraw them keeping the same right-and-down offset for each new book, and use your ruler to straighten the cover edges and align the vertical spine rectangles.
How can I adapt this drawing for different ages or skill levels?
For younger kids simplify to two large rectangles and add stickers for title bands after step 6, while older kids can add more books, tighter right-and-down offsets for stronger perspective, and more detailed shading along each spine in step 11.
What are simple ways to enhance or personalize the finished stack of books?
Personalize by writing real or silly titles on the spine bands from step 7, adding patterns and colors to covers with your coloring materials in step 12, tracing outlines with pen in step 10, and then photograph the result to share on DIY.org as step 13 suggests.
Watch videos on how to draw a stack of books with visible covers and spines
How to Draw Stack of Books in Easy Steps
3 Videos
How to Draw Stack of Books in Easy Steps
How to Draw a Stacked Ancient Books
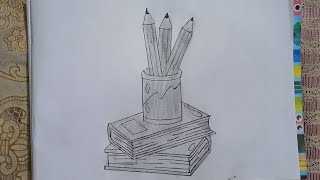
How To Draw Pen Holder Easy || How To Draw A Stack of Book Step By Step || Pencil Holder Drawing
Facts about drawing fundamentals for kids
📚 The Diamond Sutra (dated 868 AD) is the oldest known complete printed book in the world.
🎨 Many artists use a simple three-value system (light, mid, dark) to make flat shapes look three-dimensional.
📐 In one-point perspective, parallel lines appear to meet at a single vanishing point—great for stacks that recede into space.
🖊️ Libraries place books with the spine facing out so titles and authors are easy to read without pulling books off the shelf.
✏️ Turning a rectangle into a slightly skewed (tilted) parallelogram is a quick trick to draw a book in 3D.
How do I teach a child to draw a stack of books step by step?
What materials do I need to draw a stack of books with my child?
What ages is drawing a stack of books suitable for?
What are the benefits of drawing a stack of books and easy variations?


