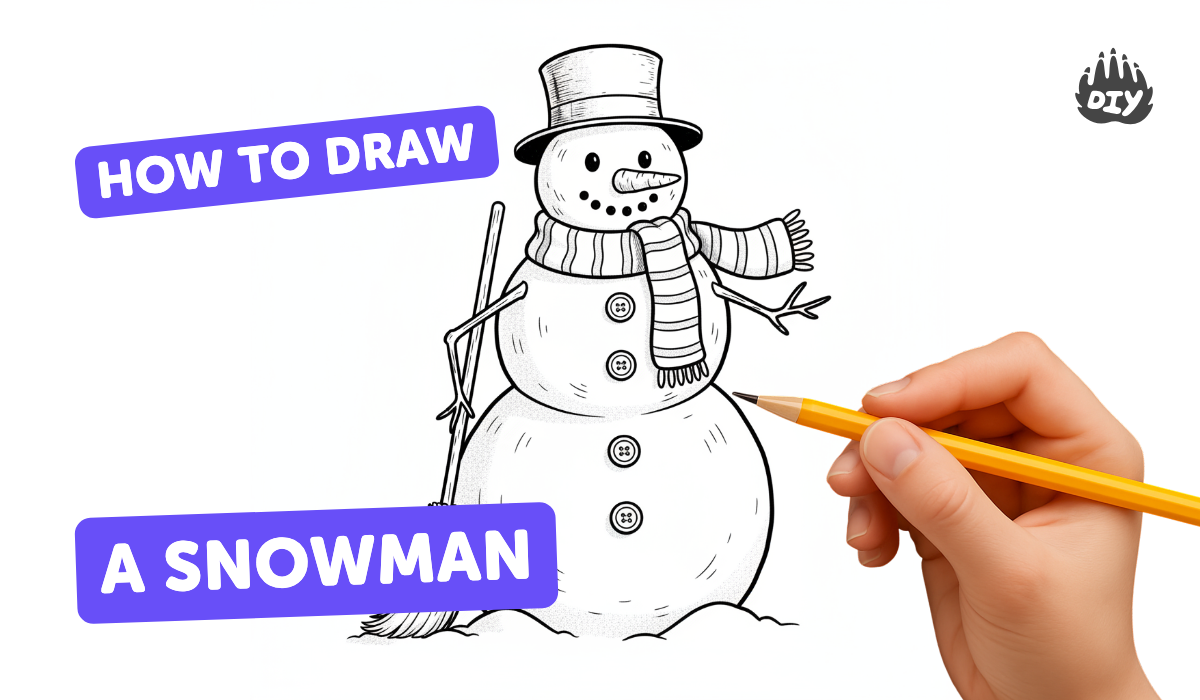
How to draw a snowman - a free snowman drawing guide
Draw a freestanding snowman using simple shapes, shading, and details like hat, scarf, buttons, and carrot nose to practice proportions and line work.

Drawing Apps
Get inspired with these


Instructions
How To Draw A Snowman
Step 1
Gather your materials and sit at a flat table so you are ready to draw.
Step 2
Lightly draw a straight horizontal ground line near the bottom of the paper to show where your snowman will stand.
Step 3
Draw a large circle that rests on the ground line to make the bottom snowball.
Step 4
Draw a medium circle above the large one so it slightly overlaps to become the torso.
Step 5
Draw a small circle on top of the medium circle to make the head.
Step 6
Erase the extra inside lines where the circles overlap so the three snowballs look joined smoothly.
Step 7
Draw two stick arms coming out from the middle circle using simple lines with small branches.
Step 8
Draw a hat on top of the head using rectangles or a rounded top shape.
Step 9
Draw the face by adding two eyes a carrot-shaped nose and a smiling mouth on the head.
Step 10
Draw three buttons down the front of the torso in a straight line.
Step 11
Draw a scarf around the neck area by sketching a band and one loose end hanging down.
Step 12
Lightly shade one side of each snowball to show roundness and make your snowman look 3D.
Step 13
Trace your final lines with a black pen or darker pencil so the drawing stands out.
Step 14
Color the hat scarf buttons and nose with your coloring materials to finish your snowman.
Step 15
Share a photo of your finished snowman on DIY.org so others can see your cool creation.
Help!?
I don't have a black pen or special coloring materials—what can I use instead?
Use a darker pencil, charcoal stick, or a dark crayon to trace your final lines and substitute colored pencils, washable markers, or scraps of colored paper glued onto the hat, scarf, buttons, and nose for coloring.
My circles look lopsided or the overlaps don't blend—how can I fix that?
Redraw the three circles lightly using the ground line as a guide, erase the extra inside overlap lines carefully so the snowballs join smoothly, and adjust sizes before tracing with a pen so the torso and head sit centered on the bottom circle.
How can I adapt this drawing activity for different ages?
For toddlers, simplify to stamping or tracing big circle shapes and coloring the hat and scarf; for elementary kids, follow all steps including shading; and for older kids, add detailed shading, texture, and more complex accessories before tracing and coloring.
How can we make the snowman more unique or challenging once the basic drawing is done?
Personalize your snowman by adding background details like trees and falling snow, giving it different hats or expressions, gluing on fabric or glitter for the scarf and buttons, or creating a whole snowman family to photograph and share on DIY.org.
Related videos
How To Draw A Snowman
4 Videos

How To Draw A Snowman
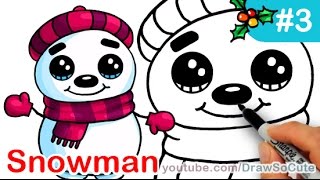
How to Draw Snowman Cute Step by step Easy Christmas Special
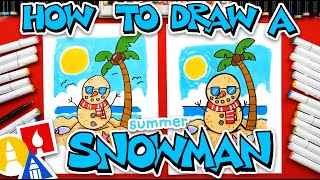
How To Draw A Summer Snowman
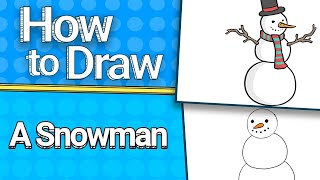
How to Draw a Snowman ⛄️
Fun Facts
⛄ Snowmen are usually made from three stacked snowballs — big base, medium body, small head — which makes proportion practice easy.
🥕 Carrots became a popular snowman nose because they're bright, sturdy, and easy to push into snow.
🎩 The classic snowman look (top hat and scarf) was popularized by stories and songs like Frosty the Snowman.
✏️ Artists often begin with simple shapes (circles and ovals) to block in proportions before adding details.
🎨 Shading with light and shadow makes flat circles look round and three-dimensional — perfect for realistic snowballs.
How do I draw a freestanding snowman step by step?
What materials do I need to draw a snowman?
What ages is drawing a freestanding snowman suitable for?
What are the benefits of drawing a snowman for kids?
