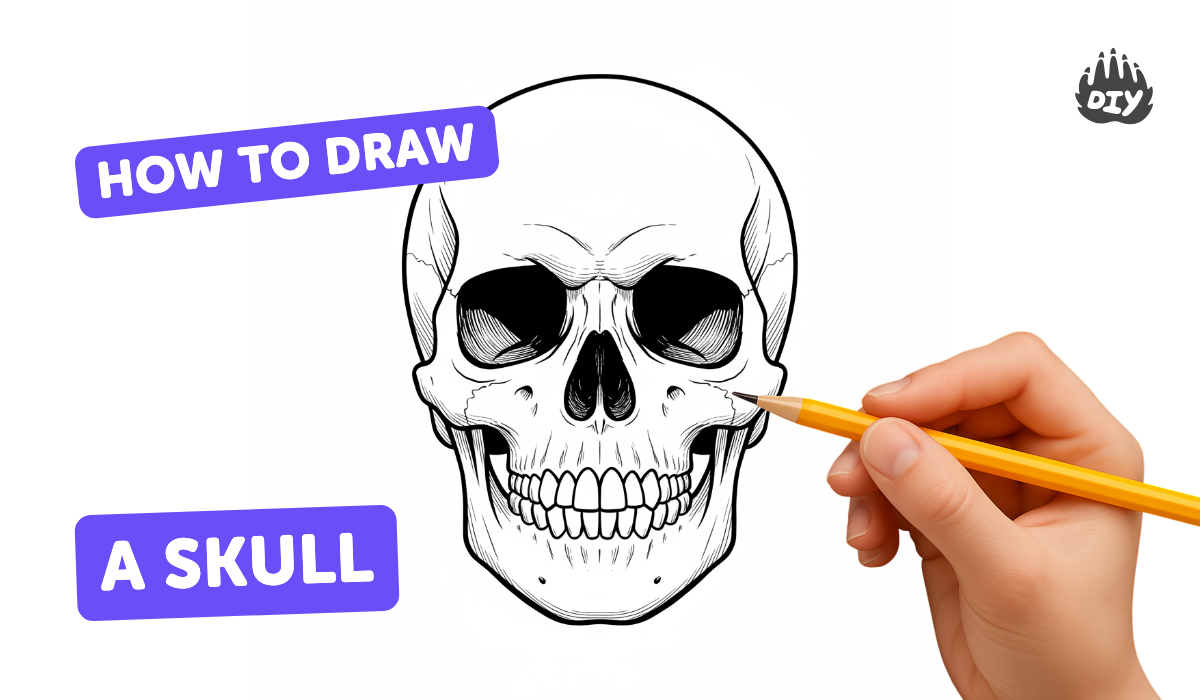
How to draw a skull - a free skull drawing guide
Draw a simple human skull step by step using pencil and paper, learning basic shapes, proportions, and gentle shading to create a recognizable skull.

Drawing Apps
Get inspired with these


Instructions
How To Draw A Skull (for kids)
Step 1
Gather the materials listed and sit at a flat table ready to draw.
Step 2
Lightly sketch a large oval in the middle of the paper to make the skull's main shape.
Step 3
Draw a vertical center line straight down the middle of the oval to help place features.
Step 4
Draw a horizontal line halfway down the oval to mark where the eye sockets will sit.
Step 5
On the left side of the center line draw one large rounded eye socket shape.
Step 6
On the right side of the center line draw a matching rounded eye socket shape.
Step 7
Draw a small upside-down heart or triangle on the center line below the eye line to make the nasal cavity.
Step 8
Sketch two curved lines from each side of the oval toward the nose to show the cheekbone hollows.
Step 9
Draw two short downward lines from the cheekbones and join them with a soft U shape to form the jaw and chin.
Step 10
Draw a light horizontal line across the upper jaw to mark the top of the teeth row.
Step 11
Add several short vertical lines along that horizontal line to indicate individual teeth.
Step 12
Shade gently inside the eye sockets the nasal cavity and under the cheekbones using light pencil strokes and blend with a tissue for soft shadows.
Step 13
Erase the center and guide lines that you no longer need and darken the skull's final outlines where needed.
Step 14
Take a picture of your finished skull and share your creation on DIY.org.
Help!?
What can I use instead of a tissue to blend the shadows in the eye sockets and under the cheekbones?
Use a clean fingertip, a cotton ball, or a folded paper towel to softly blend the light pencil strokes inside the eye sockets, nasal cavity, and under the cheekbones.
My eye sockets look uneven or the jaw is lopsided—how do I fix that?
Lightly erase the offending side and re-sketch using the vertical center line and the horizontal eye line as guides to realign the matching rounded eye socket or the jaw's soft U shape.
How can I adapt this skull drawing activity for younger kids or older kids?
For younger children simplify by drawing only the large oval, two big rounded eye sockets and a triangle nose, while older kids can add the short vertical tooth lines, softer blended shadows with a tissue, and darker final outlines for realism.
How can we extend or personalize the finished skull before sharing it on DIY.org?
Add decorative cracks or patterns around the cheekbone hollows, color the teeth or eye sockets with colored pencils, darken and stylize the final outlines, then take a picture of your finished skull to share on DIY.org.
Related videos
How To Learn Drawing Skulls
4 Videos
How To Learn Drawing Skulls
How to Draw a Skull and Cross Bones Easy

How To Draw A Skull And Crossbones

How To Draw A Realistic Skull And Crossbones
Fun Facts
🦴 An adult human skull is made of 22 bones — babies start with softer spots called fontanelles!
💀 Artists have long studied skulls to learn face proportions — it’s the face’s scaffolding.
✏️ Most skull drawings start from a few simple shapes: circles, ovals and rectangles.
🧠 The eye sockets are large openings; shading them darker helps a skull look three-dimensional.
🎨 Soft shading and gentle hatching with a pencil can turn a flat outline into a realistic skull.
How do I draw a simple human skull step by step?
What materials do I need to draw a skull?
What ages is this skull drawing activity suitable for?
What are the benefits and safety tips for kids drawing skulls?
