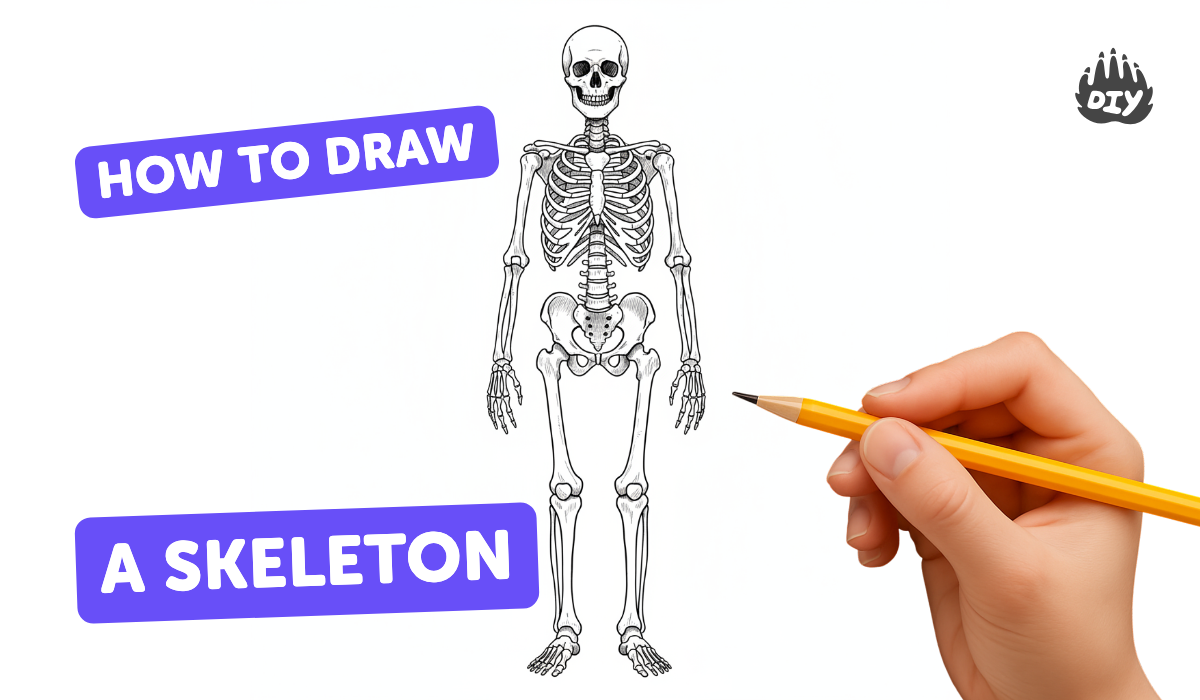
How to draw a skeleton - a free skeleton drawing guide
Draw a friendly human skeleton step by step using simple shapes and guides. Practice proportions, bone names, and shading to create a finished sketch.

Drawing Apps
Get inspired with these


Instructions
How To Draw A Skeleton Step By Step | Skeleton Drawing EASY | Super Easy Drawing Tutorials
Step 1
Gather all your materials and find a flat spot to draw.
Step 2
Lightly draw a vertical center guide line down the middle of your paper.
Step 3
Draw a friendly round circle at the top of the line for the skull.
Step 4
Use your pencil to measure the skull height and make six small marks evenly down the center line for head-length units.
Step 5
Sketch an egg-shaped ribcage around the top two head-unit marks.
Step 6
Draw a bowl-shaped pelvis around the middle head-unit mark.
Step 7
Draw a gentle curved line from the skull down to the pelvis to make the spine.
Step 8
Draw straight lines for the arms and legs and add small circles at the shoulders elbows hips and knees to show joint guides.
Step 9
Turn the arm guides into bone shapes by drawing long rounded bones for the humerus and two long bones for the radius and ulna in each arm.
Step 10
Turn the leg guides into bone shapes by drawing a long femur and two lower leg bones for the tibia and fibula and add simple foot shapes.
Step 11
Add skull details by drawing simple eye sockets a smiling jawline and a few teeth lines.
Step 12
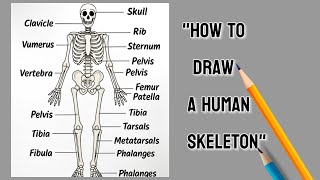
Lightly label the major bones on your drawing: skull clavicle ribcage spine pelvis humerus radius ulna femur tibia fibula.
Step 13
Choose a light source and add soft shading on the side away from the light to make the bones look round.
Step 14
Erase the center guide marks and any extra construction lines to tidy your sketch.
Step 15
Share your finished skeleton drawing on DIY.org.
Help!?
If we don't have a ruler or special shading pencils listed in 'gather all your materials', what can we use instead?
Use the straight edge of a book or folded paper to draw the vertical center guide line and mark head-length units, and use a regular pencil with light hatching or a cotton swab to smudge for the soft shading step.
My ribcage and pelvis look out of proportion after measuring six head units—how do I fix the drawing?
Re-measure the skull height with your pencil, make sure the six small marks are evenly spaced, then redraw an egg-shaped ribcage around the top two head-unit marks and a bowl-shaped pelvis around the middle head-unit mark while smoothing the spine curve between them.
How can I adapt this skeleton activity for different ages?
For younger children skip the six head-unit measurement and use simple round skull, egg ribcage and bowl pelvis shapes with only a few labels, while older kids should follow the full measuring steps, add clavicle and jawline details, and practice soft shading away from a chosen light source.
What are easy ways to extend or personalize the finished skeleton drawing before sharing on DIY.org?
Cut out bone shapes along your drawn bone lines, attach them at the shoulder, elbow, hip and knee guide circles with brass fasteners to make a movable skeleton, or color and add a background scene before photographing it to share on DIY.org.
Related videos
How to Draw a Skeleton for kids | Skeleton Drawing Cartoon
4 Videos
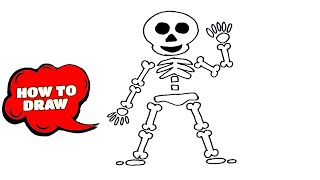
How to Draw a Skeleton for kids | Skeleton Drawing Cartoon
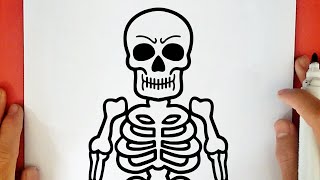
How To Draw A Skeleton Step By Step 💀🦴 Skeleton Drawing Easy
HOW TO DRAW A SKELETON
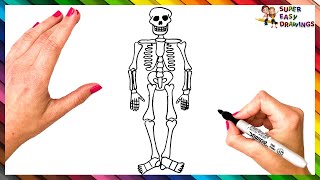
How to Draw a Human Skeleton Step by Step | Easy Skeleton Drawing Tutorial | Biology Diagram Project
Fun Facts
🦴 The adult human skeleton has 206 bones — a great number to simplify into basic shapes when you draw!
👶 Babies are born with about 270 bones that fuse together as they grow into adults.
🦻 The tiniest bone is the stapes in the middle ear — it's smaller than a grain of rice.
🔁 Bones are living tissue that constantly remodels: they can heal, grow, and get stronger with use.
⚖️ Your skeleton gives your body shape and support and makes up roughly 15% of your body weight.
How do I draw a friendly human skeleton step by step with my child?
What materials do I need to draw a friendly skeleton with my child?
What ages is this skeleton drawing activity suitable for?
What are the benefits of drawing a friendly human skeleton for kids?
