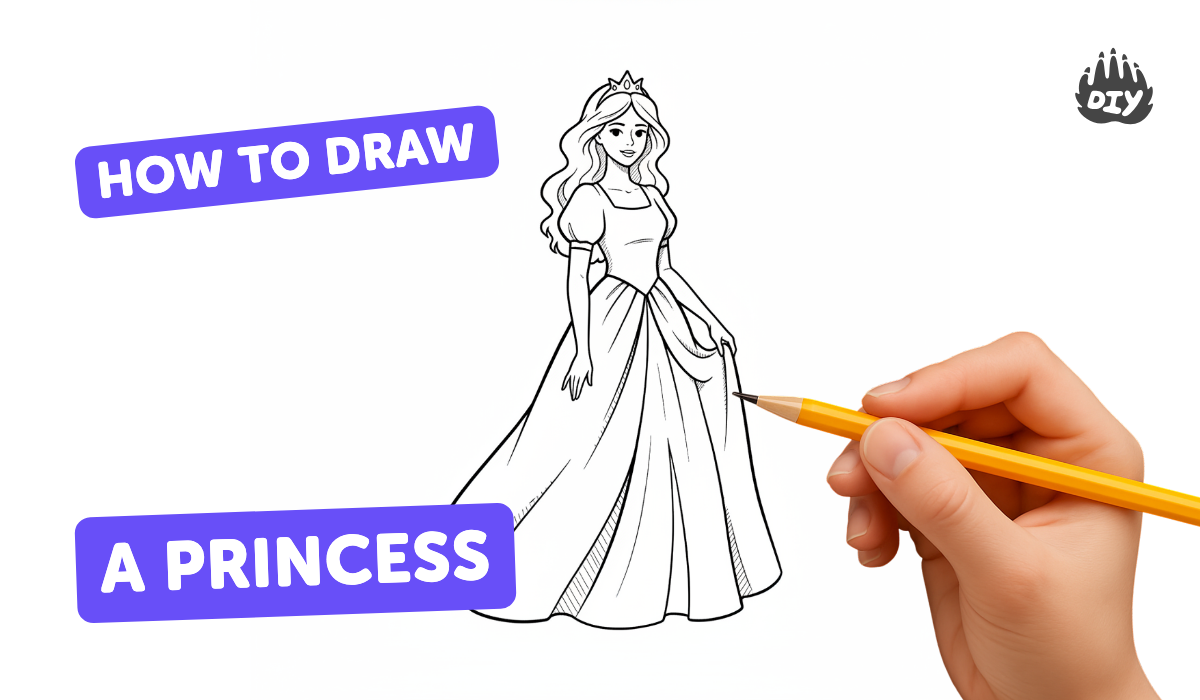
How to draw a princess - a free princess drawing guide
Draw a princess step by step using simple shapes to build proportions, add facial expressions, clothing details, and color. Practice varying poses and patterns.

Drawing Apps
Get inspired with these


Instructions
How To Draw a Princess For Kids Step by Step !
Step 1
Gather your paper pencil eraser black marker and colouring materials so everything is ready.
Step 2
Lightly draw an oval for the princess’s head near the top of the paper.
Step 3
Draw a light cross guideline inside the head to mark the center and the eye line.
Step 4
Draw a short neck line under the head to connect the head to the body.
Step 5
Draw a small oval under the neck for the upper body or torso.
Step 6
Draw a bell-shaped skirt or dress around the torso to set the princess’s proportions.
Step 7
Sketch simple arm lines coming from the shoulders in the pose you like.
Step 8
Sketch simple leg lines under the skirt in a standing or stepping pose.
Step 9
Draw eyes on the horizontal guideline using simple shapes like circles or ovals.
Step 10
Draw a small nose and a smiling mouth to give your princess an expression.
Step 11
Draw hair around the head and add a small crown or headband on top.
Step 12
Add clothing details and patterns to the dress using stripes circles or little frills.
Step 13
Trace over the final lines with a black marker or a darker pencil to make your drawing bold.
Step 14
Erase the light pencil guidelines and any extra sketch marks so the picture is clean.
Step 15
Colour your princess with your colouring materials and then share your finished creation on DIY.org
Help!?
What can we use if we don't have a black marker or certain colouring materials?
If you don't have a black marker, trace the final lines (step 13) with a dark pencil or fine-tip pen, and swap in crayons, colored pencils, watercolor, or stickers for the 'colouring materials' step.
My princess looks lopsided or the eyes are uneven—what should we fix?
Redraw the light cross guideline inside the head (step 2) and lightly erase and adjust the head, neck line, and torso ovals (steps 2–4) before you trace with marker so proportions and the eye line align.
How can I adapt this drawing activity for different ages or skill levels?
For younger children, simplify by pre-drawing the oval head and bell-shaped skirt for them to trace and colour, while older kids can add detailed clothing patterns, hair textures, and shading in step 12 before tracing.
How can we make the princess more unique or turn this into a longer project?
Personalize the princess by adding backgrounds, accessories, and unique dress patterns from step 12, use mixed media like fabric scraps or glitter during colouring, and then photograph the finished piece to share on DIY.org as suggested.
Related videos
🎨 how to draw CUTEST princess / step by step drawing tutorial for kids
4 Videos
🎨 how to draw CUTEST princess / step by step drawing tutorial for kids
How To Draw A Beautiful Princess Step by Step 👸🎨 Princess Drawing Easy For Kids #drawingforkids
👸 How to Draw a Simple Princess | Step-by-Step Lesson 🏰

👑 Easy Princess Drawing Tutorial for Kids 🎨
Fun Facts
👑 Many famous princess designs in stories and animation borrow details from real historical royal fashions like gowns, crowns, and trims.
✏️ A handy drawing tip: the eyes usually sit about halfway down the head and are roughly one eye-width apart — perfect for balanced faces.
✨ Artists often build characters from simple shapes (circles, ovals, rectangles) to get proportions right before adding details.
🎨 Color choices change a character's mood — warm colors feel energetic and friendly, while cool colors feel calm or mysterious.
👗 Small costume tweaks (sleeves, patterns, trims) can make the same princess design look totally different, so practice variations!
How do I draw a princess step by step using simple shapes?
What materials do I need to draw a princess?
What ages is drawing a princess suitable for?
What are the benefits and fun variations of drawing a princess?


