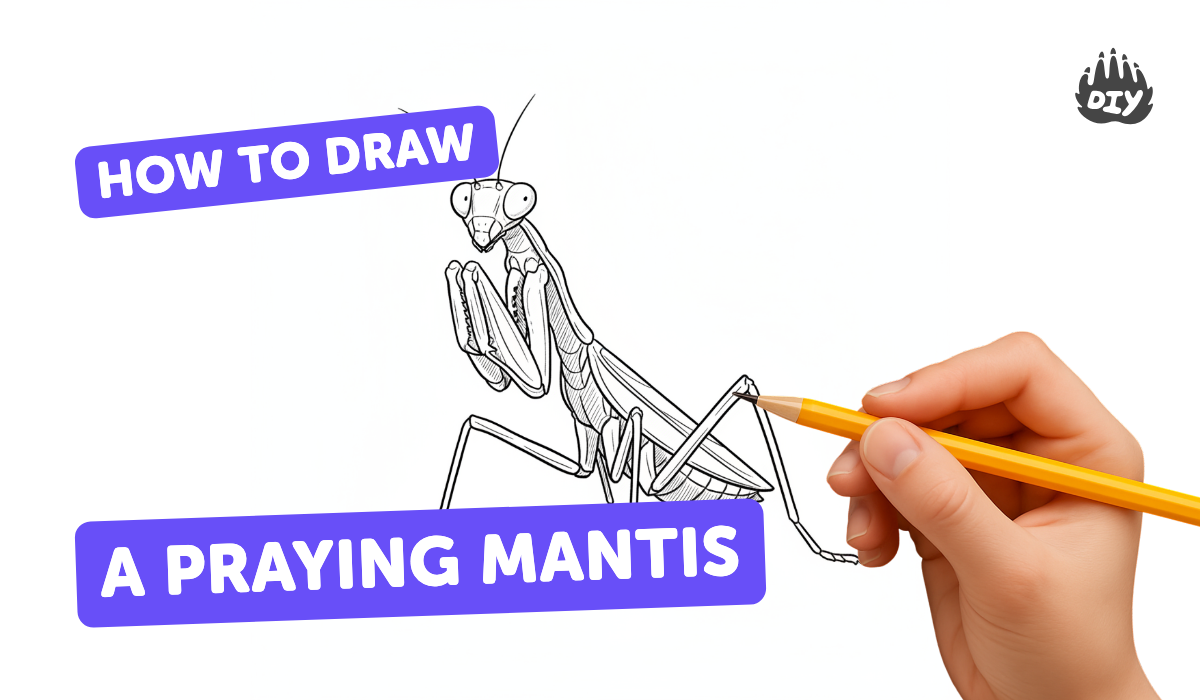
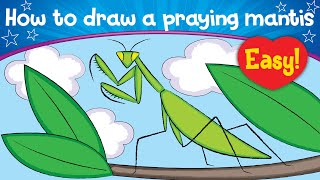
How to draw a praying mantis - a free praying mantis drawing guide
Draw a detailed praying mantis step-by-step using simple shapes to create body, legs, and antennae. Practice observation and fine motor control.

Drawing Apps
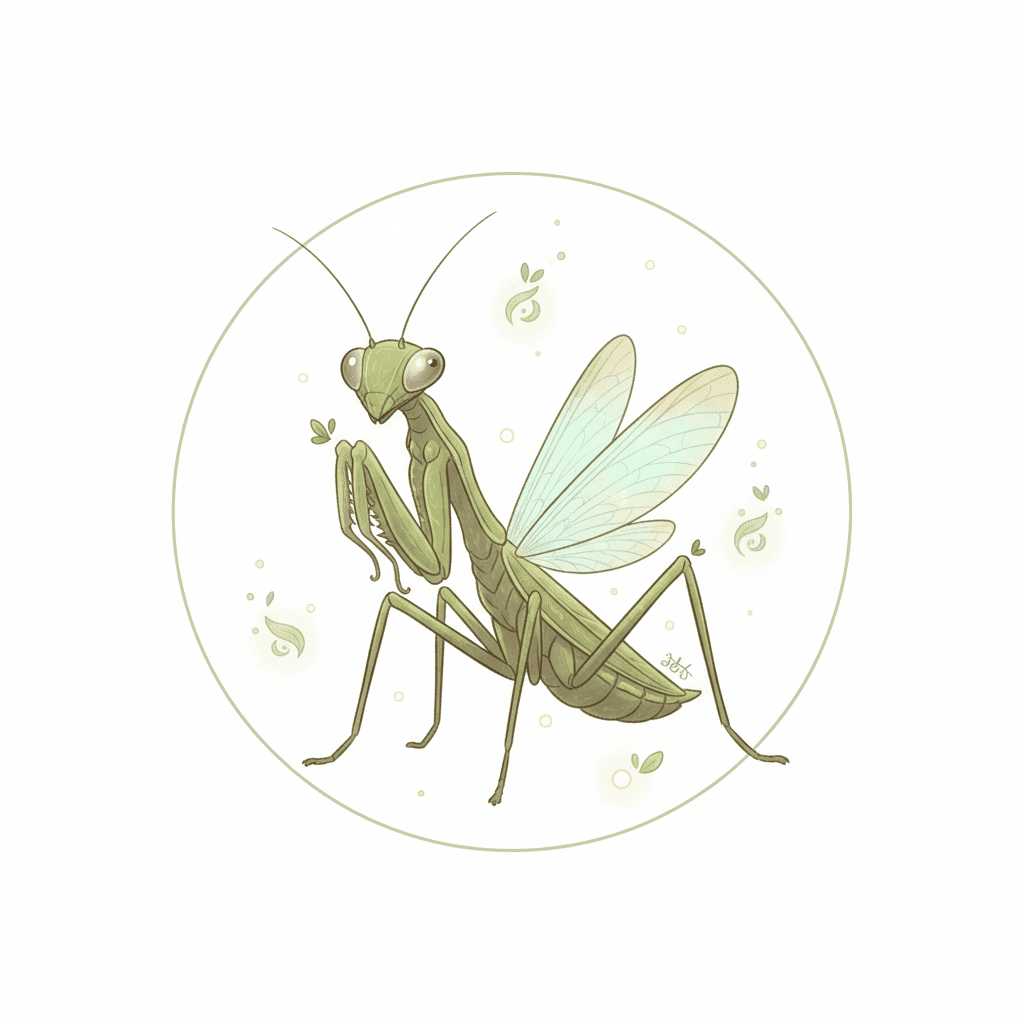
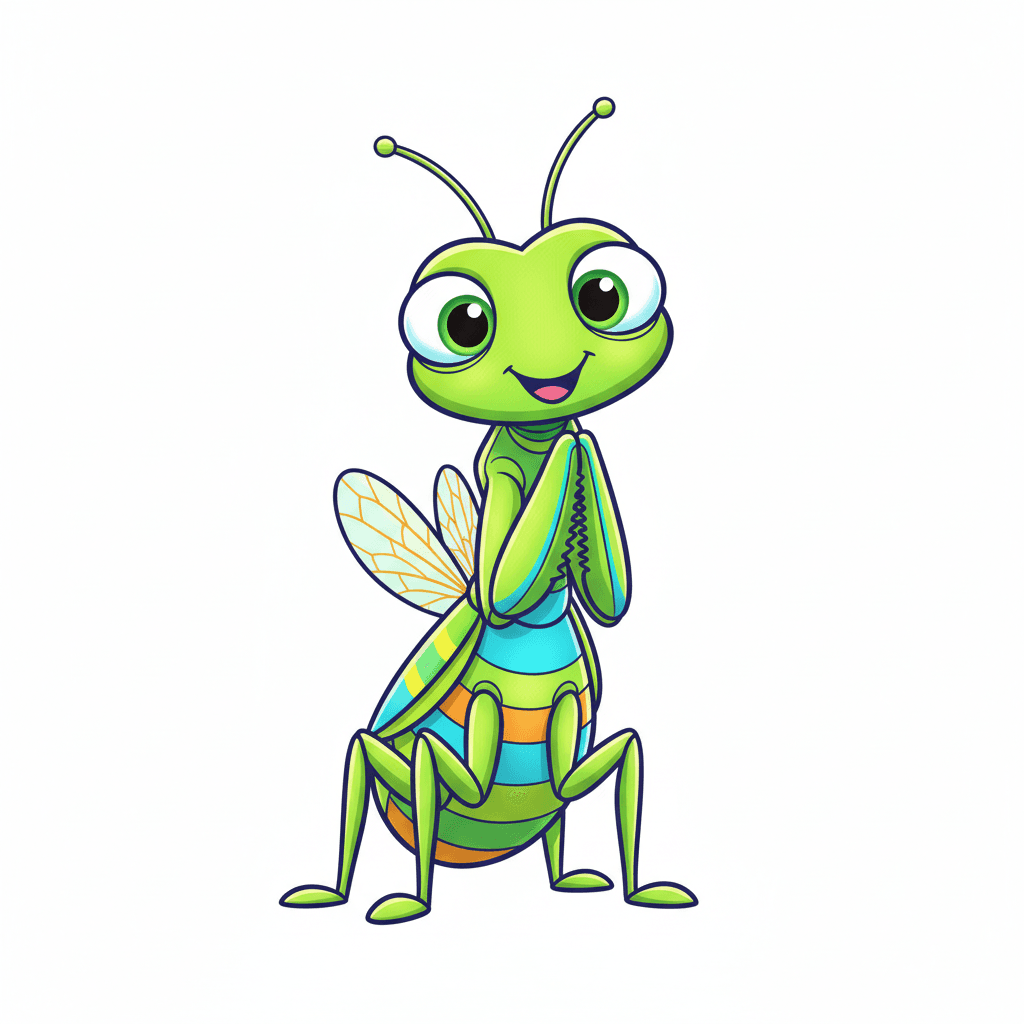
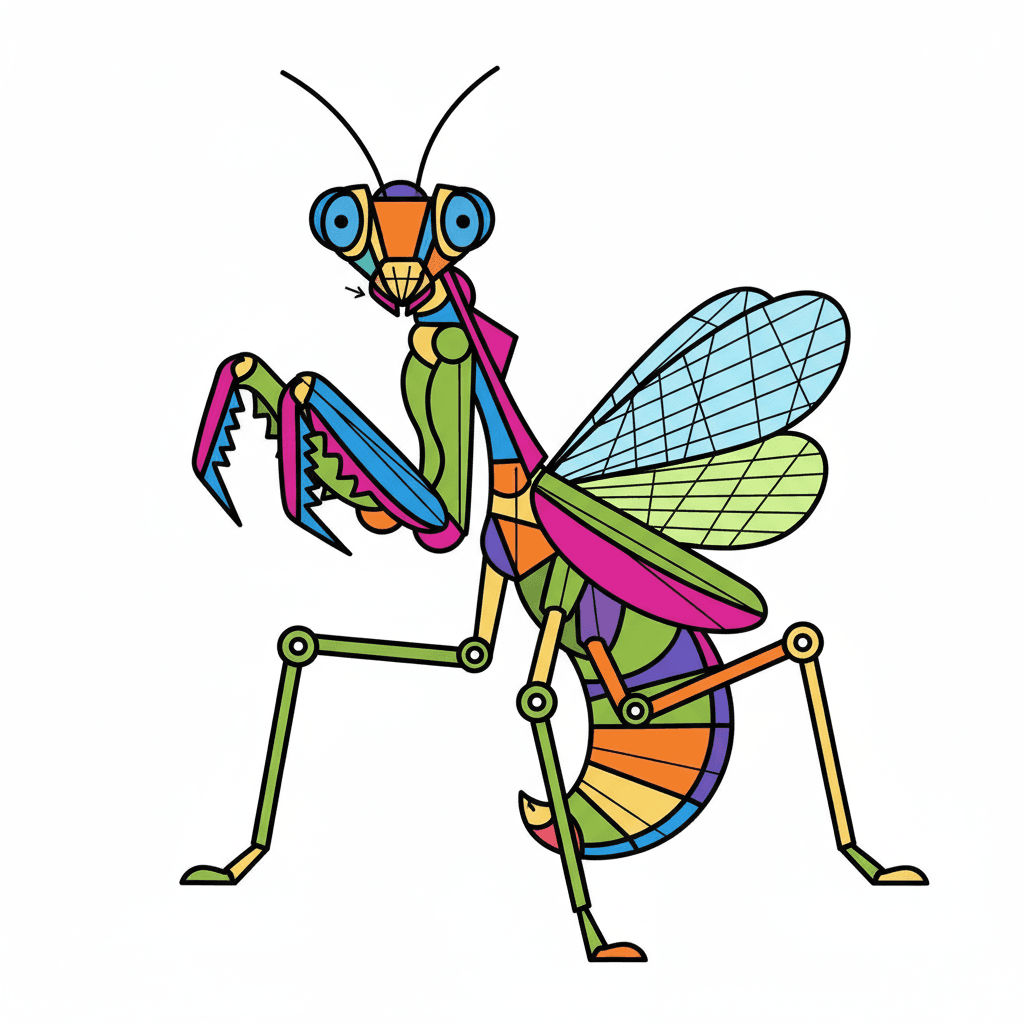
Photos of praying mantis drawing examples
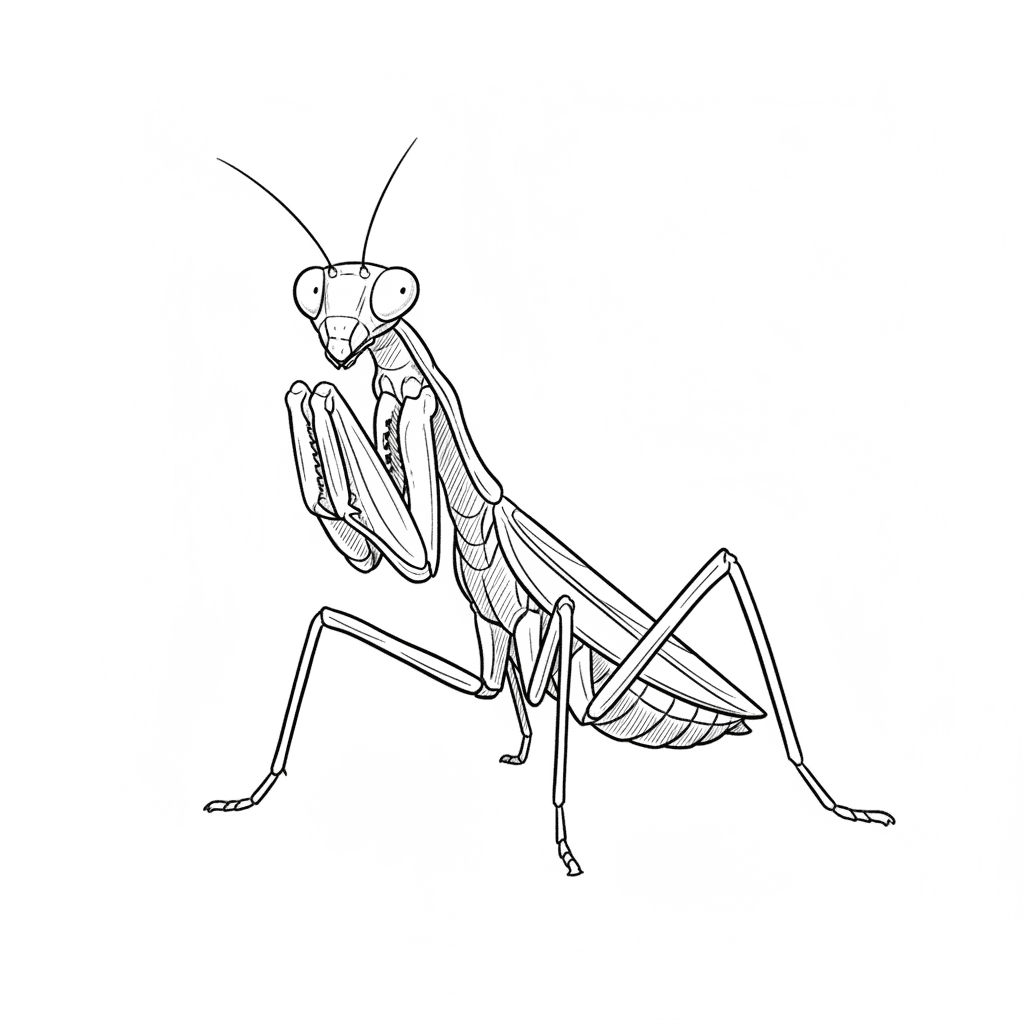


Step-by-step guide to draw a praying mantis
How To Draw A Praying Mantis
Step 1
Pick a clear picture of a praying mantis to look at while you draw.
Step 2
Lightly draw a small circle near the top of your paper for the head.
Step 3
Draw a slightly larger oval touching the circle for the thorax (middle part).
Step 4
Draw a long curved oval attached to the thorax for the abdomen.
Step 5
Draw two long thin curved lines from the top of the head for the antennae.
Step 6
Add two almond-shaped eyes on the head and a small line for the mouth.
Step 7
Sketch two thick bent front legs from the thorax with a clear elbow fold to show the raptorial pose.
Step 8
Draw two middle legs and two hind legs as long segmented lines from the thorax and abdomen.
Step 9
Outline wing shapes along the sides of the abdomen.
Step 10
Add thin vein lines across the wings and short segment lines on the body for texture.
Step 11
Draw small triangular spines along the inner edges of the front legs for detail.
Step 12
Trace the lines you like best with the fine-tip marker to make them bold.
Step 13
Erase the light pencil lines gently and then color your praying mantis using your colouring materials.
Step 14
Share your finished praying mantis drawing on DIY.org.
Help!?
What can we use instead of a fine-tip marker or special colouring materials?
If you don't have a fine-tip marker to 'Trace the lines you like best', use a sharpened dark pencil or ballpoint pen for bold lines and color with crayons or colored pencils from your colouring materials.
My mantis's front legs look stiff or the proportions are wrong — how can we fix that?
If the two thick bent front legs lack a clear elbow fold or the head/thorax/abdomen look out of proportion, redraw using light guide shapes (small circles and joint lines) while comparing to your reference photo before tracing and erasing.
How can I adapt this drawing activity for different age groups?
For younger children, simplify to the basic small circle for the head, oval thorax and long abdomen and skip fine steps like 'Add thin vein lines across the wings' and 'Draw small triangular spines', while older kids can add detailed wing veins, body texture lines, and shading before tracing.
How can we extend or personalize the praying mantis drawing after coloring?
After you 'Erase the light pencil lines gently and then color', cut out the colored mantis and glue it onto a painted leaf background or add a watercolor wash to the wings and extra vein/spine details before sharing on DIY.org.
Watch videos on how to draw a praying mantis
HOW TO DRAW A PRAYING MANTIS - KIDS VERSION | STEP BY STEP BASICS EASY DRAWING | PENCIL SKETCH
4 Videos
HOW TO DRAW A PRAYING MANTIS - KIDS VERSION | STEP BY STEP BASICS EASY DRAWING | PENCIL SKETCH
How To Draw A Praying Mantis
How To Draw A Praying Mantis | Step By Step
Draw a Praying Mantis - Easy! Step-by-Step Drawing for Kids #arttutorialsforkids #beginnerdrawing
Facts about insect anatomy for drawing
🦗 Praying mantises can rotate their heads up to 180° to scan their surroundings — like a real-life tiny periscope!
👀 Mantises have compound eyes with thousands of lenses, giving them excellent depth perception for hunting and seeing movement.
✂️ Their front legs are raptorial (built like little scissors) and snap shut quickly to catch prey — great to study when drawing leg joints.
🎨 Many artists begin drawings with simple shapes (circles, ovals, lines) — the same trick works for drawing a detailed mantis step-by-step.
✏️ Practicing small details like segmented legs and thin antennae helps build fine motor skills and observation, even after a few short drawing sessions.
How do you draw a praying mantis step-by-step?
What materials do I need to draw a praying mantis?
What ages is drawing a praying mantis suitable for?
What are the benefits of drawing a praying mantis for children?


