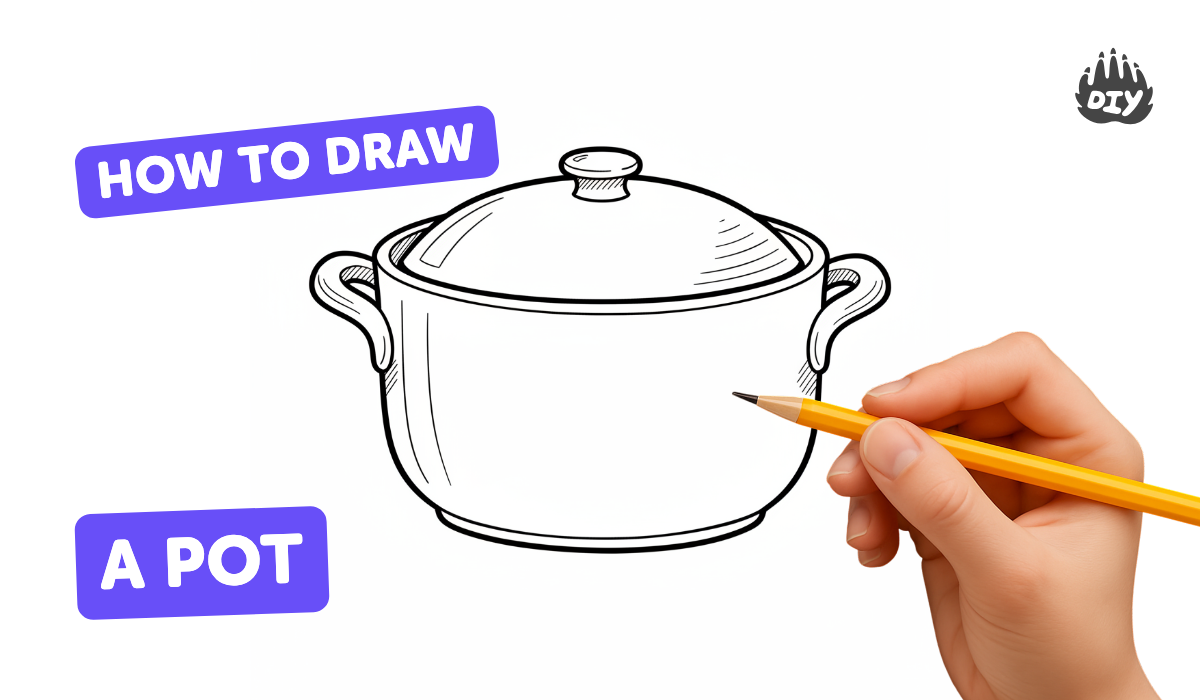
How to draw a pot - a free pot drawing guide
Draw a simple flower pot step by step using basic shapes, lines, and shading to learn proportions, perspective, and decorative techniques.

Drawing Apps
Get inspired with these


Instructions
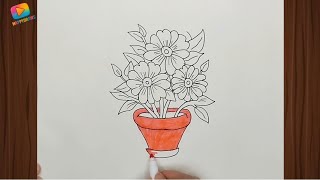
How To Draw A Pot Step By Step - Pot Drawing Easy
Step 1
Place a sheet of paper in front of you in portrait orientation.
Step 2
Lightly draw a horizontal line near the bottom of the page to show the table surface.
Step 3
Lightly draw a wide oval above the horizontal line to make the top rim of the pot.
Step 4
From the left and right edges of the oval draw two gently curved vertical lines down to form the pot sides.
Step 5
Connect the bottom of those curved lines with a shallow curve to close the pot base.
Step 6
Draw a smaller oval inside the top rim to show the pot opening.
Step 7
Draw one curved line from inside the pot upward to make a stem.
Step 8
Draw a simple flower head at the top of the stem using a small circle and rounded petals.
Step 9
Draw a horizontal band around the middle of the pot for decoration.
Step 10
Add small shapes like dots stripes or little triangles inside the band to make a pattern.
Step 11
Pick one side of your drawing to be the light source by lightly pointing at that side with your finger.
Step 12
Shade the side of the pot opposite the light source with light pencil strokes to show shadow.
Step 13
Color your pot and flower using your coloring materials to finish the picture.
Step 14
Share your finished flower pot drawing on DIY.org
Help!?
What can we use if we don’t have coloring materials like colored pencils?
Use crayons, markers, watercolor paints, or torn colored-paper scraps to complete the 'Color your pot and flower' step.
My oval or pot sides look uneven — how can I fix that?
Lightly sketch the wide oval and curved vertical lines with very soft pencil strokes, erase and adjust until the top rim and pot sides look balanced, then darken the final lines as described in the 'Lightly draw' steps.
How can I adapt this drawing for different ages?
For preschoolers, use a pre-drawn pot for them to color and stick simple petals, for elementary kids follow every step and add patterns in the band, and for older kids add cast shadow shading opposite the chosen light source and more detailed petal shapes.
How can we enhance or personalize the finished flower pot drawing?
Personalize it by gluing fabric or paper into the decorative band, adding small beads or stickers as the pattern, experimenting with layered watercolor for the pot shading, or photographing and sharing the finished drawing on DIY.org as suggested.
Related videos
✏️ How to Draw a Pot (Step-by-Step)
4 Videos
✏️ How to Draw a Pot (Step-by-Step)
How to Draw a Beautiful Flower Pot | Easy Flower Pot Drawing for Kids & Beginners
How to Draw a Cute Tulip Flower Pot - Easy Step-by-Step for Kids
How to Draw a Flower Pot with Flowers | Easy Step-by-Step Tutorial | HAPPYDRAWS for Kids & Beginners
Fun Facts
🌱 Terracotta flowerpots are named from Italian for “baked earth” — they’ve been used for thousands of years.
🎨 Many objects (like pots) can be built from simple shapes: combine cylinders, cones, and ovals to sketch any container.
📐 Linear perspective was formalized in the Renaissance (1400s) and helps make a flat drawing look three-dimensional.
🖌️ Using just three values — light, midtone, and shadow — can make a flat pot appear perfectly round.
✏️ Artists often use pencil “sighting” (measuring with the pencil at arm’s length) to get object proportions right.
How do I teach my child to draw a simple flower pot step by step?
What materials do I need to draw a flower pot with my child?
What ages is drawing a simple flower pot suitable for?
What are the benefits of drawing a flower pot for kids?


