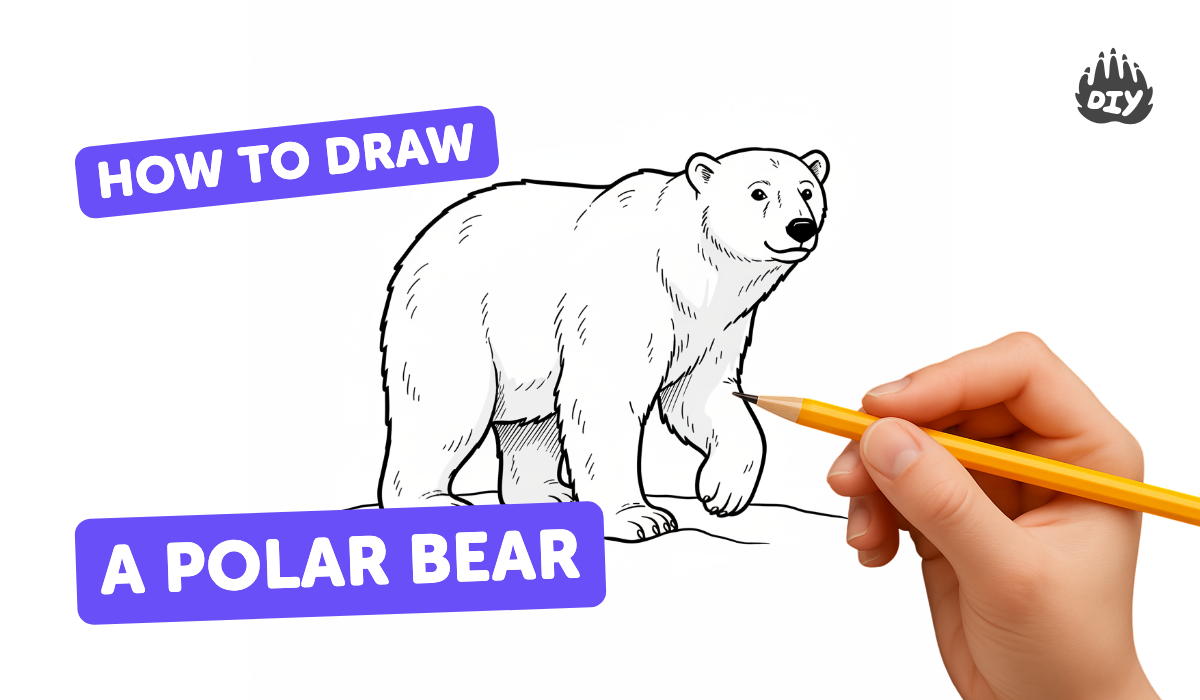
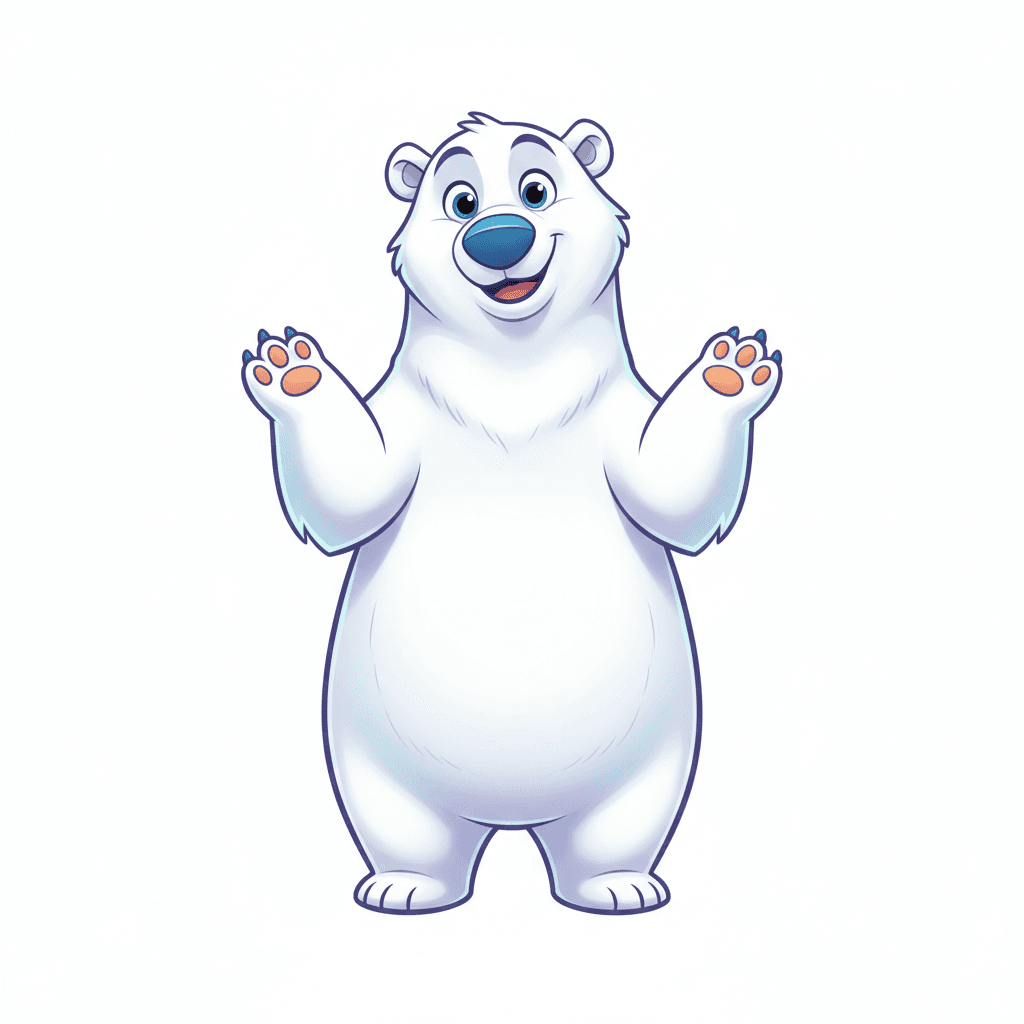
How to draw a polar bear - a free polar bear drawing guide
Draw a realistic polar bear step-by-step using simple shapes, shading, and texture on paper. Learn proportions, observation, and basic sketching techniques.

Drawing Apps
Get inspired with these


Instructions
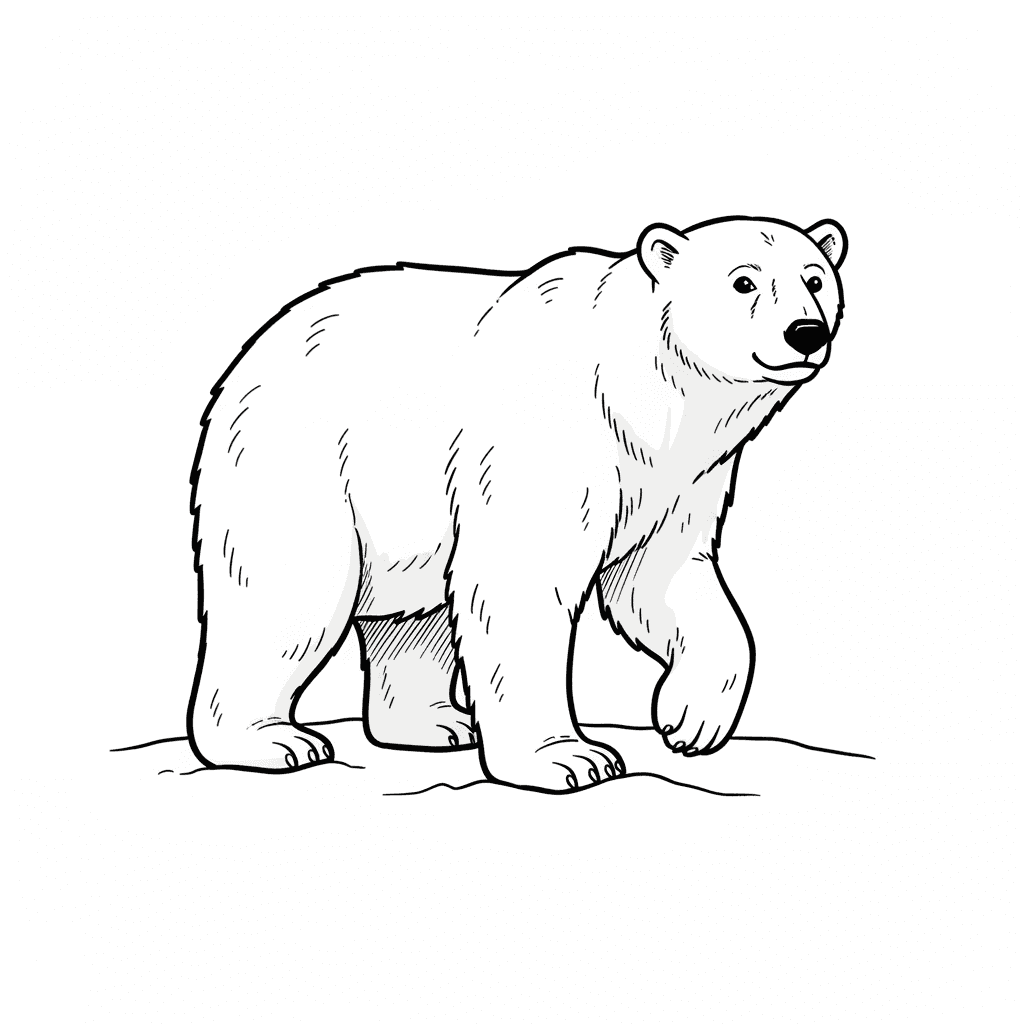
How To Draw A Polar Bear (Realistic)
Step 1
Choose a clear reference photo of a polar bear and place it where you can see it while you draw.
Step 2
Lightly draw a large oval for the body and a medium circle for the head to map the bear’s basic shapes.
Step 3
Draw a vertical centerline and a horizontal eye line on the head circle to mark face placement.
Step 4
Sketch small rounded ovals for the front and back legs to establish the bear’s proportions.
Step 5
Add two small rounded ear shapes on the top of the head and a short cylinder shape for the muzzle.
Step 6
Connect the basic shapes with smooth curved lines to create the bear’s outer contour.
Step 7
Lightly erase or fade the unnecessary construction lines so the contour is clear.
Step 8
Refine the face by drawing the nose, mouth line, and eyes using the head guidelines.
Step 9
Draw short, light fur strokes that follow the body curves to show fur direction and texture.
Step 10
Decide where the light comes from and shade the shadow areas with gradual layers using a softer pencil.
Step 11
Use a blending stump or cotton swab to gently soften the shaded areas while keeping fur texture visible.
Step 12
Gently lift small highlights with your eraser where the light hits the fur to create contrast.
Step 13
Add fine details like eye shine, whiskers, and darker fur accents with a sharp pencil.
Step 14
Erase any remaining stray construction lines and check your proportions for final tweaks.
Step 15
Share your finished polar bear drawing on DIY.org.
Help!?
If I don't have a blending stump or softer drawing pencils, what can I use instead?
Use a cotton swab or a piece of folded tissue to softly blend the shaded areas as described in the 'Use a blending stump or cotton swab' step, and substitute a common 2B or 4B pencil for a softer pencil to build darker, gradual layers.
My polar bear's proportions look wrong after I connected the shapes—what should I do?
Return to the 'lightly draw a large oval for the body and a medium circle for the head' step, erase or fade the contour, adjust the relative sizes and positions of the oval and circle, then reconnect the shapes before refining details.
How can I adapt this activity for younger or older children?
For younger kids simplify to just the clear reference photo and the large oval, head circle, ears and leg ovals from the early steps and use crayons, while older kids should follow all steps including short fur strokes, gradual shading with a softer pencil, blending, and lifting highlights for realism.
What are some ways to extend or personalize the polar bear drawing once it's finished?
After erasing construction lines and adding final details, personalize by drawing an Arctic background or a cub, add color with colored or watercolor pencils, sign the piece, and then photograph and share it on DIY.org as the instructions suggest.
Related videos
How to Draw a Polar Bear for Winter Holiday Easy
4 Videos
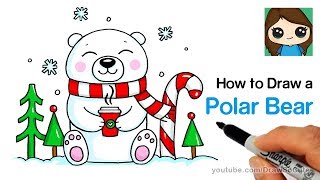
How to Draw a Polar Bear for Winter Holiday Easy
How To Draw Polar Bears

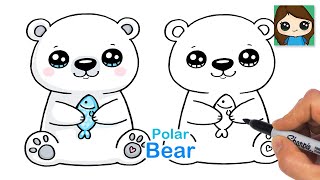
How to Draw a Polar Bear Cute and Easy
How to Draw a Polar Bear Easy 🐟
Fun Facts
🐻 Polar bears are the largest land carnivores — adult males can weigh up to about 700 kg (1,500 lb).
🧊 Polar bear fur is actually made of transparent, hollow hairs and their skin is black to absorb heat.
🎨 Many artists begin realistic animal drawings by blocking in simple shapes (circles, ovals, rectangles) to get proportions right.
✏️ Shading techniques like smooth blending or cross-hatching help turn flat shapes into 3D forms on paper.
🐾 Polar bears have huge, wide paws (about 30 cm across) that are great reference details for realistic sketches.
How do you draw a realistic polar bear step-by-step?
What materials do I need to draw a realistic polar bear?
What ages is this polar bear drawing activity suitable for?
What are the benefits and safety tips when kids draw realistic animals?


