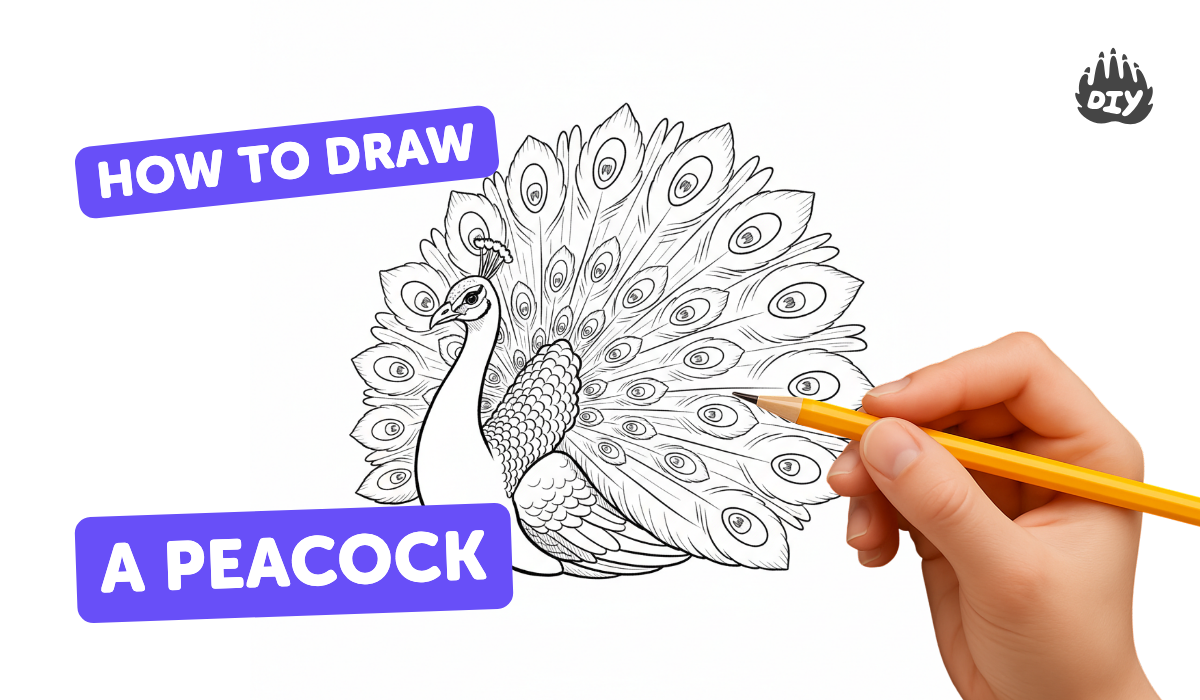
How to draw a peacock - a free peacock drawing guide
Draw a detailed peacock step-by-step: sketch the body, build a fan-shaped tail with patterned feathers, then add color to finish your artwork.

Drawing Apps
Get inspired with these


Instructions
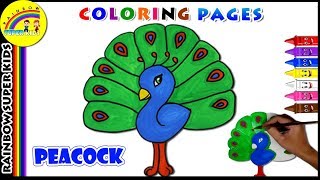
how to draw a peacock step by step in easy method drawing for kids,birds drawing,easy step drawing
Step 1
Put your paper on a flat surface and place your pencil and eraser within reach.
Step 2
Lightly sketch a medium-sized oval in the center of the paper for the peacock body.
Step 3
Draw a smaller circle above the oval to make the peacock head.
Step 4
Connect the head and body with two short curved lines to form the neck.
Step 5
Draw a small triangular beak on the front of the head.
Step 6
Make a tiny circle or dot on the head for the eye.
Step 7
Draw three short curved lines on top of the head to make the crest feathers.
Step 8
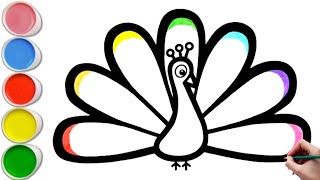
Sketch a large fan-shaped outline behind the body for the tail.
Step 9
Inside the fan outline draw evenly spaced curved guide lines from the tail base to the outer edge to make feather rows.
Step 10
Add an eye-like pattern near the tip of each feather by drawing an oval with a smaller circle inside.
Step 11
Trace over the lines you want to keep with a black pen or fineliner.
Step 12
Let the pen ink dry completely before touching the drawing.
Step 13
Gently erase any remaining pencil lines so only the inked drawing remains.
Step 14
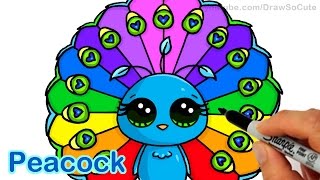
Color your peacock using your coloring materials and add bright patterns to the feathers.
Step 15
Take a photo of your finished peacock and share your creation on DIY.org.
Help!?
What can we use instead of a black pen or fineliner if we don't have one?
Use a dark ballpoint pen, a fine-tipped marker, or a sharpened charcoal pencil to trace the lines instead of a fineliner, but test on scrap paper first to make sure it won't smudge when you erase the pencil lines.
My peacock's tail fan or feathers look uneven; how can I fix them?
If the large fan-shaped outline or the evenly spaced curved guide lines look uneven, lightly redraw the fan and then mark equal spacing by folding the paper or using a ruler from the tail base to the outer edge before adding the eye-like patterns and inking.
How can I adapt this drawing for younger or older kids?
For younger children, simplify by having them color the pencil oval, circle head, and fan-shaped tail without pen tracing, while older kids can add more detailed eye-like patterns on each feather, trace with a fineliner, and use layered coloring techniques before erasing pencil lines.
How can we enhance or personalize the finished peacock?
Enhance your finished peacock by gluing craft feathers or cut paper onto the fan-shaped tail, adding glitter and bright patterns to the eye-like feather tips with your coloring materials, signing your name, and then taking a photo to share on DIY.org.
Related videos
How to Draw a Peacock Step by Step - Easy Kids Drawing Tutorial
4 Videos
How to Draw a Peacock Step by Step - Easy Kids Drawing Tutorial
How to draw a peacock 🦚 for Kids & Toddler || peacock drawing easy step by step || educational video
"Learn How to Draw a Peacock | Step-by-Step Guide for All Ages"
How to Draw Cartoon Peacock Cute step by step
Fun Facts
🦚 A male peafowl (peacock) can have over 150 eye‑like patterns on his fan-shaped train.
✨ The brilliant blues and greens of peacock feathers come from microscopic structures that create structural color, not blue pigments.
🪶 Feathers are made of keratin—the same protein as hair and nails—and peacock tail coverts are specially modified feathers.
💃 Peacocks fan and vibrate their trains in courtship displays to attract mates and can create a low rattling sound while doing it.
🇮🇳 The Indian peafowl is the national bird of India and features widely in South Asian art, myth, and festivals.
How do I draw a detailed peacock step-by-step?
What materials do I need to draw a peacock?
What ages is this peacock drawing activity suitable for?
What are the benefits and simple variations of drawing a peacock?


