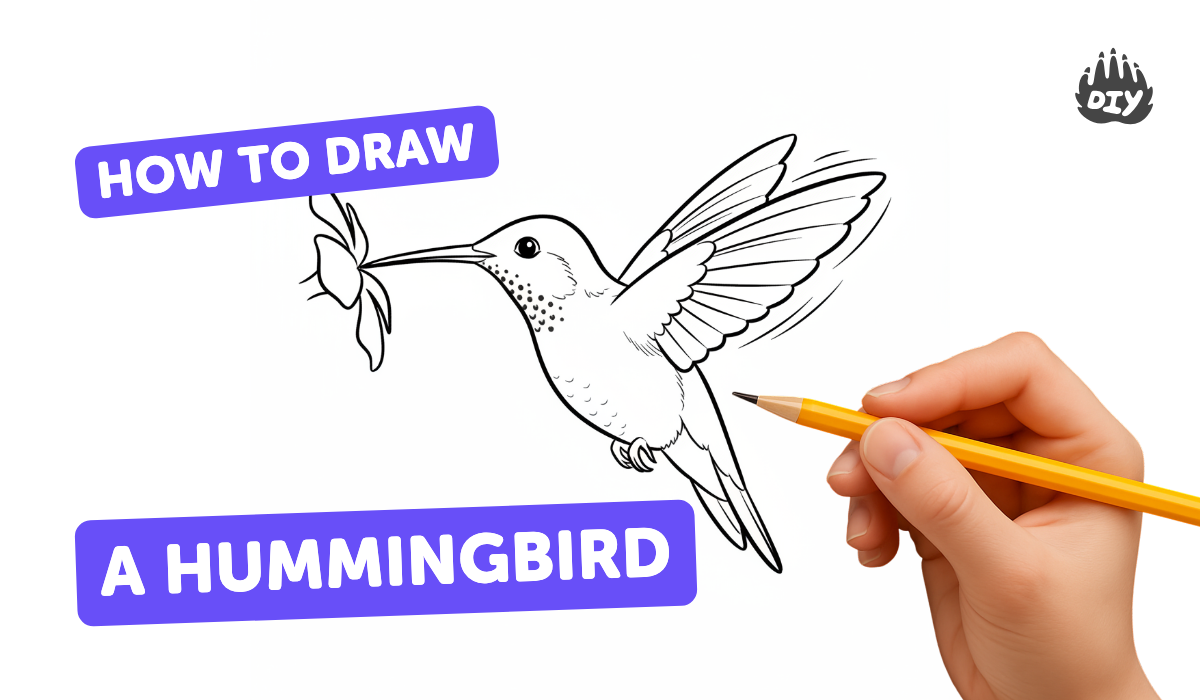
How to draw a hummingbird - a free hummingbird drawing guide
Learn to draw a detailed hummingbird step-by-step using pencil and colored pencils, practicing shapes, proportions, and wing motion to capture its pose.

Drawing Apps
Photos of hummingbird drawing examples


Step-by-step guide to draw a hummingbird
How To Draw A Hummingbird (for young artists)
Step 1
Lightly draw a small circle near the top of your paper to make the hummingbird’s head.
Step 2
Draw a slightly larger oval that touches and overlaps the head circle to make the bird’s body.
Step 3
Sketch a short curved line from the back of the body to show the direction the tail will point.
Step 4
At the end of that line, draw a fan-shaped tail made of 3 to 5 thin elongated feather shapes.
Step 5
From the front of the head circle, draw a long thin pointed beak that sticks out straight.
Step 6
Add a small round eye inside the head circle and leave a tiny white dot inside it for a sparkle.
Step 7
Lightly draw one long curved guideline above the body to show the raised wing’s motion.
Step 8
Lightly draw a second curved guideline below or behind the body to show the tucked or downward wing.
Step 9
On each wing guideline, draw the wing outlines as long curved shapes that end in feather tips.
Step 10
Add feather details by drawing short curved lines along the wings and tail to show feather layers.
Step 11
Trace over the final outer lines of your hummingbird with firmer pencil strokes to refine the shape.
Step 12
Gently erase the light construction lines and extra guidelines so only the clean hummingbird drawing remains.
Step 13
Color your hummingbird with colored pencils using bright colors and light shading to show roundness.
Step 14
Take a photo of your finished hummingbird and share your creation on DIY.org
Help!?
If I don’t have colored pencils, what can I use instead to finish step 13?
If you don’t have colored pencils for step 13, use crayons, watercolor paints, or markers and apply light layers to mimic the shading suggested in the instructions.
My wing shapes look uneven when I trace the final lines in step 12—how can I fix that?
If wings look uneven when tracing in step 12, go back and lightly re-draw the long curved wing guidelines from step 7 and compare both sides before firming up the outer lines.
How can I adapt this drawing activity for younger or older kids?
For younger children, pre-draw the small head circle and oval body and skip steps 7–11, while older kids can add detailed feather lines (step 11) and layered shading (step 13) for realism.
What are simple ways to personalize or extend the hummingbird project after step 13?
After coloring in step 13, personalize the drawing by adding a flower or feeder behind the bird, experiment with iridescent color layers on the wings, and then photograph your finished piece to share on DIY.org as in step 14.
Watch videos on how to draw a hummingbird
How To Draw A Hummingbird
4 Videos
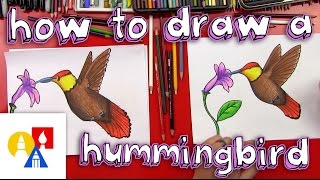
How To Draw A Hummingbird
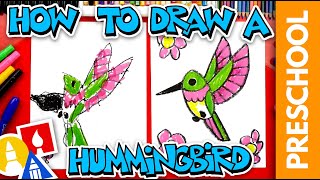
How To Draw A Hummingbird - Preschool
HOW TO DRAW A HUMMINGBIRD ✨ EASY STEP-BY-STEP TUTORIAL

How to Draw a Colourful Hummingbird with Nest | Easy Step-by-Step Art Tutorial#kids
Facts about drawing birds for kids
🐦 Hummingbirds are the only birds that can hover and fly backwards thanks to a unique figure-eight wing stroke.
🍯 Some hummingbirds consume the equivalent of their entire body weight (or more) in nectar each day to fuel their high metabolism.
⚡ Hummingbird wings beat extremely fast—many species flap about 50–80 times per second while hovering.
✏️ Pencil and colored pencil techniques like layering and burnishing help recreate the shimmering, iridescent look of hummingbird feathers.
📐 Artists often begin with simple shapes (ovals for the body, circles for the head, triangles for the beak and tail) to get proportions right before adding details.
How to draw a hummingbird step-by-step
Materials needed to draw a hummingbird
What ages is this hummingbird drawing activity suitable for?
Benefits and variations when drawing a hummingbird
