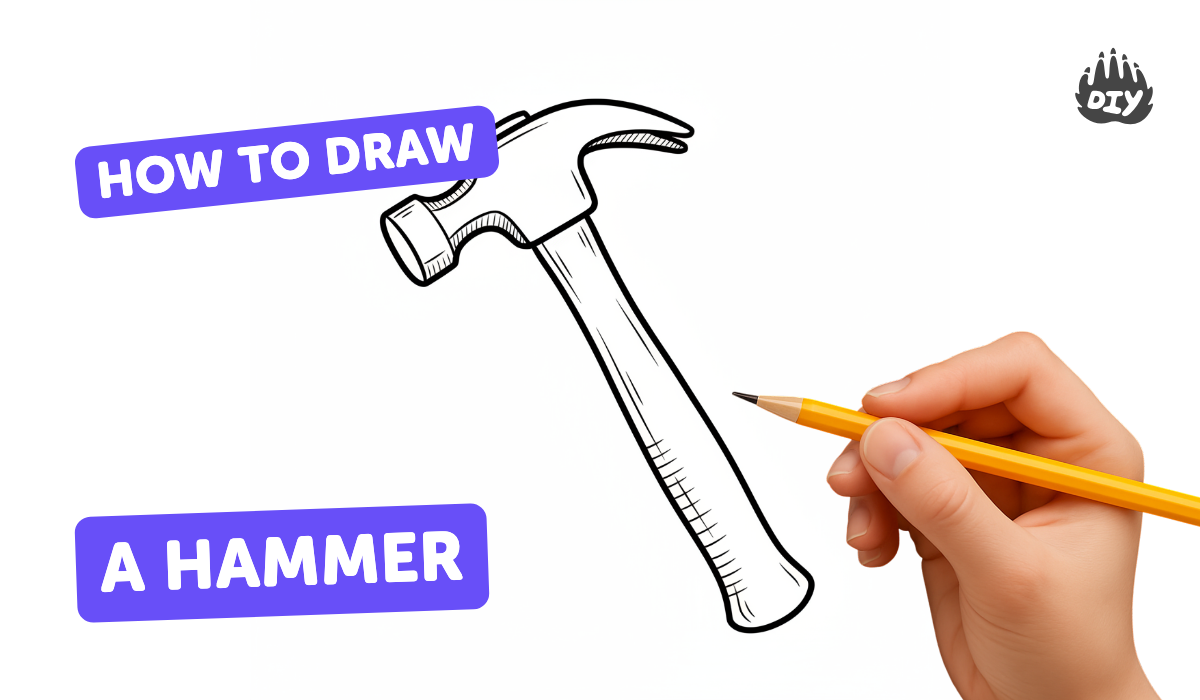
How to draw a hammer - a free hammer drawing guide
Learn to draw a simple hammer step by step using pencil and paper while practicing shapes, proportions, and light shading to make it look realistic.

Drawing Apps
Photos of simple hammer drawing examples


Step-by-step guide to draw a simple hammer
How to Draw a Cute Hammer Step by Step for KIDS
Step 1
Lay your paper on a flat surface and place your pencil and eraser ready to use.
Step 2
Lightly draw a long narrow vertical rectangle down the page to mark the handle guideline.
Step 3
Draw a short horizontal rectangle across the top of the handle to mark where the hammer head will sit.
Step 4
Extend a wider horizontal rectangle from that small rectangle to form the main block of the hammer head.
Step 5
On one side of the head draw a curved U-shape with a thin gap inside to make the claw.
Step 6
On the opposite side draw a slightly rounded rectangle to show the striking face of the hammer.
Step 7
Trace over the outside edges of the handle and head with a firmer line to create the hammer’s final outline.
Step 8
Erase the extra guide lines inside the shape so the hammer looks clean and solid.
Step 9
Add a few thin curved lines along the handle to show wood grain or texture.
Step 10
Shade lightly on one side of the head and along one edge of the handle and blend gently with a tissue or stump to show shadow.
Step 11
Take a photo of your finished hammer drawing and share it on DIY.org.
Help!?
What can I use if I don't have a blending stump or tissue to shade and smudge the hammer?
Use a folded tissue, a cotton swab, or your clean fingertip to gently blend the shaded side of the hammer head and along the edge of the handle as described in step 10.
My hammer head looks uneven or the claw is messy—how do I fix it before tracing the final outline?
Lightly erase and adjust the original handle and head rectangles (steps 2–4), reshape the U-claw keeping the thin gap, and remove stray guide lines before tracing the firmer final outline (steps 7–8).
How can I adapt this drawing activity for younger or older kids?
For younger kids provide pre-drawn rectangle templates to trace the handle and head and let them use a marker for the final outline, while older kids can add detailed wood grain (step 9), stronger shading with a stump (step 10), or experiment with perspective.
How can we make this hammer drawing more creative or advanced before sharing it on DIY.org?
Personalize the drawing by adding colored pencils or markers for the handle, carving a name into the wood grain (step 9), increase contrast and metal texture on the striking face with heavier shading and highlights (step 10), or sketch a workbench background before photographing.
Watch videos on how to draw a simple hammer
How to draw a HAMMER easy
4 Videos
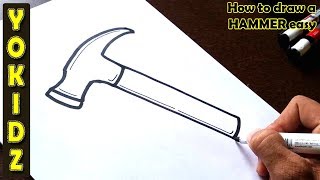
How to draw a HAMMER easy
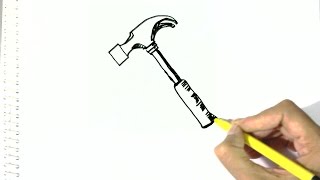
How to draw a Hammer- in easy steps for children. beginners
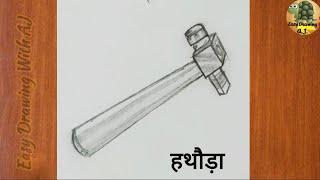
How to Draw a Hammer Step by Step | Easy Hathoda Drawing for Beginners

How to Draw a Hammer | Easy Hammer Drawing for Kids (Step by Step) | Drawing & Coloring Art For Kids
Facts about pencil drawing for kids
🛠️ Hammers are one of humanity's oldest tools—stone hammer-like tools were used by early humans over 2 million years ago.
✏️ The modern graphite pencil was invented in the 16th century and became a core tool for sketching and practice.
🎯 Artists often break objects into basic shapes (cylinders, rectangles, circles) first—it's a simple trick to draw anything more accurately.
🔍 Sighting with your pencil (holding it at arm's length to compare angles and proportions) is a classic trick artists use to match sizes.
🌟 A single light source creates highlight, midtone, and cast shadow—using those three zones makes flat sketches look 3D.
How do I teach my child to draw a hammer step by step?
What materials do we need to draw a simple hammer with pencil and paper?
What ages is this hammer-drawing activity suitable for?
What are the benefits and fun variations of learning to draw a hammer?


