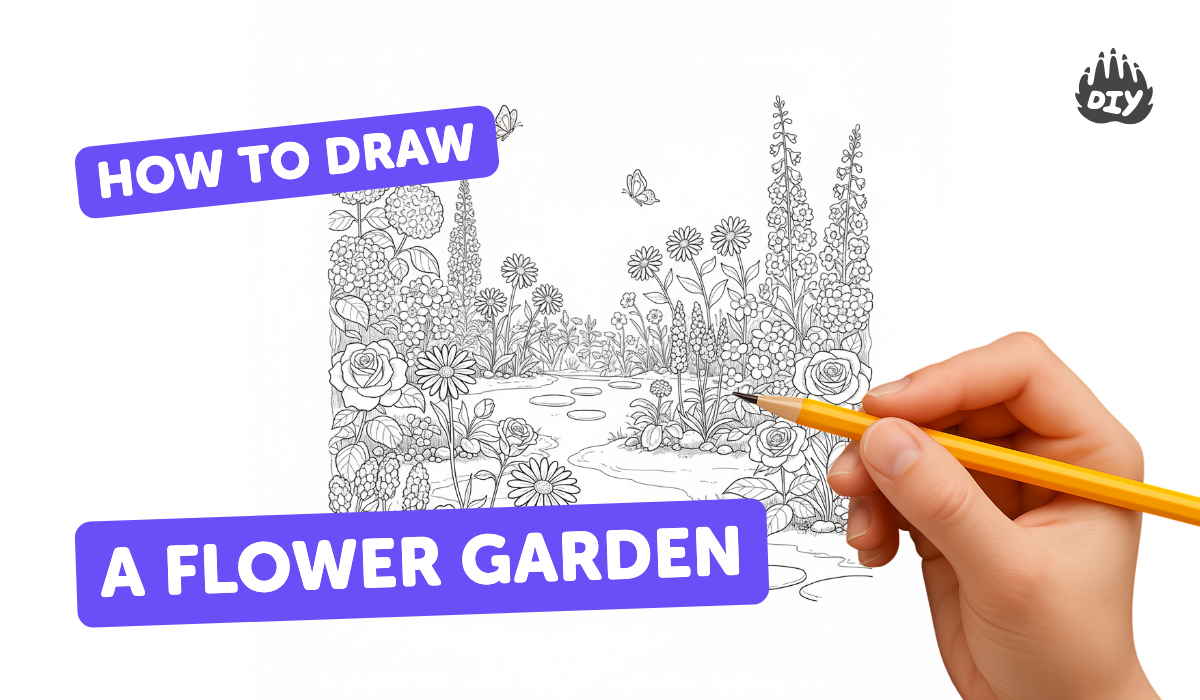
How to draw a flower garden - a free flower garden drawing guide
Draw a colorful flower garden using pencils, crayons, and markers; plan layout, sketch stems and petals, add details and shading to create a lively scene.

Drawing Apps
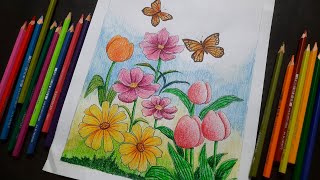
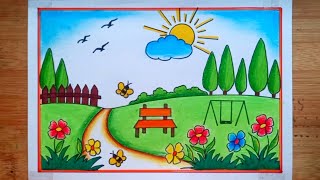
Photos of colorful flower garden drawings


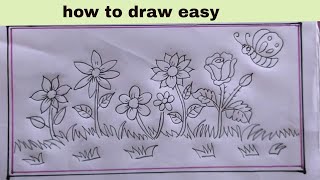
Step-by-step guide to draw a colorful flower garden
How To Learn Flower Garden Drawing Step By Step For Beginners
Step 1
Place your drawing paper flat on the table.
Step 2
Put your pencil and eraser within easy reach.
Step 3
Lightly draw a horizon line or gentle hill across the lower third of the paper to mark the garden ground.
Step 4
Lightly mark circles of different sizes where you want the flower centers to be.
Step 5
Draw a straight or slightly curved line down from each circle to the horizon to make stems.
Step 6
Sketch petals around each circle using simple shapes like ovals hearts or triangles.
Step 7
Add leaves on the stems by drawing long oval or teardrop shapes.
Step 8
Use your eraser to gently remove extra sketch lines and clean up the drawing.
Step 9
Trace over the cleaned pencil lines with a black marker to make the flowers stand out.
Step 10
Color each flower stem and leaf using your colouring materials.
Step 11
Add shading and texture by pressing harder with a darker color near petal bases and using light strokes for highlights.
Step 12
Share your finished flower garden on DIY.org.
Help!?
If we don't have a black marker or fancy colouring materials, what can we use instead?
Trace your cleaned pencil lines from the 'erase extra sketch lines' step with a dark colored pencil, crayon, or ballpoint pen and color stems and leaves using crayons, colored pencils, or water-based markers instead of specialty supplies.
My petals and stems look messy after erasing and tracing—how can we fix that?
Prevent mess by drawing very lightly when you 'lightly mark circles' and 'sketch petals,' gently using the eraser to remove only extra sketch lines before you 'trace over the cleaned pencil lines with a black marker' and letting ink dry fully to avoid smudges.
How can I adapt this flower garden activity for a 3-year-old or a 10-year-old?
For a 3-year-old, make larger circles and thick stems and skip the marker tracing so they can color right after sketching, while for a 10-year-old encourage detailed petal shapes, extra leaves, and the 'add shading and texture' step using layering and darker color pressure.
What are simple ways to extend or personalize the flower garden after coloring?
Add a DIY background like a painted sky or torn-paper grass, glue on textured materials for petal centers, write your name and date, then photograph and 'share your finished flower garden on DIY.org' to personalize and display the result.
Watch videos on how to draw a colorful flower garden
How To Learn Flower Garden Drawing Step By Step For Beginners
4 Videos
How To Learn Flower Garden Drawing Step By Step For Beginners
How to draw a flower | flower drawing for kids easy step by step
How To Draw Garden Scenery Drawing Step-by-step/Flower Garden Drawing/Spring Season Drawing Easy
how to draw flower garden easy/flower garden drawing
Facts about drawing and coloring for kids
🌺 Rafflesia arnoldii produces the world's largest single flower — some blooms can grow over 3 feet (1 m) across.
🐝 Bees can see ultraviolet patterns on petals that are invisible to people — flowers use these 'landing guides' to help pollinators.
🎨 Mixing just two crayons or markers can create many new colors — for example, red + yellow = orange and blue + yellow = green.
🖍️ Crayola introduced its first box of crayons in 1903, starting the colorful childhood staple millions of kids use today.
🖼️ Botanical illustration blends art and science — detailed drawings helped botanists identify plants long before color photos existed.
How do I help my child draw a colorful flower garden?
What materials do I need to draw a flower garden with pencils, crayons, and markers?
What ages is drawing a flower garden suitable for?
What are the benefits and safety tips for drawing a flower garden?
