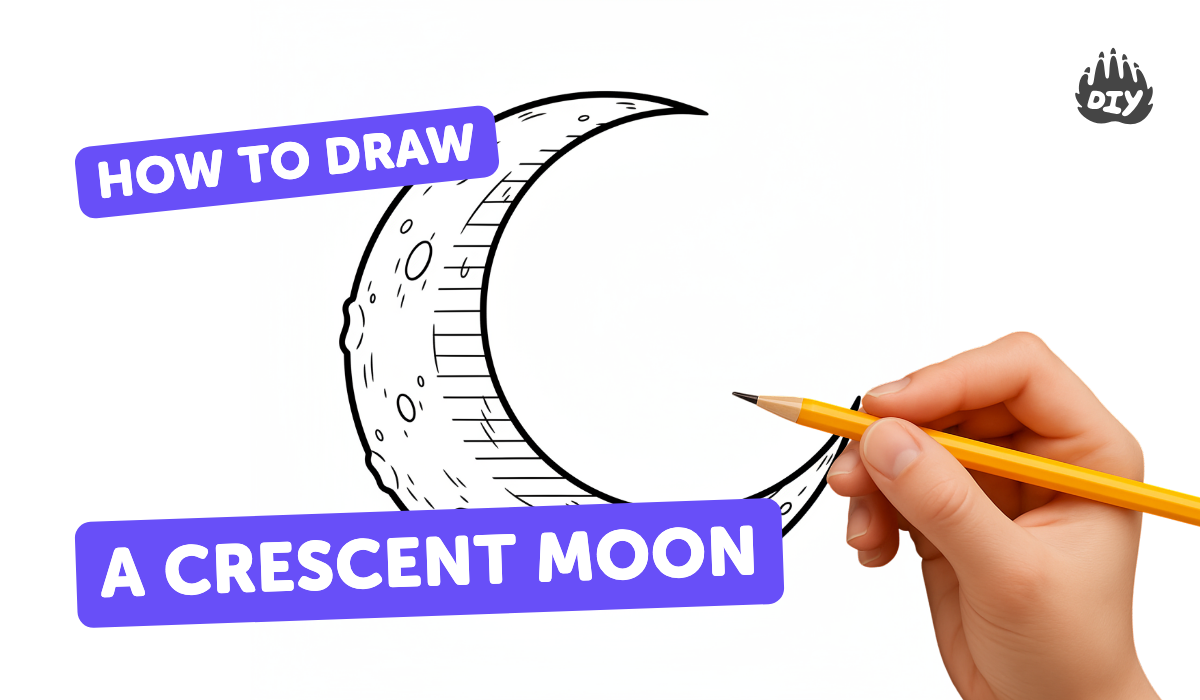
How to draw a crescent moon - a free crescent moon drawing guide
Draw a crescent moon by overlapping circles and erasing shared areas. Practice outline control, smooth curves, and gentle shading for realistic form.

Drawing Apps
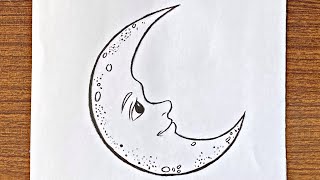
Photos of crescent moon drawing examples


Step-by-step guide to draw a crescent moon
How to draw a crescent moon step by step easy
Step 1
Place a clean sheet of paper on a flat table.
Step 2
Hold your pencil comfortably with a light grip.
Step 3
Lightly draw a large circle using a smooth steady motion.
Step 4
Lightly draw a second smaller circle that overlaps the first to make a crescent gap on one side.
Step 5
Trace the outer curve of the large circle where it sits outside the smaller circle to mark the crescent outer edge.
Step 6
Trace the inner curve formed by the smaller circle where it cuts into the large circle to mark the crescent inner edge.
Step 7
Erase the extra circle lines so only the two traced crescent edges remain.
Step 8
Smooth the crescent outline using short controlled pencil strokes to make the curves steady.
Step 9
Shade the crescent lightly with soft pencil strokes that follow the curve to suggest roundness.
Step 10
Gently blend the shading with a tissue or cotton swab to make the tone smooth.
Step 11
Create a thin highlight by rubbing the eraser gently along a curved strip near the outer edge.
Step 12
Share your finished crescent moon drawing on DIY.org.
Help!?
What can we use if we don't have a tissue or cotton swab for blending the shaded crescent in step 9?
If you don't have a tissue or cotton swab for step 9, gently blend the shading with a clean fingertip, a folded paper towel, or a blending stump to smooth the pencil tone.
My crescent looks lopsided after drawing the two circles in steps 3–5—how can I fix it without starting over?
If the crescent is uneven because the large and smaller circles overlapped poorly in steps 3–4, lightly redraw the smaller circle using a coin or round lid as a guide and keep strokes light so you can erase extra lines in step 6.
How can I change this activity for younger or older children while still following the steps?
For younger children, let them trace large and small bowls for steps 3–4 and shade with soft crayons in step 8, while older kids can use short controlled pencil strokes in step 7, add detailed cross-hatching in step 8, and refine highlights in step 10.
What are some creative ways to extend or personalize the crescent moon drawing after completing step 10 and before sharing on DIY.org?
To personalize the drawing after step 10, add a dark pencil or watercolor sky, sprinkle tiny star dots around the crescent, or use a white gel pen for extra highlights before photographing and sharing on DIY.org as in step 11.
Watch videos on how to draw a crescent moon
How to draw a crescent moon 🌙 easy for beginners // Easy drawing ideas #Shorts
3 Videos
How to draw a crescent moon 🌙 easy for beginners // Easy drawing ideas #Shorts
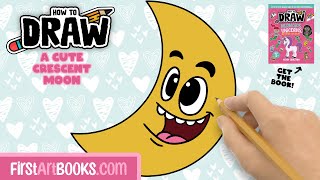
How To Draw A Cute Crescent Moon 🌙 Step-by-Step Drawing Tutorial | FirstArtBooks.com

How to Draw and Paint a Moon! Easy Drawing for Kids
Facts about basic drawing and shading techniques
🌙 The Moon cycles through all its phases in about 29.5 days — that's a synodic month.
🔭 A crescent is just sunlight lighting part of the Moon; the dark area is shadow, not a hole.
🎯 Overlapping circles and erasing shared parts is a classic drawing trick artists use to get smooth curves.
✏️ Soft, circular pencil strokes and gentle blending make a flat crescent look round and three-dimensional.
🌗 Thin crescent moons appear just after a new moon (waxing) or just before a new moon (waning).
How do I draw a crescent moon by overlapping circles?
What materials do I need to draw a crescent moon?
What ages is this crescent moon drawing activity suitable for?
What are the benefits and variations of drawing a crescent moon?


