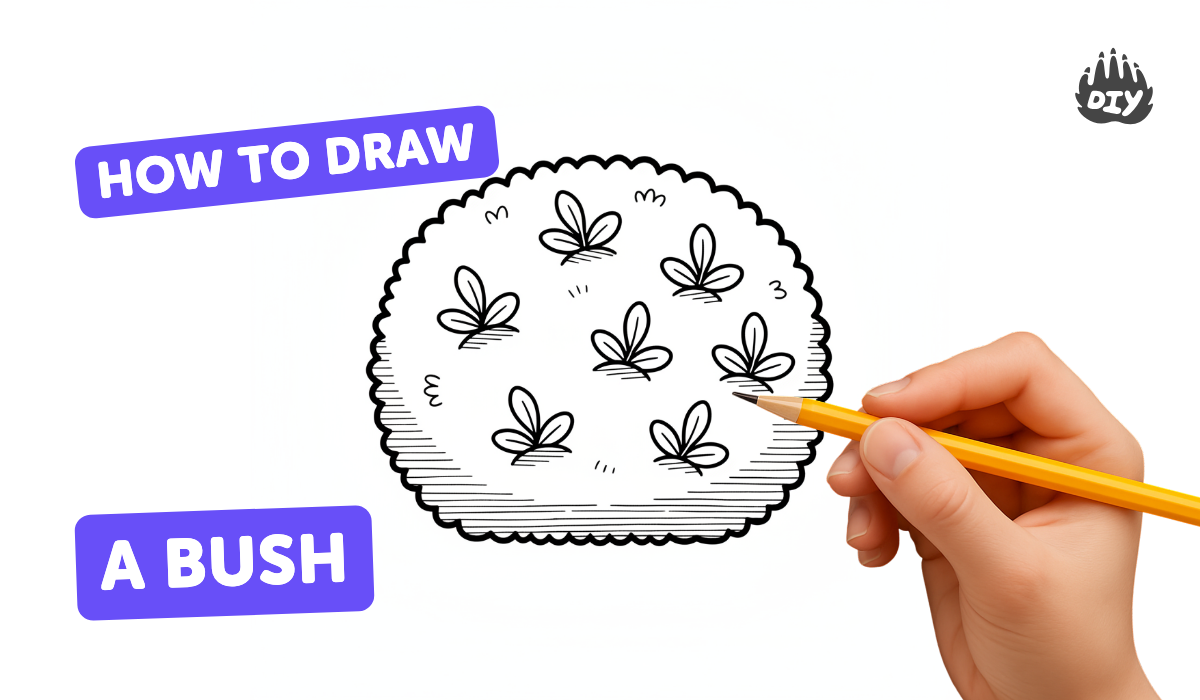
How to draw a bush - a free bush drawing guide
Learn to draw a bush step by step using simple shapes, shading, and texture. Practice sketching leaves, branches, and shadows to create depth.

Drawing Apps
Photos of bush drawing examples


Step-by-step guide to draw a bush
How to Draw Bushes with pencil//Easy pencil Drawing // Complete Tutorial for Beginners
Step 1
Gather all your materials and find a flat surface to draw on.
Step 2
Lightly sketch a big cloud-shaped outline to mark the overall shape of the bush.
Step 3
Draw a simple trunk and two or three branch lines inside the cloud shape.
Step 4
Sketch small teardrop or oval leaf shapes along the branch lines.
Step 5
Add more leaf clusters overlapping the first ones to make the bush look full.
Step 6
Draw a few larger leaves in front to show which parts are closer to you.
Step 7
Add short curved lines and tiny veins on some leaves to give texture.
Step 8
Shade the areas under overlapping leaves and near the trunk with soft pencil strokes.
Step 9
Darken the deepest shadow spots with a heavier pencil pressure to create depth.
Step 10
Gently blend the shaded areas with a blending stump tissue or fingertip to smooth them.
Step 11
Erase tiny spots or thin lines to create bright highlights on some leaves.
Step 12
Color the bush with greens and browns and use darker shades where you shaded.
Step 13
Draw a simple shadow on the ground under the bush to anchor it and sign your name.
Step 14
Share your finished bush drawing on DIY.org
Help!?
What can we use instead of a blending stump or special pencils if we can't find them?
If you don't have a blending stump or soft drawing pencils you can gently smudge the shaded areas from the 'gently blend the shaded areas with a blending stump tissue or fingertip' step using a folded tissue, a cotton swab, or a clean fingertip and use a regular HB or 2B pencil for the soft strokes and heavier pressure for deep shadows.
My bush looks flat after shading—what step might I be missing and how do I fix it?
If the bush looks flat after 'shade the areas under overlapping leaves and near the trunk with soft pencil strokes,' fix it by darkening the deepest shadow spots with heavier pencil pressure on the overlaps and near the trunk, then gently blend to smooth transitions so the leaves read at different depths.
How can I change the activity for younger or older kids?
For younger kids simplify to just 'lightly sketch a big cloud-shaped outline, a trunk, and large leaf shapes to color with crayons or markers,' while older kids can follow all steps including adding short curved veins, layered shading with soft pencil strokes, and darkening deepest shadow spots for realistic depth.
How can we make the bush drawing more creative or advanced?
To enhance the activity, add flowers, a small animal on the branches, or seasonal color palettes instead of only greens and browns, refine the ground shadow from the 'draw a simple shadow on the ground under the bush' step for realism, then sign and share the finished bush on DIY.org.
Watch videos on how to draw a bush
How to Draw a Bush in a Few Easy Steps: Drawing Tutorial for Beginner Artists
4 Videos
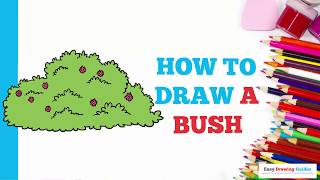
How to Draw a Bush in a Few Easy Steps: Drawing Tutorial for Beginner Artists
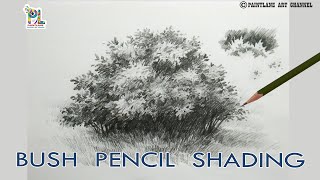
How to draw bush for beginners with step by step pencil art || Drawing tutorial

How to draw bushes by pencil for beginners.
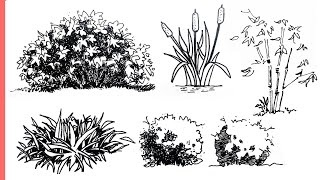
How to sketch BUSHES | Tutorial - For Beginners | Step by Step
Facts about drawing and sketching for kids
🌿 Many shrubs grow in layers of leaves and branches — drawing overlapping shapes helps create natural depth.
✏️ Artists often map complex subjects by starting with simple shapes (circles, ovals, blobs) — great for blocking in a bush.
🖌️ Hatching and cross-hatching are fast shading tricks that can suggest dense leaf clusters without drawing every leaf.
🌞 Shadows fall opposite the light source — shading the undersides and inner pockets of a bush makes it look 3D.
🍂 You can imply a whole bush by repeating just a few leaf shapes and textures — our brains fill in the rest!
How do I teach a child to draw a bush step by step?
What materials do I need to teach a child to draw a bush?
What ages is this bush-drawing activity suitable for?
What are the benefits of teaching my child to draw a bush?


