How to draw a bunny face - a free bunny face drawing guide
Draw a bunny face step-by-step using pencil and paper, learning symmetry, shapes, and simple shading. Practice adding expressions and personal details.

Drawing Apps
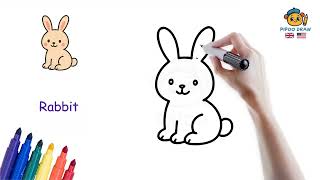
Photos of bunny face drawings


Step-by-step guide to draw a bunny face
How to Sketch a Simple Bunny: Step-by-Step for Kids
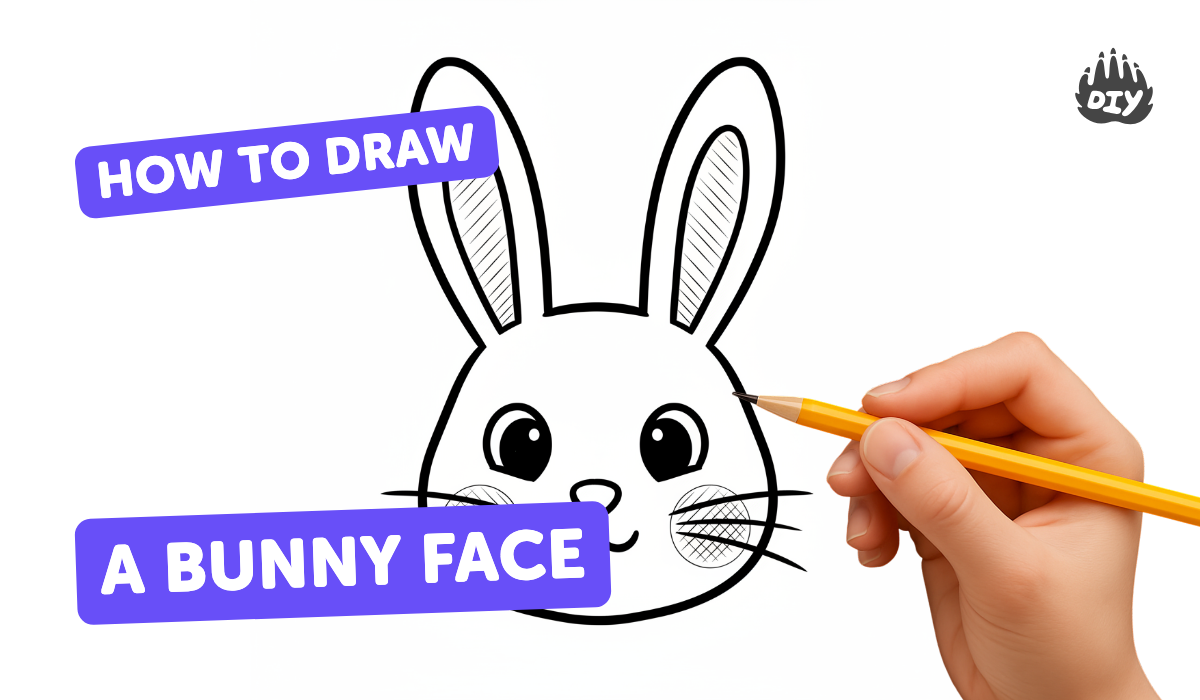
Step 1
Put your paper in portrait position and hold your pencil comfortably.
Step 2
Lightly draw a straight vertical line down the center of the paper to help with symmetry.
Step 3
Draw a large oval around the center line to make the bunny’s head.
Step 4
Draw two long ears on top of the oval one on each side using the center line to match their height.
Step 5
Draw two round eyes on either side of the center line inside the head.
Step 6
Draw a tiny circle inside each eye to be the shiny highlight.
Step 7
Shade the rest of each eye lightly to make the pupils darker while keeping the tiny circles white.
Step 8
Draw a small rounded triangle for the nose centered on the guideline below the eyes.
Step 9
Draw a soft "W" shape under the nose to make the mouth.
Step 10
Draw three whisker lines on each side of the face starting near the nose.
Step 11
Add a smaller inner shape inside each ear to show the inner ear.
Step 12
Lightly shade under the chin and inside the ears with short pencil strokes to add depth.
Step 13
Add one personal detail like a bow on the ear glasses freckles or a small hat to show expression.
Step 14
If you want, trace the final lines with a darker pencil or pen and then gently erase the center guideline and extra marks.
Step 15
Color your bunny using your coloring materials and then share your finished bunny face on DIY.org.
Help!?
What can I use if I don't have a ruler, pen, or special coloring materials?
Fold the paper vertically to make the center guideline from step 2, use a darker pencil to trace the final lines instead of a pen in step 14, and substitute crayons or markers for other coloring materials.
My ears look uneven — how can I fix them?
Use the center guideline from step 2 to mark equal heights above the oval, draw each long ear to those marks in step 4, then erase extra sketch lines to balance their height.
How can I adapt this bunny face drawing for younger or older kids?
For younger children, simplify by pre-drawing the oval and ears or using stickers to match steps 3–4, while older kids can add fur texture with short pencil strokes in step 12 and trace with pen in step 14 for a polished look.
How can we make the bunny more creative or turn it into a project?
After adding a personal detail in step 13, extend the activity by adding patterned inner ears, a colored background, or collage fur from scrap paper and then mount the traced-and-erased final drawing from step 14 as a greeting card or wall art.
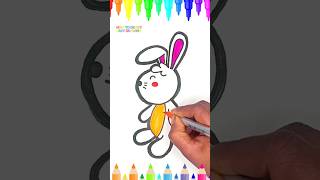
Watch videos on how to draw a bunny face
How to Draw a Cute Bunny in Easy Steps for Kids
4 Videos
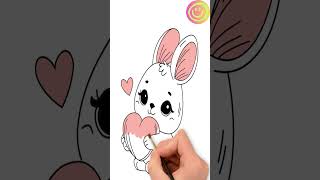
How to Draw a Cute Bunny in Easy Steps for Kids
How to Draw a Cute Bunny | Easy Step-by-Step Drawing Tutorial for Kids #easydrawingforkids
How to Draw a Rabbit | Easy Bunny Drawing for Kids and Beginners
How to Draw a Cute Bunny Step by Step
Facts about drawing fundamentals for kids
🐇 Rabbits can swivel their ears nearly 180° to pinpoint sounds—try different ear poses to give your bunny personality!
✏️ The modern wood-cased pencil method was developed by Nicolas-Jacques Conté in 1795—pencils have helped artists for centuries.
🔁 Symmetry makes faces look balanced; artists use it so characters read as cute and harmonious.
🎨 Chiaroscuro (strong light and shadow) was popular in the Renaissance and helps make flat drawings look three-dimensional with simple shading.
😊 Tiny changes—ear angle, eye shape, or mouth curve—can turn your bunny from sleepy to surprised to mischievous in a snap.
How do you draw a bunny face step-by-step for kids?
What materials do I need to draw a bunny face with my child?
What ages is drawing a bunny face suitable for?
What are the benefits of drawing a bunny face for kids?


