How to Draw a Boat
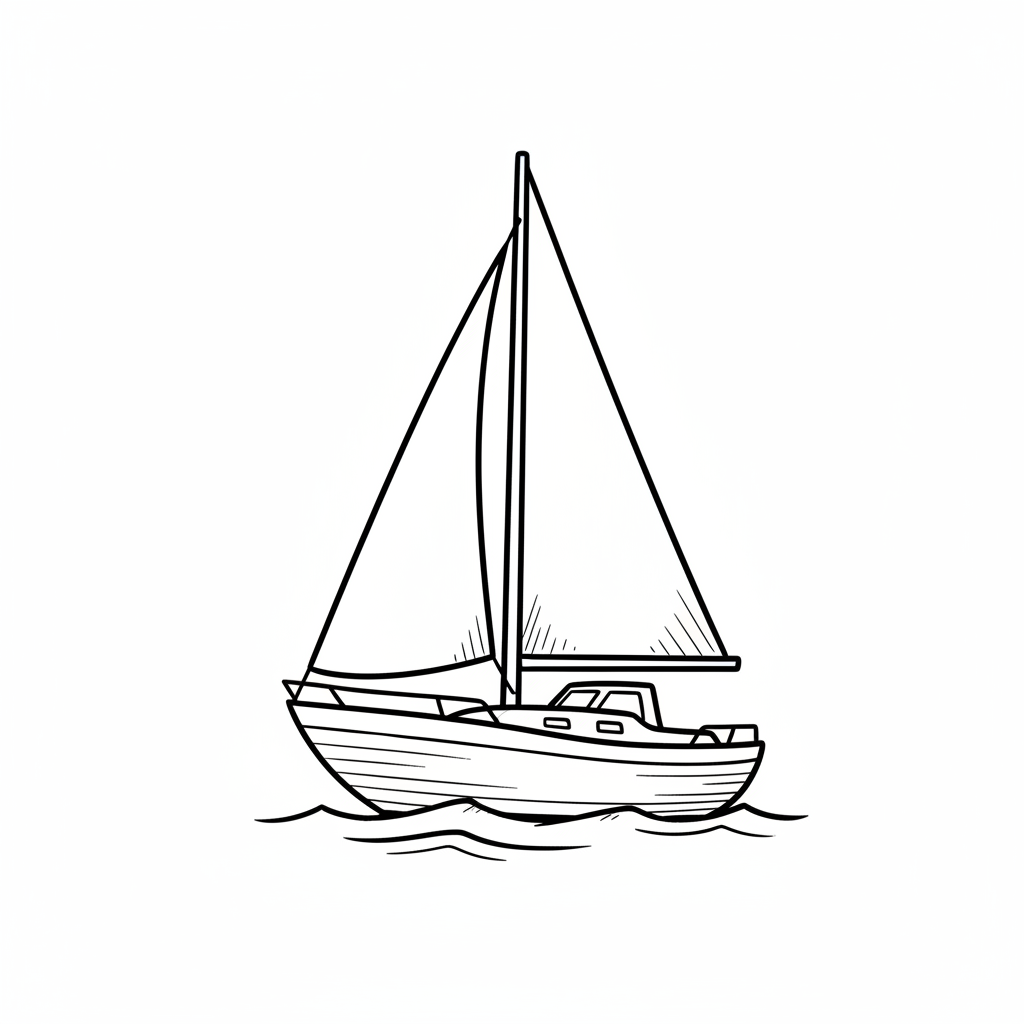
Draw a simple boat step-by-step using pencil, eraser, ruler, and colors. Learn shapes, proportions, adding sails, waves, and shading techniques.
About this tutorial
Draw a simple boat step-by-step using pencil, eraser, ruler, and colors. Learn shapes, proportions, adding sails, waves, and shading techniques.
What you need
Instructions
- 1
Step 1
Turn your paper to landscape (wide) so you have lots of space for the boat.
- 2
Step 2
Use your ruler and pencil to draw a straight horizontal waterline near the bottom of the page.
- 3
Step 3
Lightly sketch a long shallow oval or trapezoid above the waterline for the boat's hull.
- 4
Step 4
Draw a curved bottom line and a slightly wavy top line to turn the sketch into a clear hull shape.
- 5
Step 5
Draw a small rectangle or trapezoid on top of the hull to make the cabin or deck.
- 6
Step 6
Draw a straight vertical mast line from the deck upward using the ruler.
- 7
Step 7
Draw a large triangle on one side of the mast and a smaller triangle on the other side to make the sails.
- 8
Step 8
Draw several small circles along the hull to add portholes.
- 9
Step 9
Draw short curved wave lines along the waterline under the hull to show the sea.
- 10
Step 10
Erase any extra sketch marks and construction lines to make your drawing neat.
- 11
Step 11
Color the main areas of the hull cabin sails and water with your coloring materials.
- 12
Step 12
Add darker tones or pencil hatching along one side of the hull sails and under the boat to create simple shading.
- 13
Step 13
Share your finished boat on DIY.org
Get inspired
Fun facts
How do I teach my child to draw a simple boat step-by-step?
Start with a light pencil sketch: draw a long curved rectangle or simple hull using a shallow U shape and a straight baseline for stability. Use a ruler to add a centered mast, then two triangular sails—one larger, one smaller—anchored to the mast. Erase overlapping guidelines, add a flag and simple curved waves beneath. Shade the hull and sails using light hatching for depth, then color with pencils or markers. Encourage correcting proportions as you go.
What materials do I need to draw a simple boat with my child?
You'll need a soft pencil (HB or 2B), a clean eraser, and a ruler for straight lines. Use drawing paper or a sketchbook, colored pencils or markers for filling, and a sharpener. Optional extras: blending stump or cotton bud for shading, fine-liner for outlines, and a white gel pen for highlights. Keep scrap paper for practice and a damp cloth to clean smudges. All items are affordable and easy for kids to use.
What ages is this boat drawing activity suitable for?
This activity suits preschoolers to tweens with adjustments: ages 4–5 can draw a basic hull and waves with adult help; ages 6–9 can follow steps independently and practice proportions; ages 10+ can refine sails, perspective, and shading. Supervise rulers and sharpeners for younger kids. Adapt complexity by simplifying shapes or adding details. Focus on encouraging effort over perfection—skills like fine motor control and spatial reasoning develop with practice.
What are the benefits of drawing boats for children?
Drawing a boat builds creativity, shape recognition, and fine motor skills. Step-by-step sketches teach proportion, hand-eye coordination, and basic geometry (lines, triangles, curves). Shading and color layering improve observation and patience, while completing a picture boosts confidence. It's a calm, screen-free activity parents can use to discuss water safety or nautical themes. Try variations like sailboat, pirate ship, or speedboat to stretch imagination and techniques.
Watch & Learn
Need help?
What can we use instead of a ruler if we don't have one?
If you don't have a ruler, use the straight edge of a book, a credit card, or the edge of a cereal box to draw the straight waterline (step 2) and the vertical mast (step 6).
My hull or mast looks crooked—how do I fix it?
If the hull or mast looks uneven, lightly re-sketch the long shallow oval or trapezoid for the hull (steps 3–4) and use your straight edge to steady the vertical mast (step 6), then erase extra sketch marks (step 10) before darkening the final lines.
How can I change the activity to suit different ages?
For younger children, have them trace or use pre-cut hull and sail shapes and focus on coloring (steps 3, 7, 11), while older kids can add extra sails, detailed portholes, and the shading techniques (steps 8, 12) or try drawing the boat in perspective with a tilted waterline.
What are some ways to extend or personalize the boat drawing?
Personalize the boat by adding a name on the hull, a flag on the mast, clouds and birds on the horizon, deepen shading under the boat with hatching (step 12), and then photograph and share your finished boat on DIY.org (step 13).