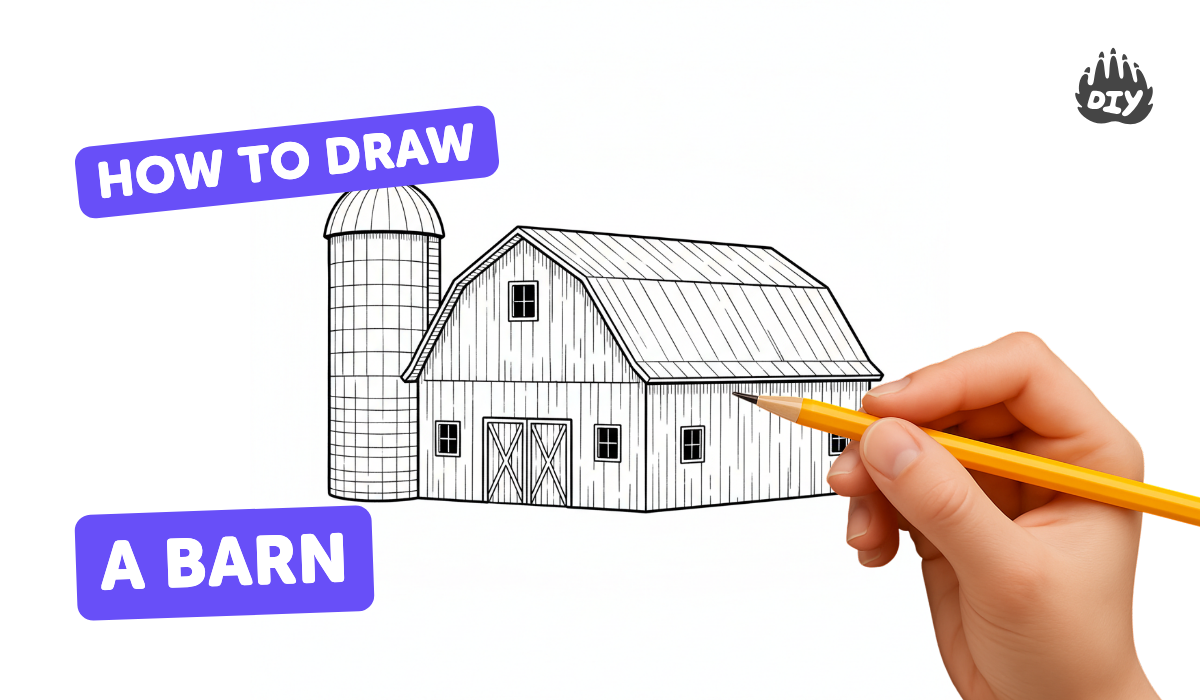
How to draw a barn - a free barn drawing guide
Draw a classic red barn step by step using pencil, ruler, and colored pencils, practicing shapes, perspective, and adding doors, windows, and roof details.

Drawing Apps
Photos of barn drawing examples


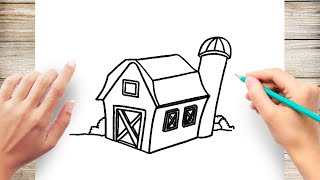
Step-by-step guide to draw a barn
How to Draw a Barn Step by Step for Kids
Step 1
Place your paper landscape (wide) on the table so you have room to draw the barn.
Step 2
Use your pencil and ruler to lightly draw a straight horizontal ground line across the page.
Step 3
Put a small dot on the ground line a little to the right to be your vanishing point.
Step 4
Draw a tall rectangle near the left side of the page to make the front face of the barn.
Step 5
From each corner of the front rectangle draw a light straight line toward the vanishing point to show depth.
Step 6
Pick a point on the back depth lines and draw a vertical line straight up to close the side face of the barn box.
Step 7
Draw an isosceles triangle centered on top of the front rectangle to make the gable roof peak.
Step 8
Draw slanted lines from the roof peak down to the top corners of the front rectangle to form the front roof slope.
Step 9
Draw lines from the top back corner toward the vanishing point and connect them to the peak to finish the side roof plane.
Step 10
Draw a large rectangle centered on the front face for double barn doors and divide it down the middle.
Step 11
Add an X brace across each door and draw a small rectangular hayloft door above the main doors.
Step 12
Draw square windows on the front and side with crossbars and add thin vertical lines on the walls to show wooden boards.
Step 13
Erase the extra light construction lines and trace over the final barn lines to make them bold.
Step 14
Color the barn red add white trim and roof color then share your finished barn on DIY.org
Help!?
What can we use if we don't have a ruler or red paint/marker?
Use a straight book edge or a folded cereal box as a ruler to draw the light ground line and depth lines from the front rectangle, and substitute red paint or marker with a red crayon, colored pencil, or watered-down red watercolor for the final red color.
Why do my depth lines look wrong and how can I fix them?
If the depth lines don't look right, lightly redraw each line from the corners of the front rectangle straight toward the vanishing point with a pencil and straight edge, then pick a point on the back depth lines and draw the vertical line up to close the side face so the perspective matches.
How can I change the activity for different ages?
For younger kids simplify by tracing a premade rectangle and triangle for the front face and roof and letting them color the red barn and white trim, while older kids can add the X braces, crossbar windows, thin vertical board lines, and shading on the roof planes using the vanishing point.
How can we make the barn drawing more creative or advanced?
Personalize the barn by adding a farm background, animals or a tractor, weathering on the wooden boards with extra thin vertical lines, experimenting with mixed media for the red barn and roof color, and then photograph and share your finished barn on DIY.org.
Watch videos on how to draw a barn
HOW TO DRAW A BARN EASY
4 Videos
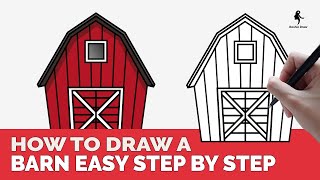
HOW TO DRAW A BARN EASY
How to draw a barn easy | Drawing Video Tutorial
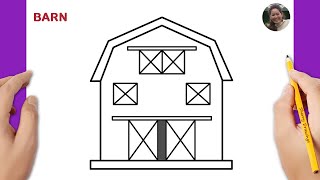
How to Draw a Barn in a Few Easy Steps: Drawing Tutorial for Beginner Artists
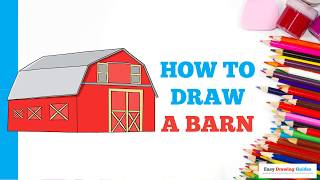
How To Draw Easy Barn Step by Step
Facts about drawing and sketching for kids
🛖 Farmers often painted barns red by mixing rust (iron oxide) into linseed oil — it was cheap, protective, and looked great against snow.
📐 Linear perspective rules were formalized during the Renaissance so artists could make flat drawings look three-dimensional.
🎨 Colored pencils were marketed as artists' tools in the early 20th century and are perfect for layering color and shading small details.
🚪 Classic barns usually have big sliding doors and small windows — awesome details to practice proportion and symmetry in your sketch.
📏 A ruler (or straightedge) keeps lines crisp and helps you line up shapes so the barn's roof, walls, and doors match in perspective.
How do I teach my child to draw a classic red barn step by step?
What materials do I need to draw a red barn with my child?
What ages is this step-by-step barn drawing suitable for?
What are the benefits and safety tips for drawing a barn with kids?
