DIY Garden Ideas: Arrange an Indoor Garden
Arrange an indoor garden using small pots, soil, seeds or seedlings, labels, and simple tools while learning plant placement, care, and light needs.


Step-by-step guide to arrange an indoor garden
Indoor Vegetable Gardening for Beginners 2024 - How to Start an Indoor Vegetable Garden
Step 1
Gather all the materials from the list and set them on a clean table or counter.
Step 2
Rinse your pots or containers with water and dry them with a towel.
Step 3
Fill each pot with potting soil leaving about 1 inch (2 cm) of space at the top.
Step 4
Use your finger or a spoon to make a small hole in the soil about twice as deep as your seed is big or about 1 cm for tiny seeds.
Step 5
Put one seed into the hole or place a seedling gently into the soil so the roots point down.
Step 6
Cover the seed or seedling roots with soil and press the top lightly to remove big air pockets.
Step 7
Write the plant name and the planting date on each label using your colouring materials and stick a label into each pot.
Step 8
Water each pot gently until the soil is evenly moist but not dripping with water.
Step 9
Place the pots on a tray or saucer to catch extra water.
Step 10
Move the tray to a sunny spot or under a grow light where the plants can get several hours of light.
Step 11
Check the soil every day and water again only when the top inch feels dry.
Step 12
Turn or rotate each pot a little every week so the plants grow straight toward the light.
Step 13
Share a photo and a short story about your indoor garden on DIY.org.
Help!?
What can we substitute if we don't have potting soil, small plant pots, or plant labels?
Substitute commercial potting soil with a mix of garden soil and coarse sand or coconut coir when you fill each pot, use clean yogurt cups or rinsed tin cans as pots, and make labels from popsicle sticks or masking tape and markers for the 'write the plant name' step.
My seeds aren't sprouting or the soil stays soggy—what should I check and fix?
Check that you made the hole about twice as deep as the seed (step 'make a small hole'), water gently until the soil is evenly moist but not dripping (step 'water each pot gently'), move the tray to more light or a grow light (step 'move the tray to a sunny spot or under a grow light'), and let the top inch dry while removing excess water from the saucer if the soil is waterlogged (steps 'check the soil every day' and 'place the pots on a tray').
How can I adapt this indoor garden for younger children or older kids?
For preschoolers, have an adult pre-fill pots and place seedlings so kids can press soil and stick labels (steps 'fill each pot', 'place a seedling', 'write the plant name'), while older kids can sow tiny seeds themselves, measure planting depth, rotate pots weekly for straight growth, and write a photo story for DIY.org (steps 'make a small hole', 'turn or rotate', 'share a photo').
How can we extend or personalize the indoor garden to make it more fun or educational?
Decorate and waterproof pots before planting, add a simple watering chart tied to checking the top inch for dryness (step 'check the soil every day'), test different seed varieties in labeled pots to compare outcomes, and post growth photos and a short story on DIY.org (step 'Share a photo and a short story').
Watch videos on how to arrange an indoor garden
Woodland Garden makeover: diy natural playground for kids, montessori vibes
4 Videos

Woodland Garden makeover: diy natural playground for kids, montessori vibes
How to Make a DIY Indoor Herb Garden
5 Favorite Indoor Gardening Projects for Any Location (No Matter Where You Live!)//GREEN PLANTS

Gardening Ideas for Kids | The Home Depot
Facts about indoor gardening for kids
🌱 Many seeds sprout in just 3–14 days if they’re kept warm and moist — some faster, some slower!
🌞 A south-facing window (in the Northern Hemisphere) usually gives the brightest light for an indoor garden.
💧 Overwatering is the most common way to harm houseplants — most like a drink only when the topsoil feels dry.
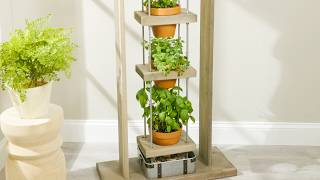
🪴 Roots need room: plants in bigger pots can grow larger roots and often grow bigger above ground too.
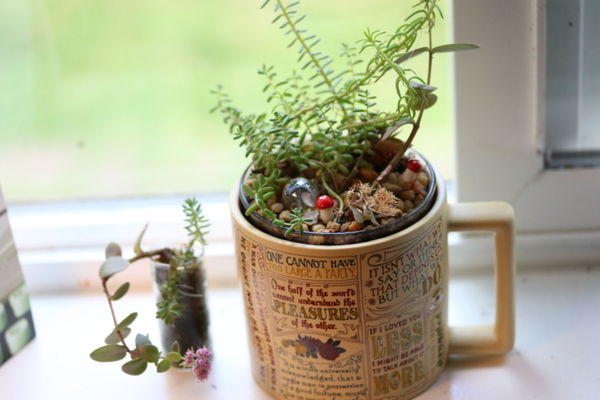
♻️ Upcycle fun: old mugs, tins, and egg cartons make excellent seed starters and reduce waste.
How do I set up an indoor garden with small pots for my child?
What materials do I need for a DIY indoor garden for kids?
What ages is arranging an indoor garden suitable for?
What are the benefits and safety tips for kids arranging an indoor garden?


