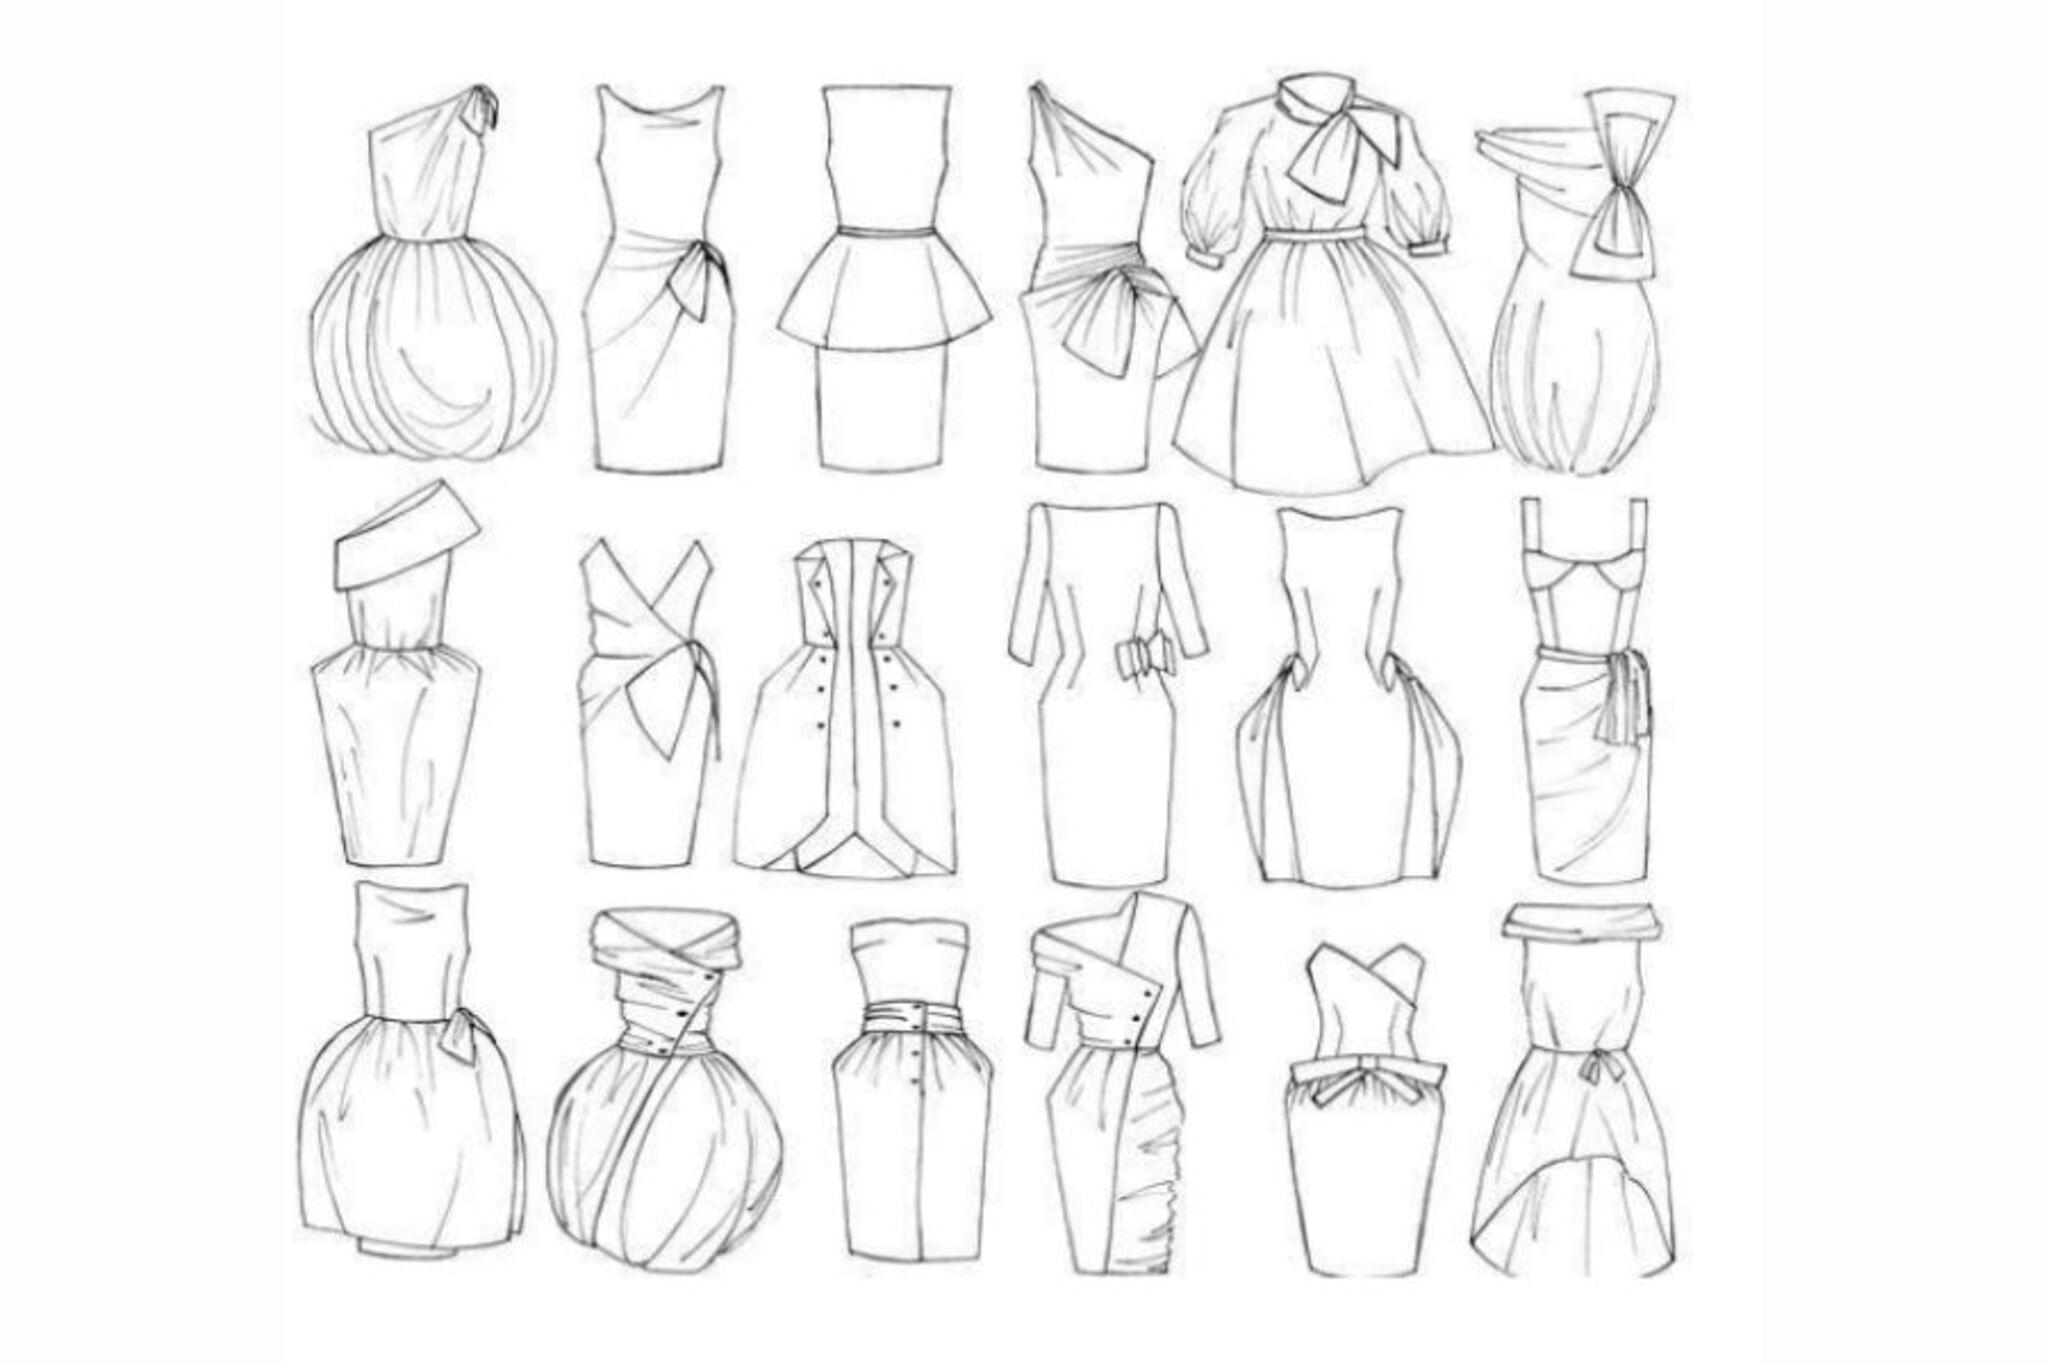
Design Dresses of All Kinds
Design and make simple doll dresses from paper, fabric, or recycled materials. Sketch patterns, cut safely, sew or glue decorations, and explore color choices.


Step-by-step guide to Design Dresses of All Kinds
Learn About Fashion Design | Fashion Ideas And Drawings | Kids Activities
Step 1
Gather all the materials listed and bring them to a clean work surface.
Step 2
Pick the doll you will dress and lay it flat on a sheet of paper or on a piece of fabric.
Step 3
Use a pencil to draw a simple dress outline around the doll leaving about one finger width extra around the edges.
Step 4
Cut out the paper dress shape carefully with safety scissors to make your paper pattern.
Step 5
Place the paper pattern on your fabric or recycled material and trace around it with a pencil.
Step 6
Cut the fabric along your traced lines using safety scissors.
Step 7
Choose whether you will sew the dress edges or use glue to join them.
Step 8
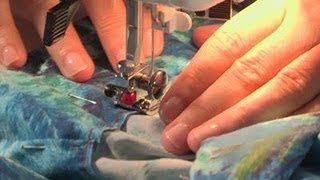
Join the dress edges by sewing small running stitches along the sides or by applying fabric glue and pressing the edges together until they hold.
Step 9
Make a simple closure by attaching a small strip of tape or Velcro or by sewing a tiny button and loop.
Step 10
Lay out decorations like buttons ribbons or stickers on the dress until you like the look.
Step 11
Attach your decorations one by one by sewing them on or using glue.
Step 12
Trim any extra fabric or loose threads from the dress with safety scissors.
Step 13
Put the finished dress on your doll to check the fit and make any small adjustments.
Step 14
Share your finished creation on DIY.org.
Help!?
What can we use instead of fabric glue or Velcro if we don't have them?
If you don't have fabric glue, use white school glue for lightweight fabric or strong double-sided tape, and replace Velcro from the 'Make a simple closure' step with a small strip of clear tape or a tiny sewn button and loop.
My doll's dress keeps coming loose after I put it on—what should I try?
If the dress comes loose after the 'Put the finished dress on your doll' step, reinforce the side seams by resewing small running stitches as described in 'Join the dress edges', add a thin line of fabric glue along glued seams, and securely sew on any decorations that are falling off.
How can I adapt this activity for different ages?
For younger children, skip the 'Cut the fabric' step by using pre-cut fabric or paper patterns and use tape or glue for joining, while older kids can draft more detailed patterns, practice hand-sewing techniques during 'Join the dress edges', and add buttonholes or more intricate decorations.
How can we enhance or personalize the dressmaking project?
To personalize and extend the activity, repeat the 'Use a pencil to draw a simple dress outline' and 'Place the paper pattern on your fabric' steps with various recycled materials, add trims like ribbons or painted fabric as decorations, and photograph each finished dress to share on DIY.org.
Watch videos on how to Design Dresses of All Kinds
How To Make And Design Your Own Clothes
4 Videos
How To Make And Design Your Own Clothes
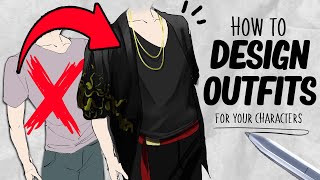
How to design Outfits for characters | Tutorial | DrawlikeaSir
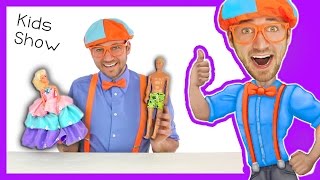
The Learn Colors for Toddlers during the Blippi Toys Fashion Show
Kids Meet Sustainable Fashion Designer | Kids Meet | HiHo Kids
Facts about sewing and fashion design for kids
🎨 Many fashion designers begin with quick paper sketches to test dress ideas before cutting any fabric.
✂️ Simple hand stitches like the running stitch and whipstitch can hold a tiny dress together without a sewing machine.
👗 Paper dresses became a pop-culture fad in the 1960s, showing how fun disposable fashion can be for experimenting.
♻️ Upcycling is powerful: one adult T‑shirt can be turned into several doll outfits, helping reuse materials and reduce waste.
🧵 Fast pattern tip: a rectangular bodice plus elastic or ribbon can make an easy pullover doll dress that fits lots of sizes.
How do I design and make simple doll dresses from paper, fabric, or recycled materials?
What materials do I need to make doll dresses from paper, fabric, or recycled materials?
What ages is designing and making doll dresses suitable for?
What are the benefits of making doll dresses for children?
