
If you’ve got a curious maker at home or in your classroom, a 3D pen is an easy way to turn doodles into sturdy little objects. Kids can trace a line, lift it off the page, and boom there’s a star charm, a name tag, or a stand for flashcards. Below you’ll find simple beginner projects, safety tips that actually matter, and a no-nonsense buying guide to choose a kid-safe 3D printing pen.
Stuck on instructions or vocabulary? Point your child to the AI Homework Helper. It rewrites tricky steps into kid-friendly checklists and explains terms like “filament” and “layer” in plain language.
What Is a 3D Pen? (Kid-Friendly)
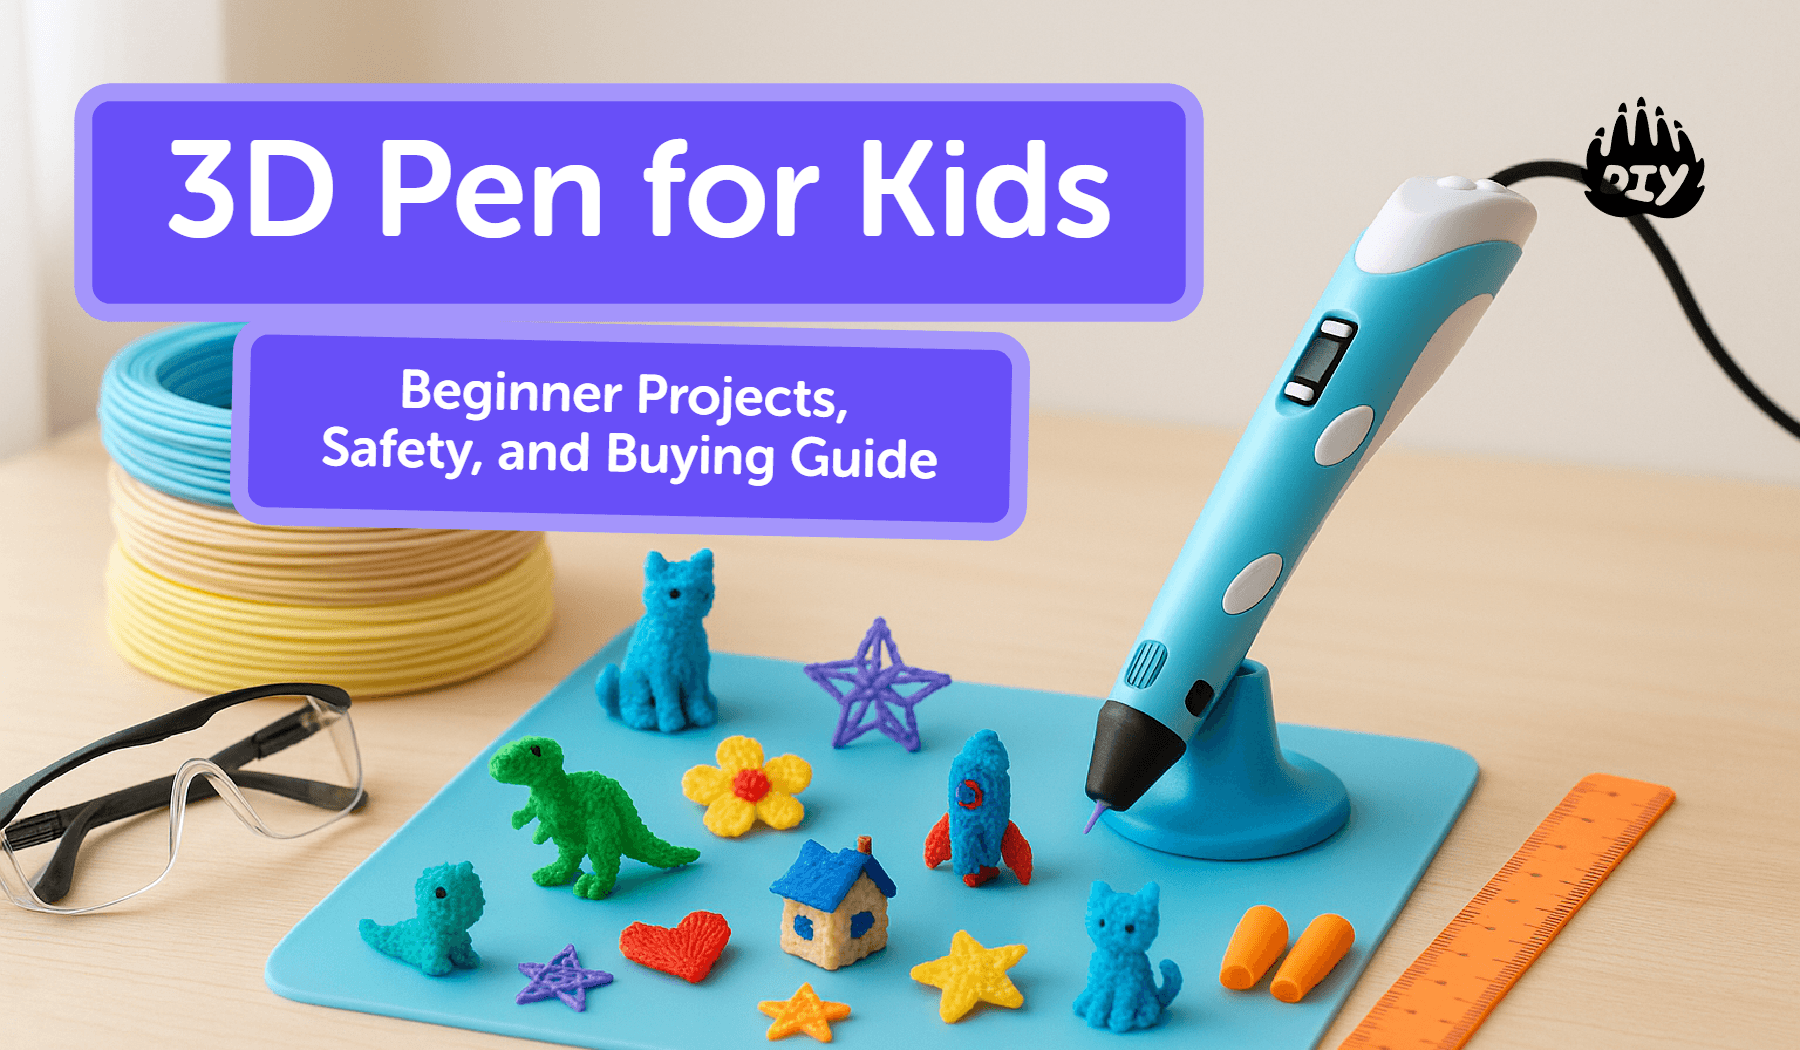
A 3D pen melts a thin plastic strand called filament and lets you “draw” lines that harden in seconds. Kids move the tip along a template (paper under baking parchment works great), lift the shape, and add a second pass for strength. Compared with a 3D printer, a 3D pen for kids is more like freehand sketching: no software, no slicing, just hands-on building. It’s perfect for beginner 3D pen ideas and quick classroom stations.
Terms you’ll see:
Low-temperature 3D printing pen: Safer for beginners; often uses PCL filament.
Speed control: Slower speeds = smoother lines.
Nozzle: The metal tip where filament exits teaches kids it’s hot.
Is a 3D Pen Safe for Kids?
Age Guidelines & Supervision
Most 3D pens for kids are labeled for ages 7–12 with adult supervision. Younger makers can participate by placing templates, peeling cooled parts, and helping with assembly.
Safety Features to Prioritize
Low-temperature mode (ideal with PCL filament)
Auto-sleep/auto-shutoff after inactivity
Finger guards or insulated nozzles
Stable stand for cool-down
Ventilation (even with low-temp plastics)
Home & Classroom Safety Checklist
Use a heat-safe mat with baking parchment on top.
Tie back hair and avoid loose sleeves.
Keep water nearby for quick cool-downs.
Create a labeled “cool zone” where finished parts rest.
Start on PCL (low-temp). Consider PLA later for older kids with supervision.
Working on a school build? The AI Homework Helper can turn assignment directions into step-by-step kid instructions.
Beginner 3D Pen Projects Kids Can Finish in 30–60 Minutes
Each project is a confidence win and teaches a skill your child will reuse.
1. Name Keychain or Backpack Tag
Trace bubble letters on parchment. Add a hole guide (use our template), lift, and reinforce edges.
Skills: outlining, layering, clean joins.
Tip: Add a second loop layer so the hole doesn’t crack.
2. Cookie-Cutter Shapes (Stars, Hearts, Dinosaurs)
Press a metal cookie cutter under parchment, trace the outline, then add a second pass.
Skills: following contours, steady speed.
Tip: Keep speeds low on curves to prevent “stringing.”
3. Phone/Flashcard Stand
Make two right triangles and join at tabs (template included).
Skills: basic supports, right angles, test-fit before reinforcing.
Tip: Use popsicle sticks as 90° guides while parts cool.
4. Geometric Animal Bookmark
Trace a rectangle. Fill with straight lines to make a low-poly fox head (see template).
Skills: straight lines, spacing, decorative patterning.
Tip: Curve slightly while warm so it hugs a book page.
5. Mini Cable Clip or Plant Ring
Wrap a short line around a marker, cool, and add a closure dot.
Skills: wrapping, re-joining filament ends.
Tip: Two thin layers beat one thick wobbly layer.
Need printable stencils? Grab the template pack
Skill-Builder: Tips for Smooth, Strong Results
Speed: Start low. Increase only after lines look smooth.
Practice lines: Do 30 seconds of straight lines and spirals on scrap parchment before real builds.
Dots > long beads: For joints, tap tiny dots, pause 3–5 seconds, then connect.
Cool between layers: Let parts rest 10–20 seconds before the next pass.
Template trick: Tape parchment over a printed guide. Remove tape only after layers are cool.
Clean nozzle: If blobs form, purge a few millimeters of filament and wipe the tip once cool.
Filaments 101: PCL vs. PLA (Why It Matters)
PCL (Polycaprolactone): Melts at lower temps, slows the flow, and reduces the risk of accidental contact burns. Great for non-toxic 3D pen starts and kids’ 3D pen projects.
PLA (Polylactic Acid): Higher temp and a stiffer feel. Good for older kids who want rigid parts like stands or props.
Storage: Keep filaments dry in a zip bag.
Color picks: High-contrast colors help kids see their lines and layers.
If your child needs help choosing materials for a report, the AI Homework Helper can compare PCL vs. PLA in kid language.
Buying Guide: How to Choose the Best 3D Pen for Your Kid
Must-Have Features
Low-temperature mode compatible with PCL
Two or more speeds (slow for control, medium for filling)
Auto-sleep and stable stand
Clog-clear or easy filament release
Kid-sized grip and reachable buttons
Nice-to-Haves
Starter stencils/templates
Finger guards or silicone sleeves
Extra nozzles and a sample filament bundle
Warranty and responsive support
Budget vs. Premium What You Actually Get
Budget 3D pen: Simple controls, fewer extras. Great for testing interest.
Premium kits: Better durability, smoother feed, and more accessories (stencils, mats, stands).
Starter kit tip: Pick sets that include PCL and at least one low-speed setting.
Set Up for Success: Kid-Friendly Workspace
Item | Tip |
Surface | Heat-safe mat + parchment. |
Light | Good task lighting reduces wobbly lines. |
Airflow | Small fan or open window. |
Tool bin | Pen stand, spare filament, tweezers, popsicle sticks, clip rings. |
Routine | “Trace, cool, reinforce, rest in the cool zone.” |
Storage | Coil filament loosely and tuck it into a labeled bag. |
Troubleshooting: Quick Fixes That Work
Issue | Fix |
Filament won’t feed | Trim a clean 45° tip and reload. Check that the filament mode is correct (PCL vs. PLA). |
Blobs at corners | Lower speed. Stop before turning; place a dot; then continue. |
Weak joints | Add dots at contact points; reflow briefly, then cool. |
Stringing | Slow your hand, shorten distance between supports, and pause 2–3 seconds when lifting. |
Nozzle scuffs paper | Add a fresh sheet of parchment or raise the pen slightly. |
Learning Extensions: Connect Projects to STEM & Art
Geometry: Triangles, angles, and supports (your phone-stand project teaches all three).
Design thinking: Sketch → prototype → test → iterate.
Art: Line weight, patterns, and symmetry in the low-poly bookmark.
Data: Track which speeds make the smoothest lines and graph the results.
Turn these explorations into a mini research plan with the AI Homework Helper it can generate a kid-friendly checklist and rubric.
FAQs
What age is a 3D pen appropriate for?
Most kids start around 7–8 with close supervision. Younger kids can help with non-heat steps.
Which 3D pen is safest for beginners?
Look for low-temperature pens designed for PCL filament, with auto-sleep and a stable stand.
Can a 3D pen burn skin?
Yes, the nozzle is hot. Use low-temp modes, teach a “no-touch tip” rule, and keep a stand nearby.
Which filament is non-toxic for kids?
PCL is the gentlest starting point. PLA is common but runs hotter; supervise closely.
How long do beginner projects take?
Most of the projects above fit in 30–60 minutes, including cool-downs.
3D pen vs. 3D printer what’s better for kids?
A 3D pen wins for immediacy and hands-on creativity. A 3D printer wins for precision once kids are ready for software and longer print times.
We included four classroom-ready pages: a keychain letter grid, star/heart/bolt outlines, a phone/flashcard stand template, and a geometric animal bookmark. Print, tape parchment on top, and trace at low speed.
From First Lines to Real Builds
Start with quick wins, keep speeds low, and treat cool-down time as part of the process. Once your child can make smooth outlines and clean joints, projects start stacking up fast: charms, props, desk organizers, and simple engineering builds.
Working on a project or report? Get step-by-step, kid-friendly help with the AI Homework Helper.
