
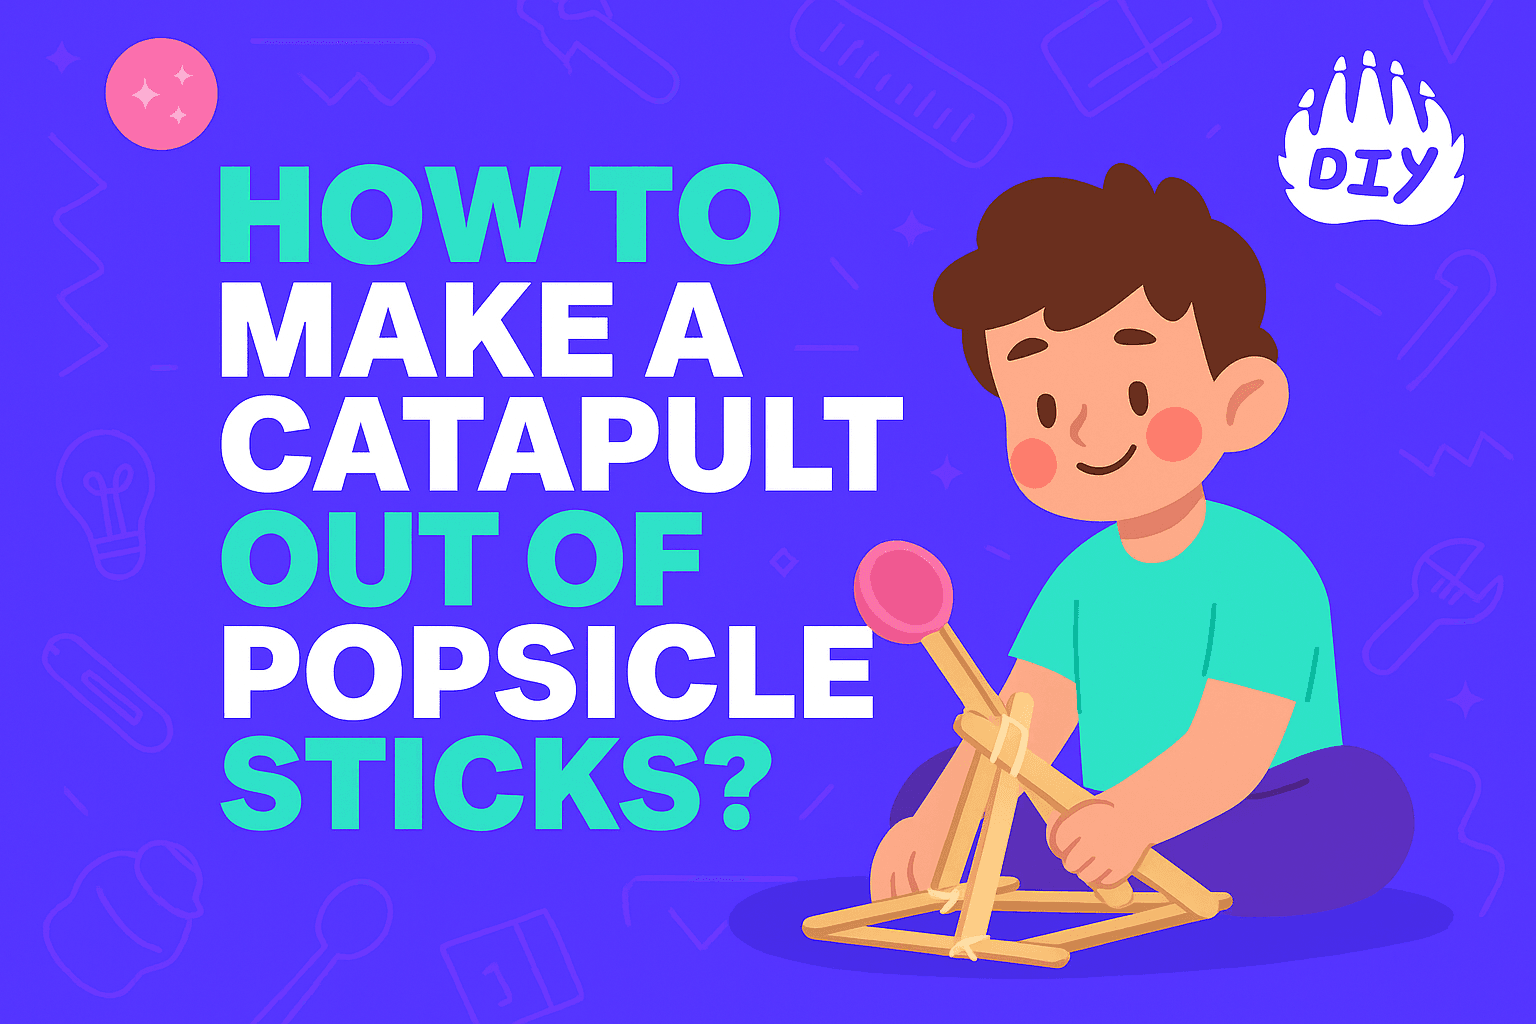
Looking for a fun, hands-on activity that combines creativity and science? A popsicle stick catapult is the perfect DIY project for kids, students, or anyone curious about basic physics. It’s easy to build, requires only a few materials, and offers a playful way to learn about energy, force, and motion.
In this guide, you’ll learn what a popsicle stick catapult is, how to make one at home, how to improve it for better performance, and even how to build a mini rocket with popsicle sticks.
What Is a Popsicle Stick Catapult?
A popsicle stick catapult is a hands-on STEM project that uses simple materials, like craft sticks, rubber bands, and a spoon to create a mini launcher. Inspired by the design of ancient catapults, this kid-friendly version lets you explore basic physics concepts such as force, tension, and motion in a fun and interactive way.
Whether it’s part of a science fair project or just a weekend DIY activity at home, making a catapult with popsicle sticks is a low-cost, high-fun way to learn about how energy works. Plus, it’s a great excuse to fling pom-poms across the room (safely, of course).

Materials You’ll Need
Before you start building, gather these items:
7–10 popsicle sticks (also called craft sticks)
4–5 rubber bands
1 plastic spoon or bottle cap
Glue or hot glue gun (optional)
Small projectile (like a mini marshmallow or cotton ball)
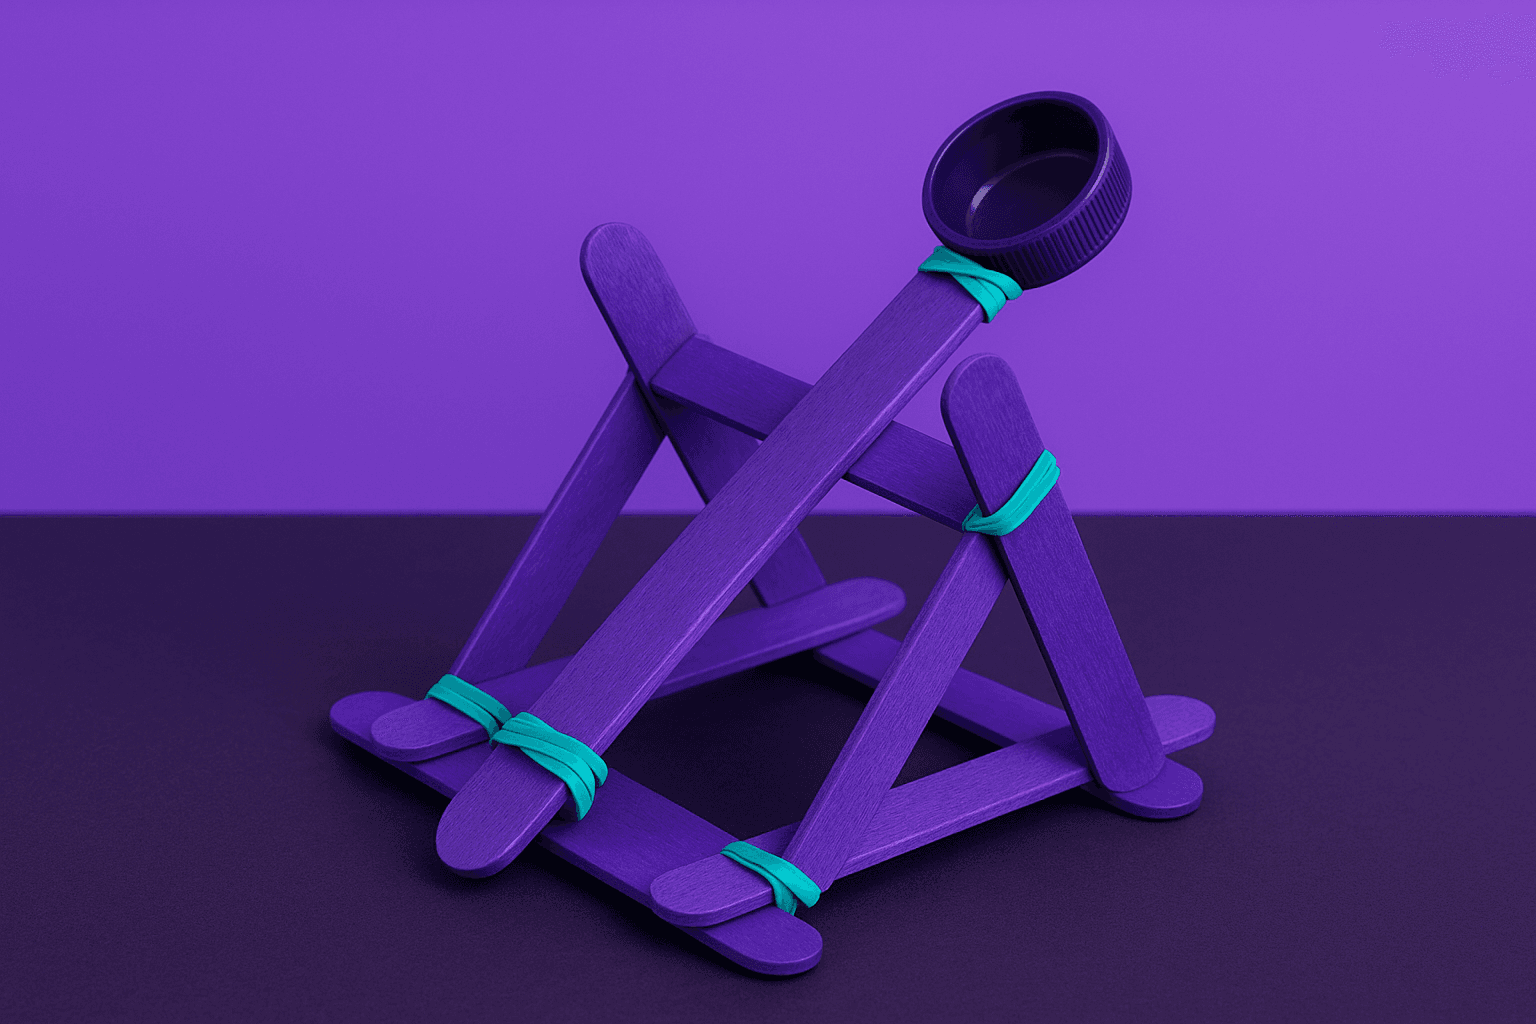
How to Make a DIY Popsicle Stick Catapult at Home
Step 1. Stack Your Sticks
Take 6–8 popsicle sticks and stack them on top of each other. Wrap a rubber band tightly around both ends to keep them together. This stack will act as the base.
Step 2. Create the Throwing Arm
Take two more sticks and bind them together at one end with a rubber band. These will form the lever that launches your projectile.
Step 3. Insert the Lever
Wedge the lever (the pair of sticks) between the stacked base so that it can pivot. You’ll need to gently open the base sticks a bit and slide the lever through.
Step 4. Attach the Spoon
Tape or glue the plastic spoon to the end of the top stick in your lever pair. This becomes your launching cup.
Step 5. Final Assembly
Secure everything by wrapping another rubber band where the lever intersects with the base to create a fulcrum. Adjust the spacing until the spoon has a good range of motion.
Now, you’re ready to launch!

How to Make a Craft Stick Catapult with a Spoon (Simplified Version)
If you’re short on time or working with younger kids, try this simpler version:
1. Stack 5 popsicle sticks and secure with rubber bands.
2. Take two more sticks and rubber band only one end.
3. Slide the stack between these two sticks.
4. Attach a spoon to the top stick.
5. Press down and let go to launch!
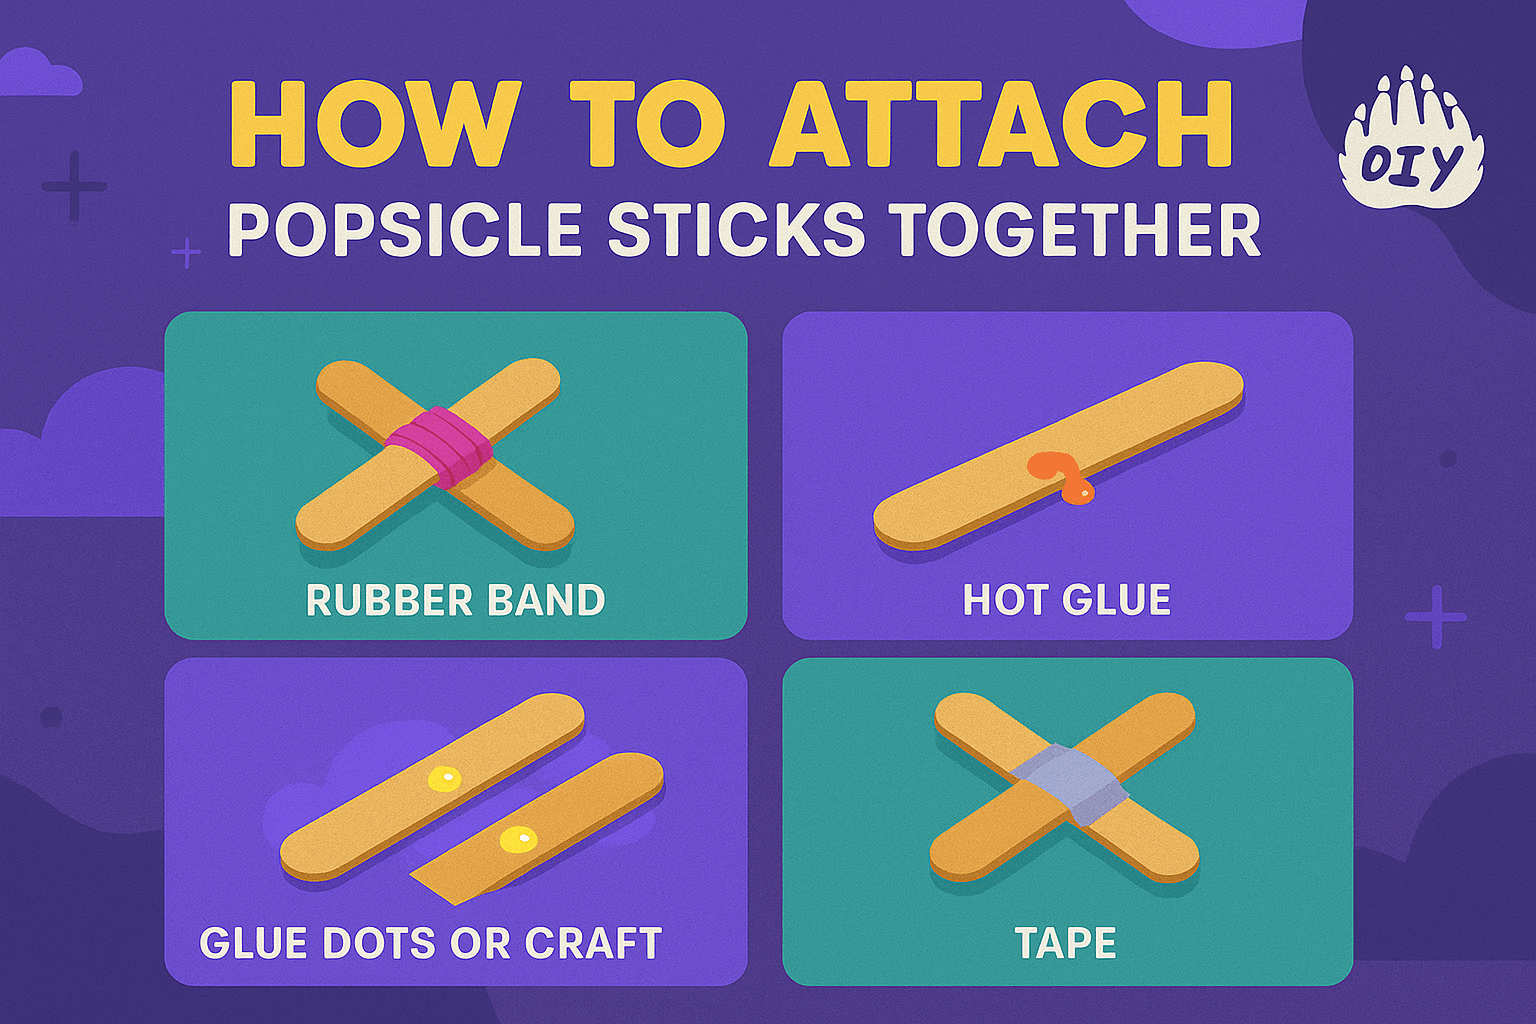
How to Attach Popsicle Sticks Together
There are a few reliable ways to secure popsicle sticks:
Rubber Bands: Great for flexible tension and easy adjustments.
Hot Glue: Provides a strong, permanent bond.
Glue Dots or Craft Glue: Safer for younger kids, but not as sturdy.
Tape: Quick and clean, but may wear down after a few launches.
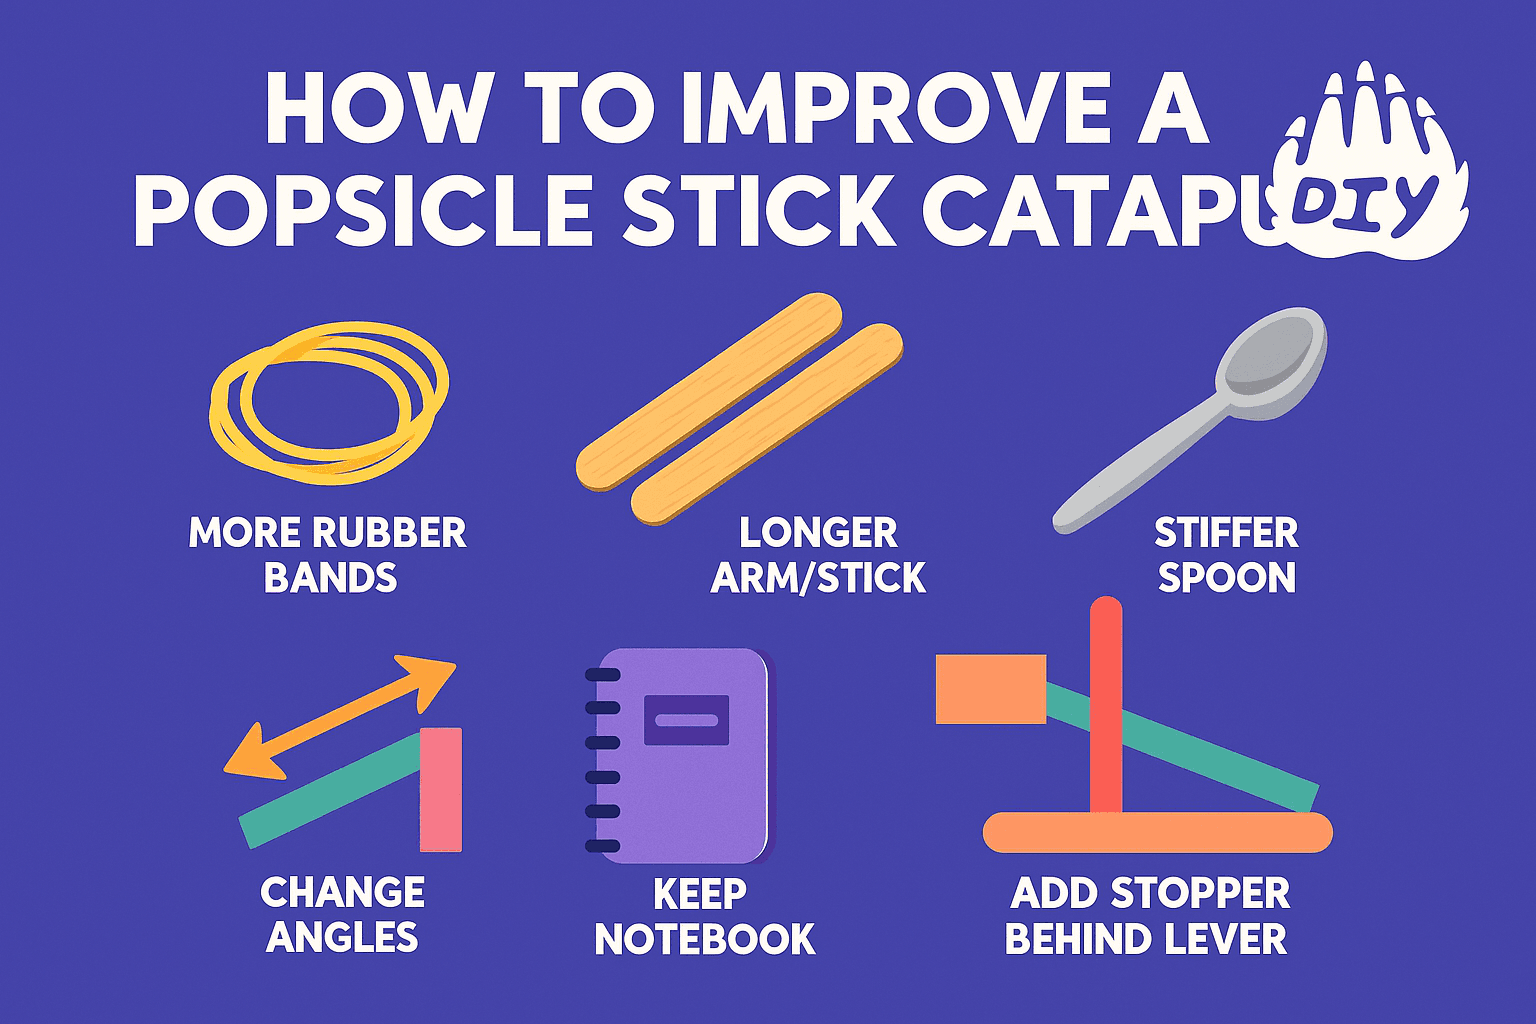
How to Improve a Popsicle Stick Catapult
Want to make your catapult launch farther or higher? Try these tips:
Use more rubber bands for added tension.
Extend the throwing arm by using a longer stick or spoon.
Use a stiffer spoon for better energy transfer.
Change the angle of your lever to experiment with trajectories.
Add a stopper behind the lever to control its motion.
Keep a notebook of launch results to find the best combination of design tweaks.
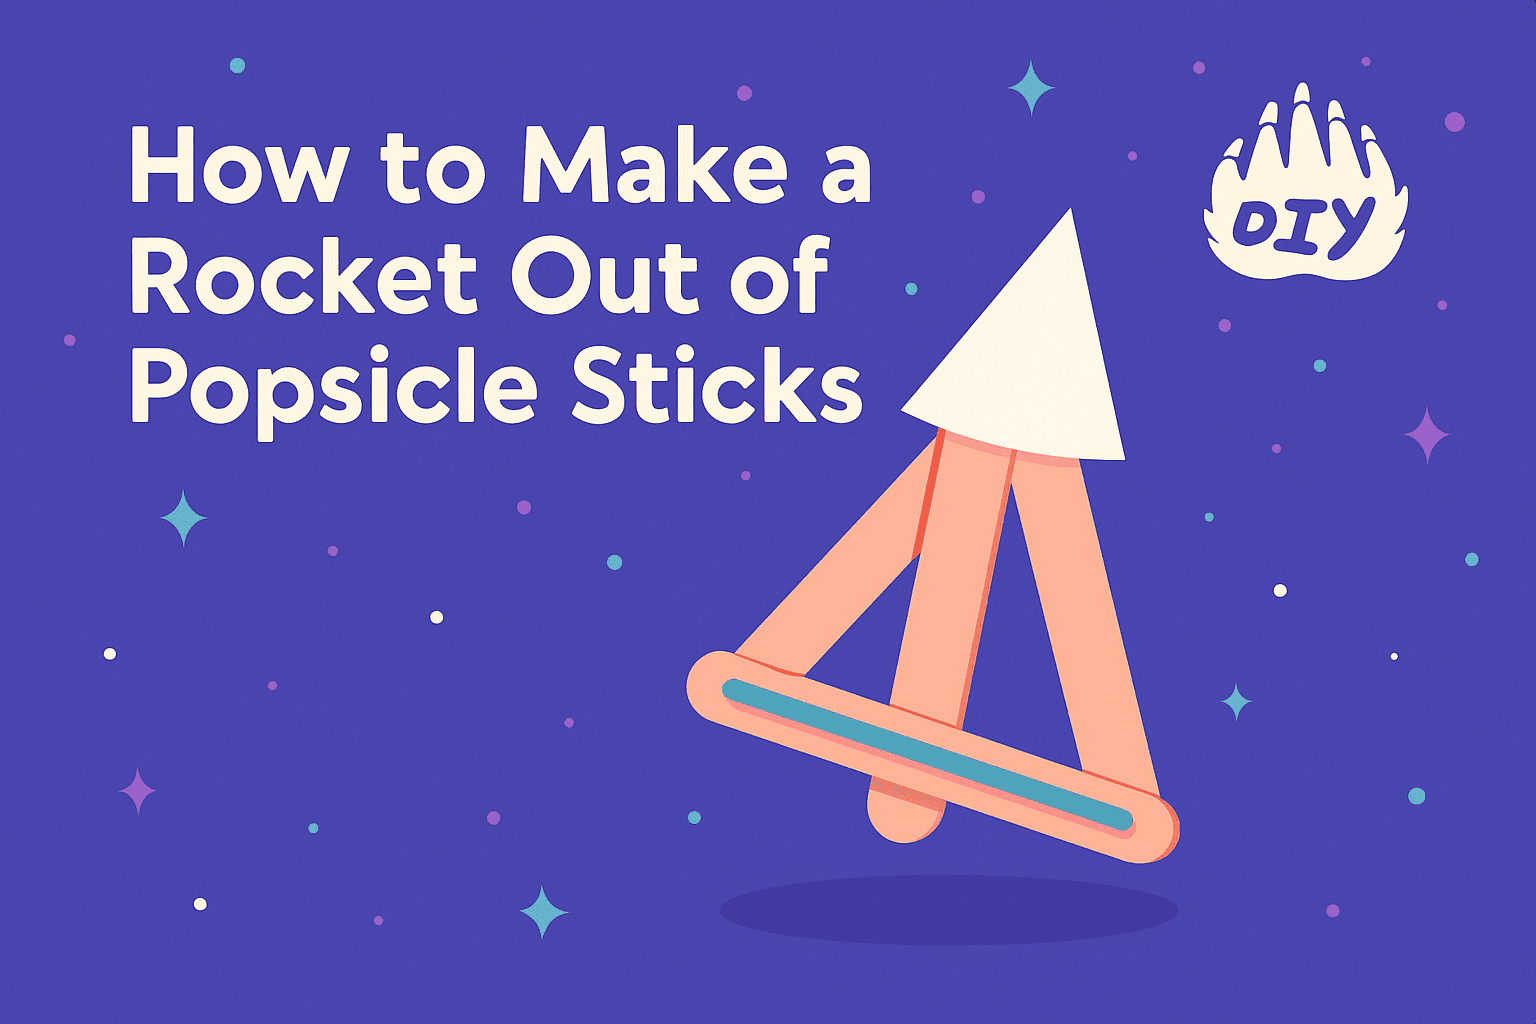
How to Make a Rocket Out of Popsicle Sticks
Want to go beyond catapults? Here’s a quick way to build a mini rocket:
Materials
3–4 popsicle sticks
Paper triangle (for the nose cone)
Rubber bands
Tape
Steps
1. Build a small triangular base with popsicle sticks.
2. Tape a paper cone on one end.
3. Stretch a rubber band between two sticks to act as a launcher.
4. Hook the rocket on the band and release.
This DIY rocket demonstrates elastic energy just like your catapult!
Troubleshooting Tips: Why Isn’t My Catapult Working?
Not launching? Make sure the lever isn’t too loose or too tight.
No distance? Use more tension or reduce the projectile weight.
Breaking apart? Reinforce with extra rubber bands or glue.
Projectile bouncing off? Use soft, lightweight items like pom-poms or marshmallows.
Safety Note: Always supervise kids and avoid sharp or heavy projectiles.
Launch Your Creativity with a Popsicle Stick Catapult
Making a catapult out of popsicle sticks is more than just a fun DIY activity it’s a gateway into basic physics and engineering. With a few simple materials and a bit of creativity, you can build, test, and tweak your very own launcher.
Whether you're looking to make your first popsicle stick catapult, improve its design, or experiment with a mini rocket, there’s no shortage of fun and learning in this hands-on project. So grab those craft sticks and get building!
