
Looking for an exciting way to inspire curiosity and creativity in your kids without breaking the bank? A homemade science kit is the perfect solution. Whether you're a parent, teacher, or just someone who loves hands-on learning, building your own DIY science kit at home is an affordable, rewarding way to boost STEM (science, technology, engineering, and math) learning.
In this guide, we’ll show you how to create a personalized science kit using common household items, fun experiments, and kid-safe tools all while sticking to a budget. Let’s turn your home into a mini-lab for discovery!
Why Make Your Own Science Kit?
Store-bought kits can be pricey and sometimes filled with single-use plastic or projects that don’t get revisited. A homemade science kit gives you full control over what’s inside and lets you tailor activities to your child’s interests and age.
Key Benefits
Cost-effective. Many materials are already in your kitchen or garage.
Customizable. Focus on chemistry, physics, or nature your choice!
Reusability. Experiment again and again with refills and resets.
Perfect for weekend STEM time or after-school fun.
Plus, for parents looking for screen-free alternatives or meaningful gifts, a DIY science kit is a win.
What Should Be in a DIY Science Kit?
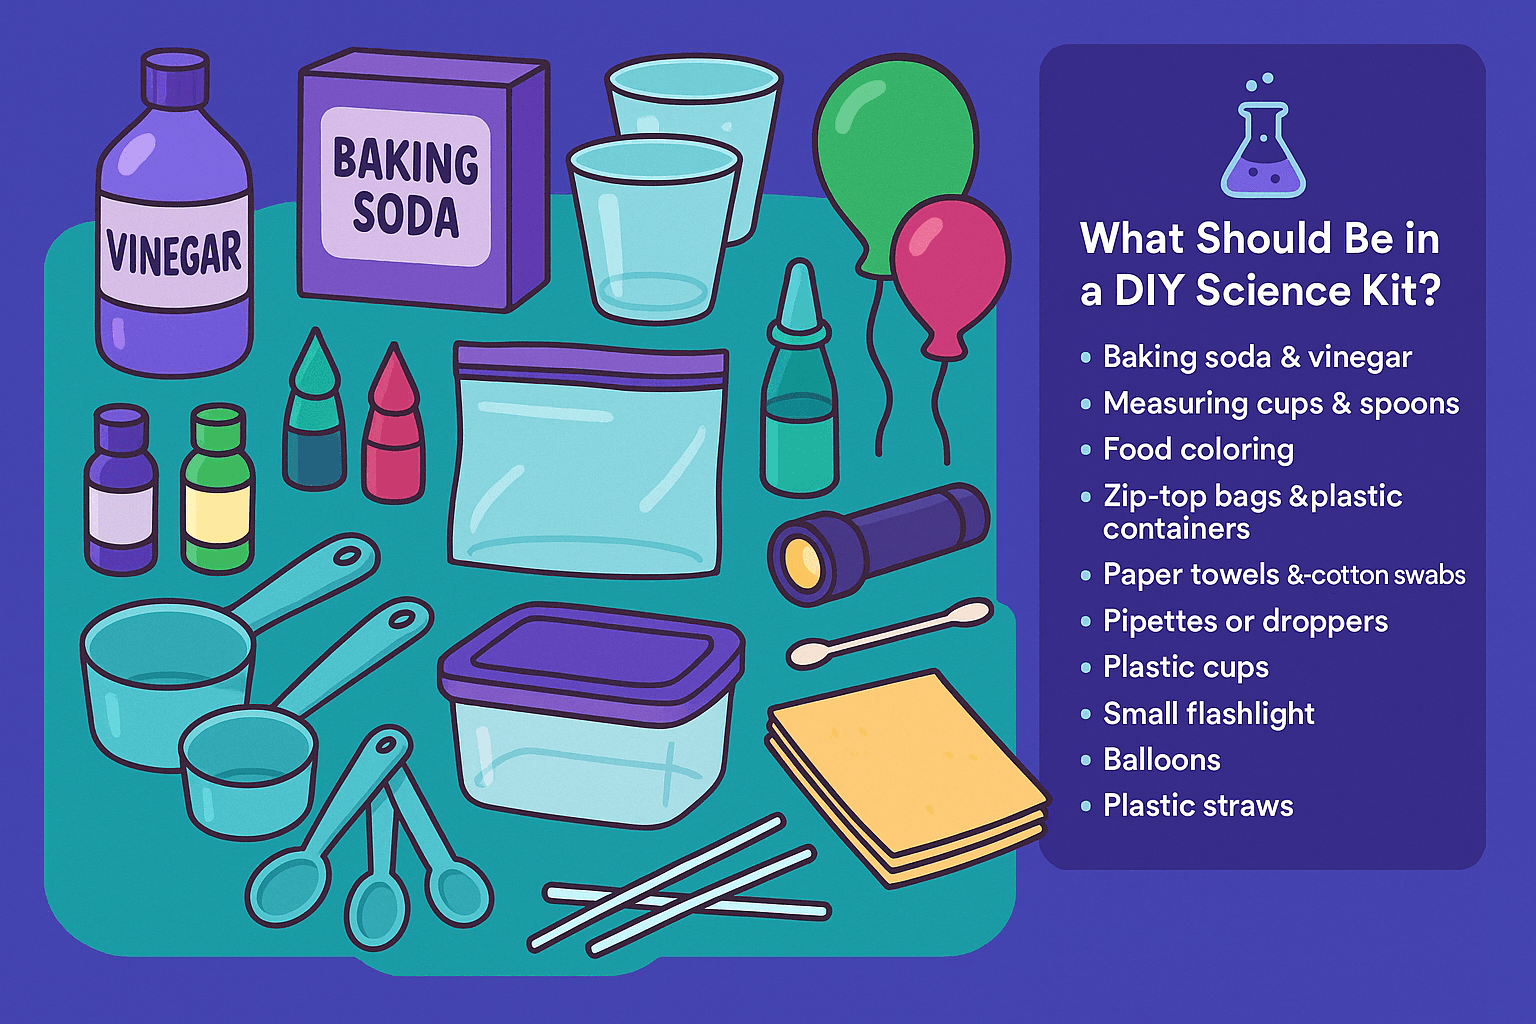
Your kit can include simple supplies that support a wide range of activities across different branches of science. Start with the basics.
Essential Materials
Baking soda & vinegar (for reactions)
Measuring cups & spoons
Food coloring
Zip-top bags & plastic containers
Paper towels & cotton swabs
Pipettes or droppers
Plastic cups
Small flashlight
Balloons
Plastic straws
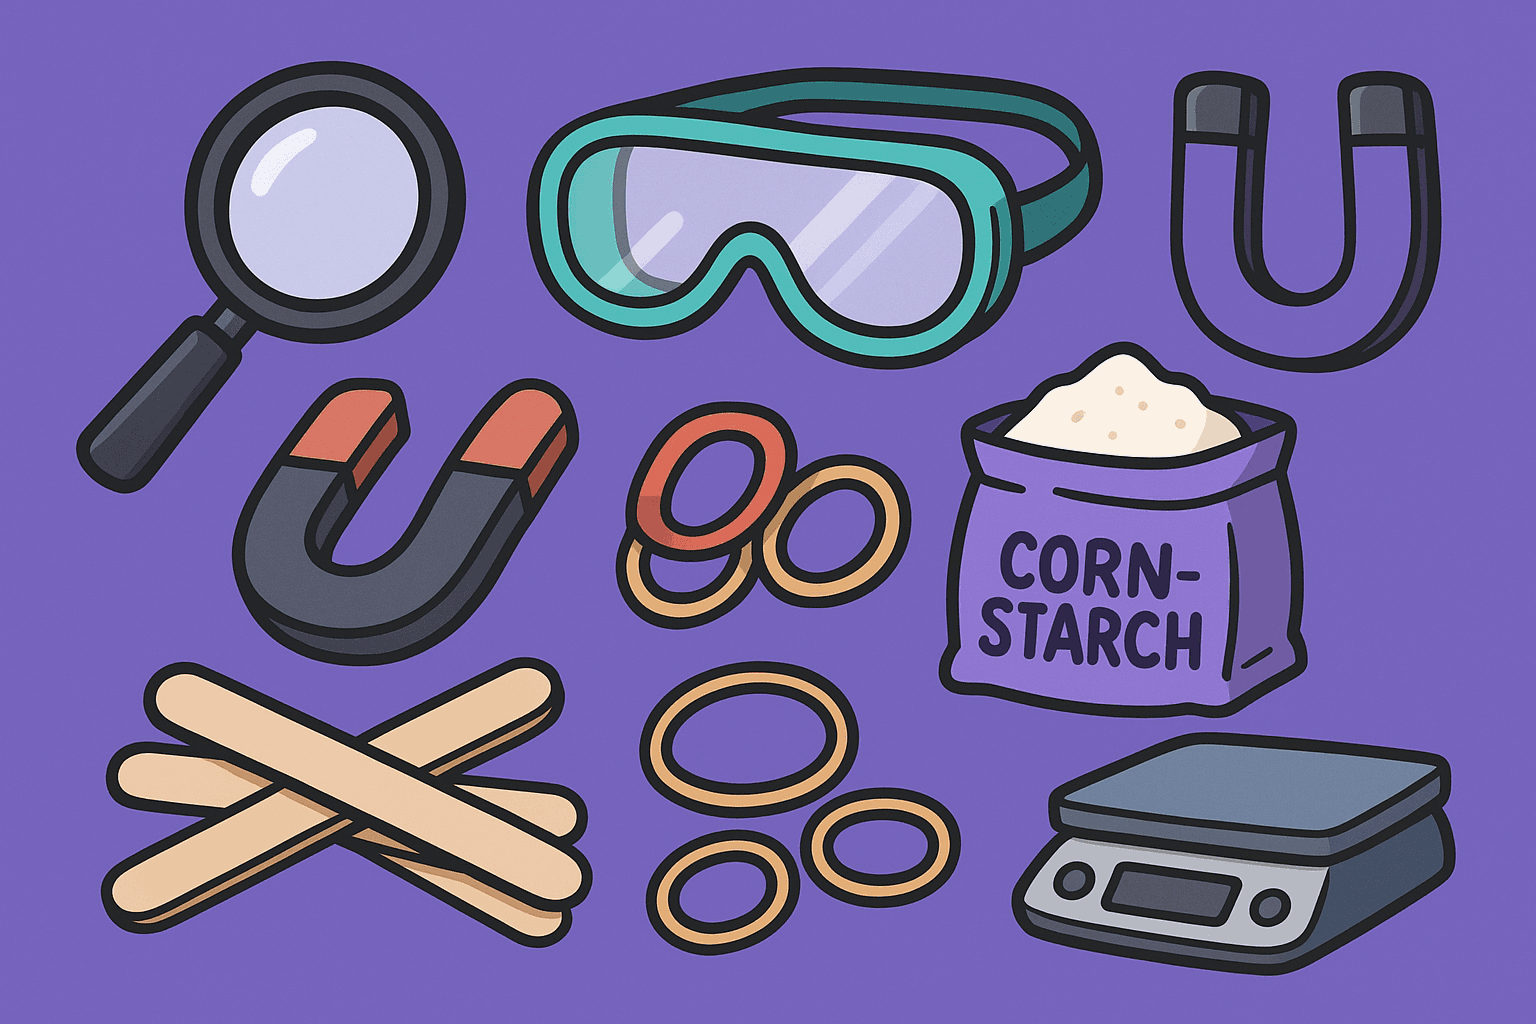
Optional Add-Ins (if you have them)
Magnifying glass
Magnets
Safety goggles
Craft sticks
Rubber bands
Cornstarch (great for oobleck!)
Kitchen scale
Don't be afraid to get creative. Many science experiments thrive on recycled materials like toilet paper rolls, egg cartons, and water bottles.
Budget-Friendly Supplies Checklist
You don’t need to spend much to make a great science kit. Most items can be found at the dollar store, craft aisles, or even in your own drawers.
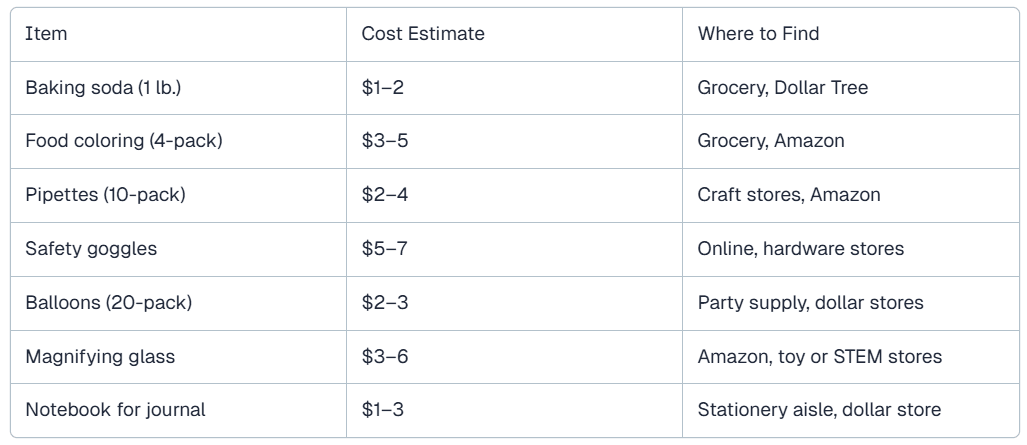
Item | Cost Estimate | Where to Find |
Baking soda (1 lb.) | $1–2 | Grocery, Dollar Tree |
Food coloring (4-pack) | $3–5 | Grocery, Amazon |
Pipettes (10-pack) | $2–4 | Craft stores, Amazon |
Safety goggles | $5–7 | Online, hardware stores |
Balloons (20-pack) | $2–3 | Party supply, dollar stores |
Magnifying glass | $3–6 | Amazon, toy or STEM stores |
Notebook for journal | $1–3 | Stationery aisle, dollar store |
Want a shortcut? Consider pairing your kit with learning apps like DIY.org, which offers kid-friendly science projects and videos.
5 Easy Experiments to Include in Your Kit
Here are five beginner-friendly science experiments you can prep for in advance:
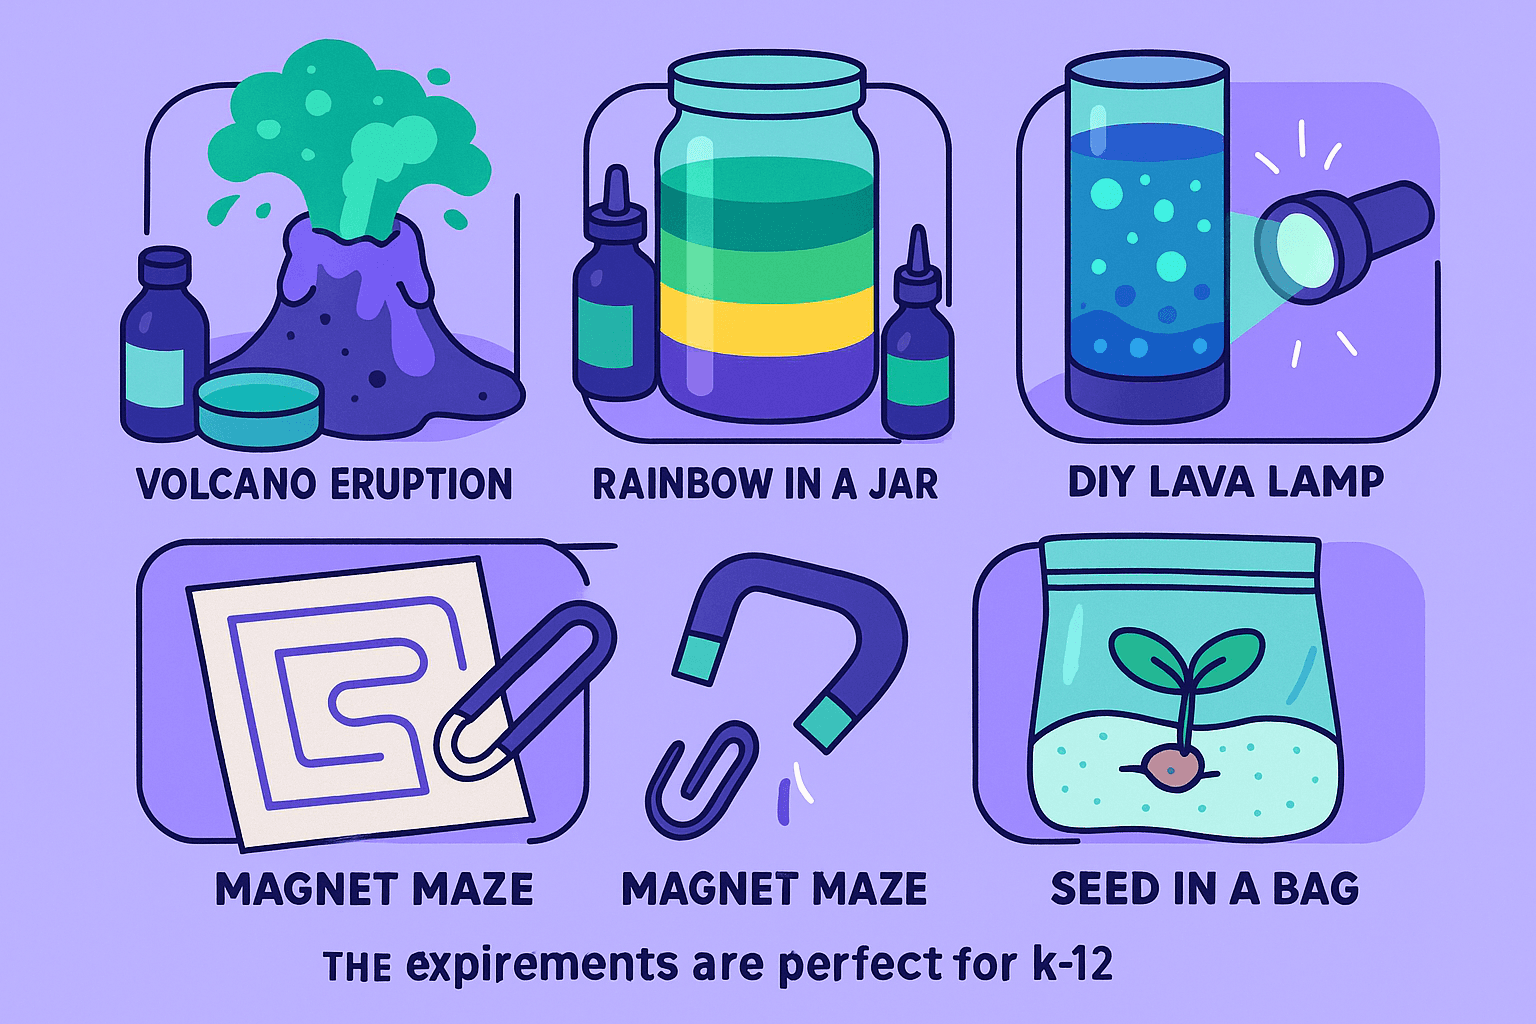
1. Volcano Eruption
Materials: Baking soda, vinegar, food coloring, dish soap. Concepts: Chemical reactions (acid + base). Why kids love it: Big bubbly explosions!
2. Rainbow in a Jar
Materials: Honey, dish soap, water, oil, food coloring. Concepts: Liquid density. Visual impact: Beautiful layered colors!
3. DIY Lava Lamp
Materials: Oil, water, food coloring, Alka-Seltzer. Concepts: Polarity, gas bubbles. Bonus: Use a flashlight to make it glow in the dark
4. Magnet Maze
Materials: Paper, magnets, paper clips. Concepts: Magnetic fields and attraction. Creative twist: Make a mini magnet racetrack!
5. Seed in a Bag
Materials: Zip bag, paper towel, seed, water. Concepts: Plant biology, germination. Long-term value: Watch it grow day by day
These experiments are perfect for kids ages 5–12 and require minimal prep.
Organize Your Kit Like a Pro
To make your science kit easy to use and exciting to open, here are a few storage and organization tips:
Use a clear bin, shoebox, or lunchbox to store everything in one place.
Label containers and baggies with the names of ingredients or tools.
Add a printable “experiment journal” or logbook so kids can record their results.
Color-code materials with washi tape or stickers.
This setup encourages independence and neatness while making science feel like an adventure.
Make It Safe and Kid-Friendly
Safety first! Science can be messy or involve small parts, so keep these precautions in mind:
Supervise young kids during experiments.
Use non-toxic, age-appropriate materials.
Keep sharp tools (like scissors or thermometers) out of unsupervised reach.
Always do experiments in a safe area like the kitchen or backyard.
Add in safety goggles and gloves to make the experience feel official!
Extend the Learning (for Free!)
Keep your child’s interest going with regular science time at home. You can:
Create a weekly “DIY Science Challenge”
Watch age-appropriate STEM videos on YouTube
Join hands-on platforms like DIY.org, where kids can earn badges and take part in guided science projects
Share discoveries with friends or classmates
Turn Your Kit Into a Gift
Want a thoughtful birthday or holiday present? Package your homemade science kit in a colorful box with:
A printed experiment book
A personalized name label
Instructions for 3–5 experiments
Fun extras like stickers or certificates
It’s a gift that encourages learning, creativity, and confidence without contributing to toy clutter.
Small Kit, Big Impact
Making a DIY science kit at home doesn’t have to be expensive or complicated. With just a few simple materials and some creative planning, you can empower your child to explore the world of science, one bubbling volcano or sprouting seed at a time.
Whether you're building it as a weekend project, an educational gift, or a rainy-day activity, your homemade science kit will spark curiosity and build confidence on a budget.
Want Even More Science Fun for Kids?
Explore DIY.org the ultimate online learning platform where kids can watch step-by-step science tutorials, earn badges for completing experiments, and join a safe, creativity-driven community. Whether you’re just getting started or looking to level up your homemade science kit, DIY.org offers 100s of hands-on STEM challenges that inspire real learning through play.
👉 Start Your Free Trial on DIY.org and turn your home into a science lab!
