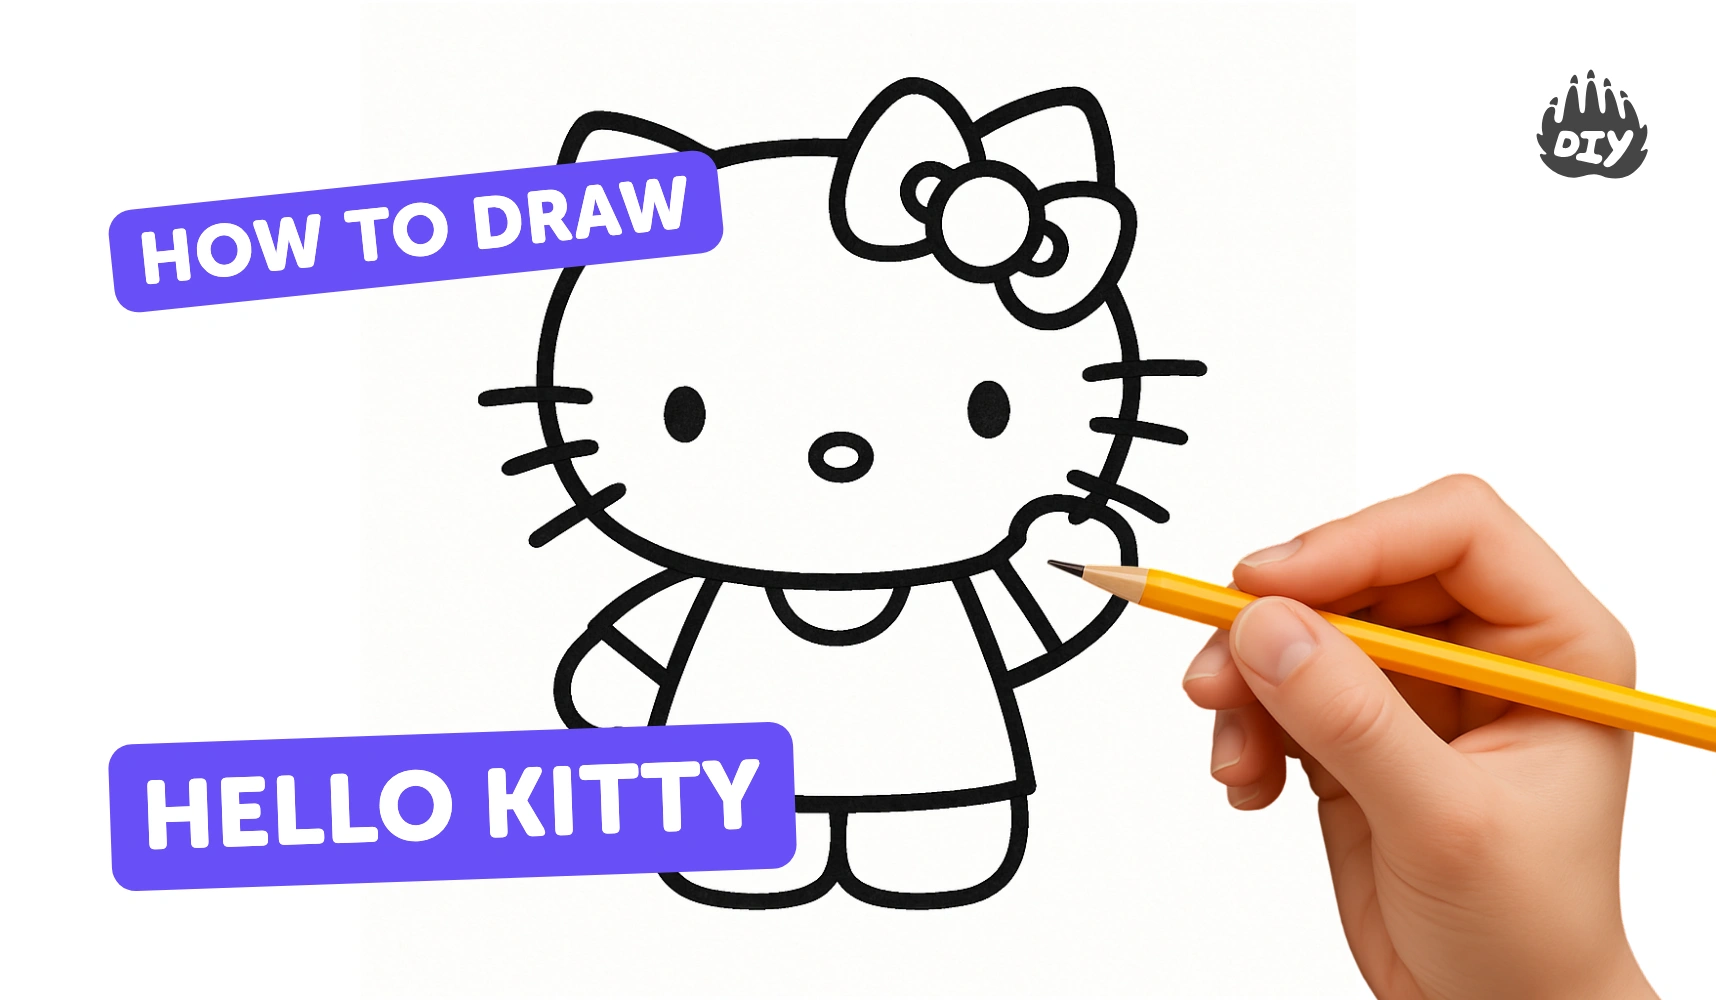
How to draw hello kitty - a free hello kitty drawing guide
Draw a simple Hello Kitty face using basic shapes and colored pencils. Practice step-by-step drawing, proportions, and neat coloring for young artists.

Drawing Apps
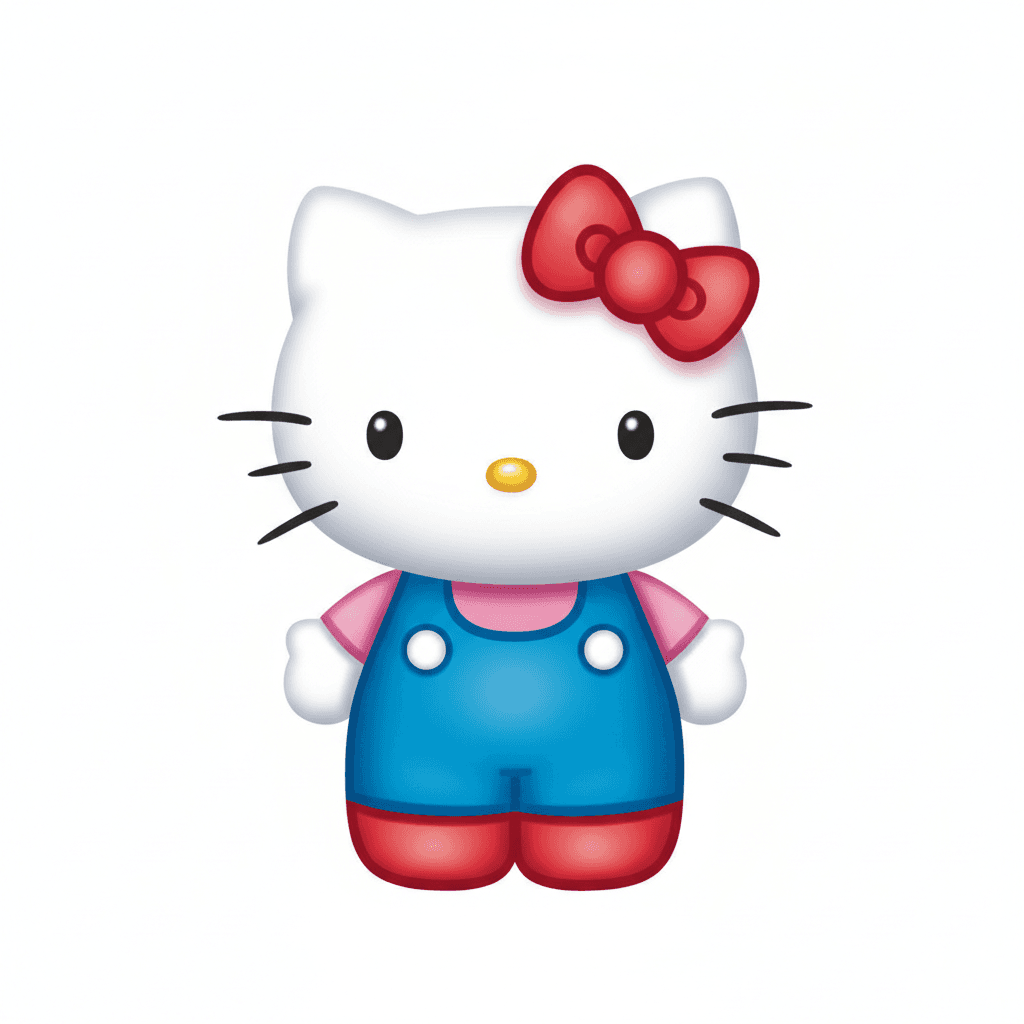
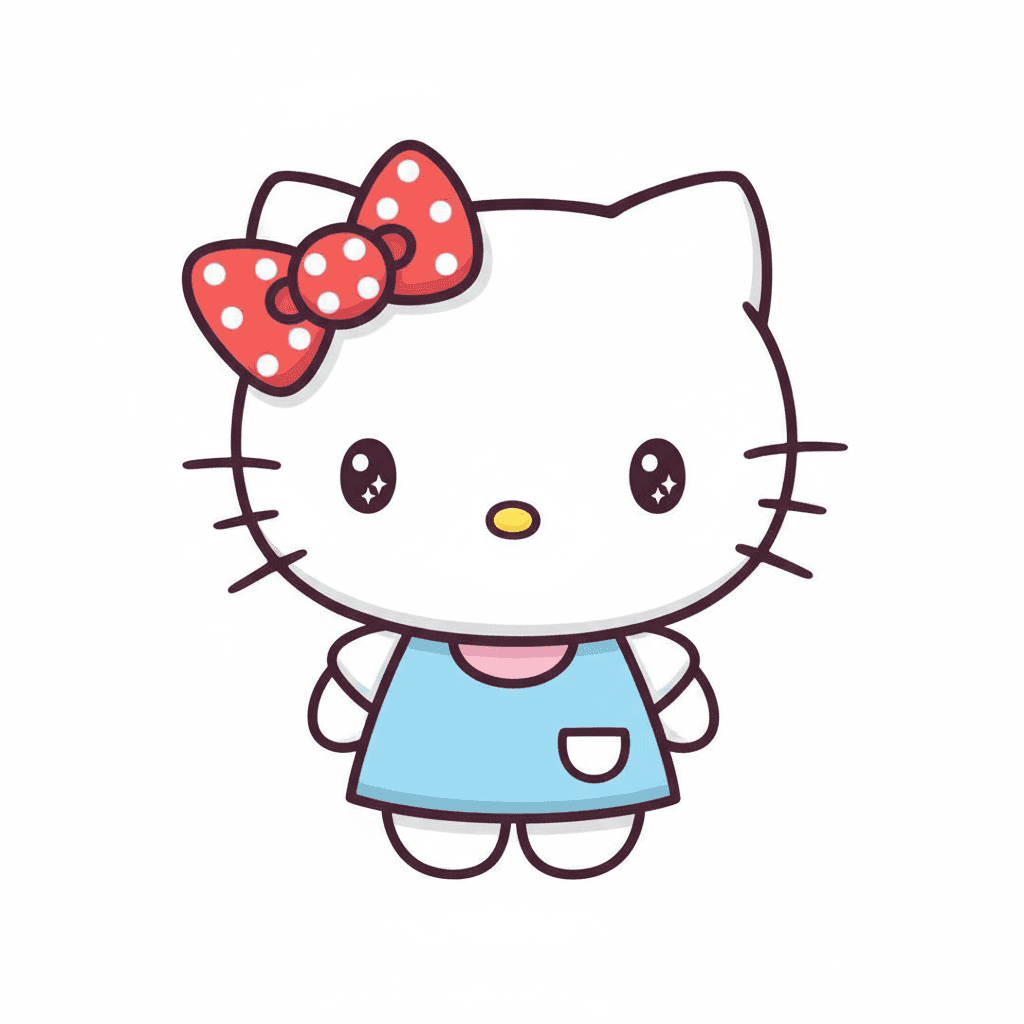
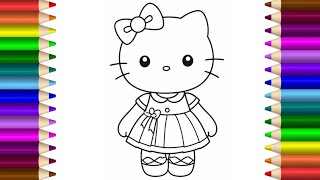
Photos of Hello Kitty face examples
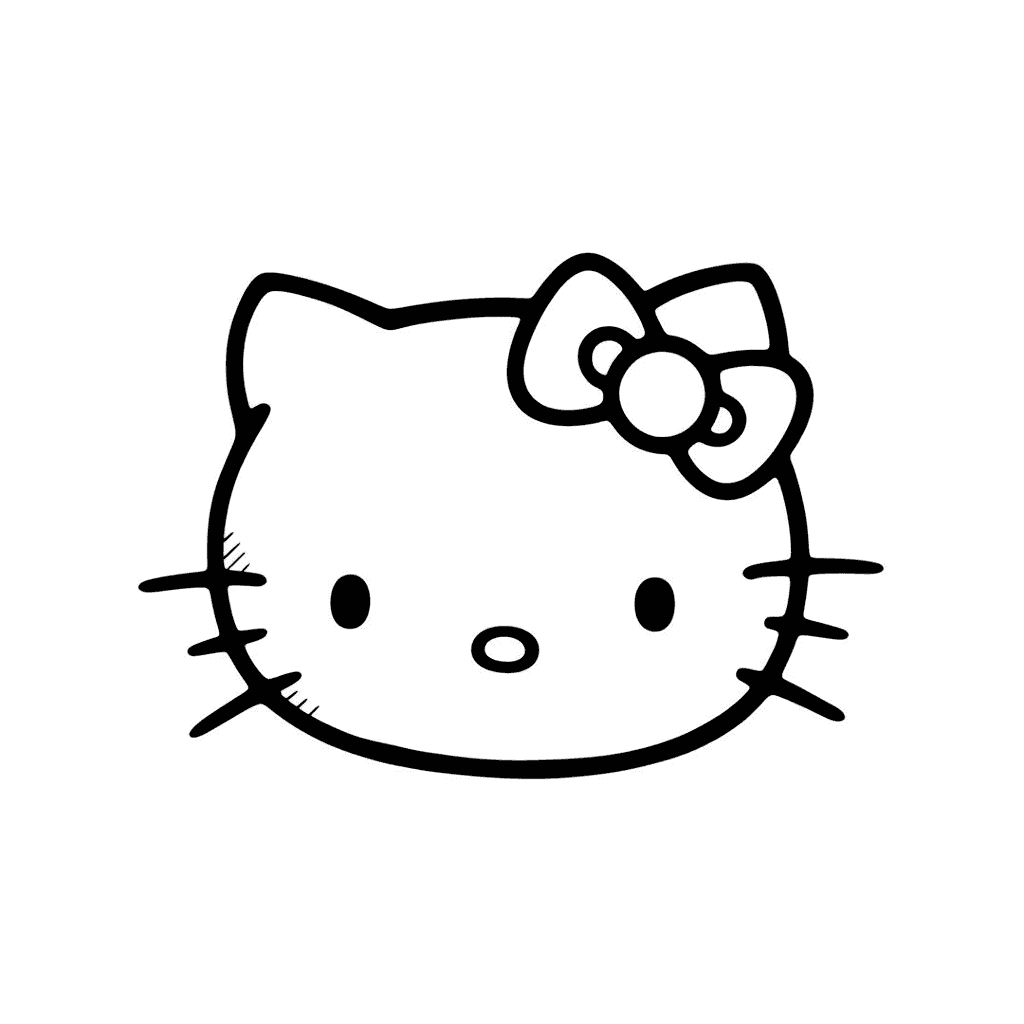
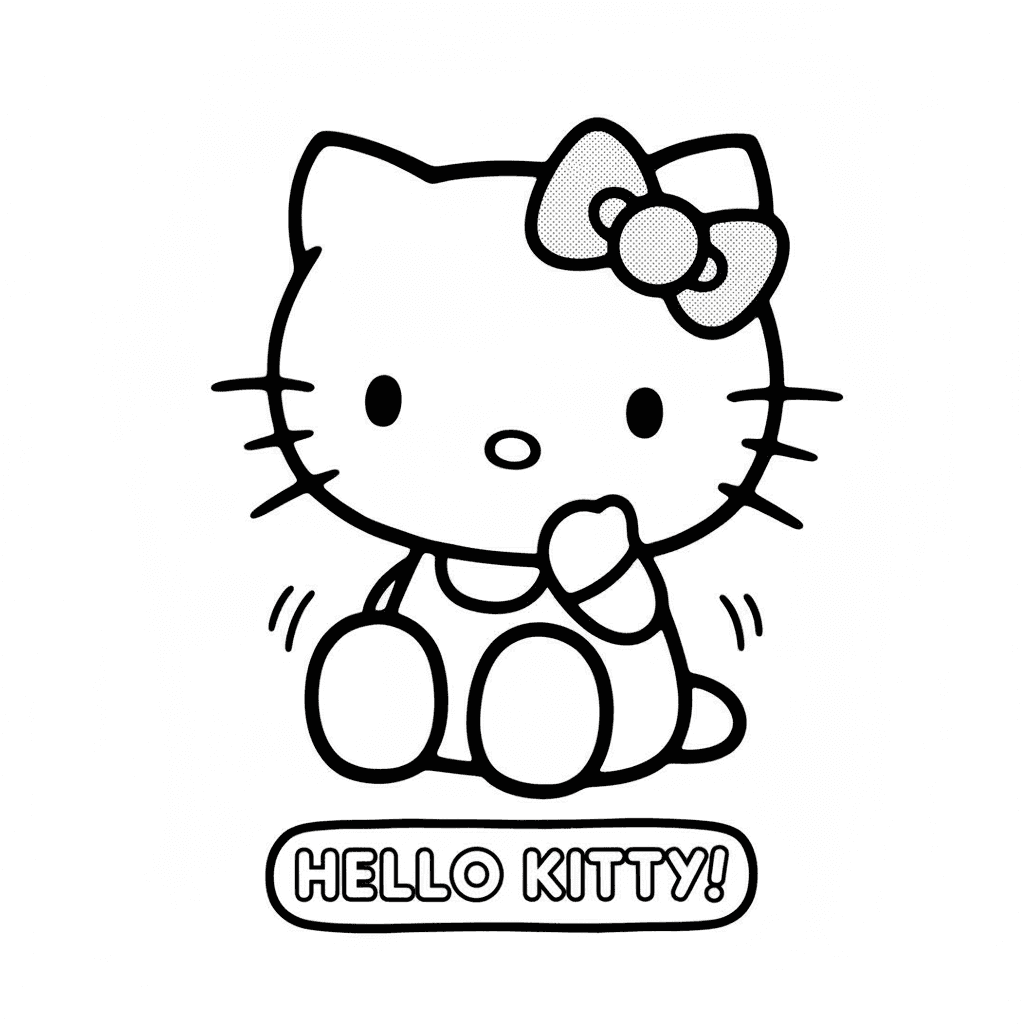

Step-by-step guide to draw a Hello Kitty face
How To Draw Hello Kitty (New Lesson With Color)
Step 1
Place your paper horizontally in front of you.
Step 2
Lightly draw a large oval in the middle of the paper for Hello Kitty's head.
Step 3
Draw two small rounded triangles on top of the oval for the ears.
Step 4
Draw a small circle and two rounded loops on one side of the top of the head to make the bow.
Step 5
Draw two small vertical ovals below the bow for the eyes.
Step 6
Draw a tiny horizontal oval between and slightly below the eyes for the nose.
Step 7
Draw three short straight whisker lines on each side of the face starting near the nose.
Step 8
Erase extra pencil guidelines so only the main shapes remain.
Step 9
Trace the final pencil lines with your black fine-tip marker.
Step 10
Wait a few minutes for the marker to dry before coloring.
Step 11
Color the bow red with your colored pencils.
Step 12
Color the nose yellow with your colored pencils.
Step 13
Fill each eye in black leaving a tiny white dot for a sparkle.
Step 14
Share your finished drawing on DIY.org.
Help!?
What can we use if we don't have a black fine-tip marker or colored pencils?
Trace the final pencil lines with a dark ballpoint pen or thin permanent marker instead of the black fine-tip marker, and use red and yellow crayons or washable markers in place of colored pencils to color the bow and nose.
My drawing looks uneven or the marker smudged—what should I do?
If the oval or eyes are uneven, redraw them lightly in pencil and erase until you like the shape, and if the marker smudges place a scrap paper under your hand and wait the few minutes for the black fine-tip marker to dry before coloring so the tiny white sparkle in the eyes stays clear.
How can I adapt this activity for younger or older kids?
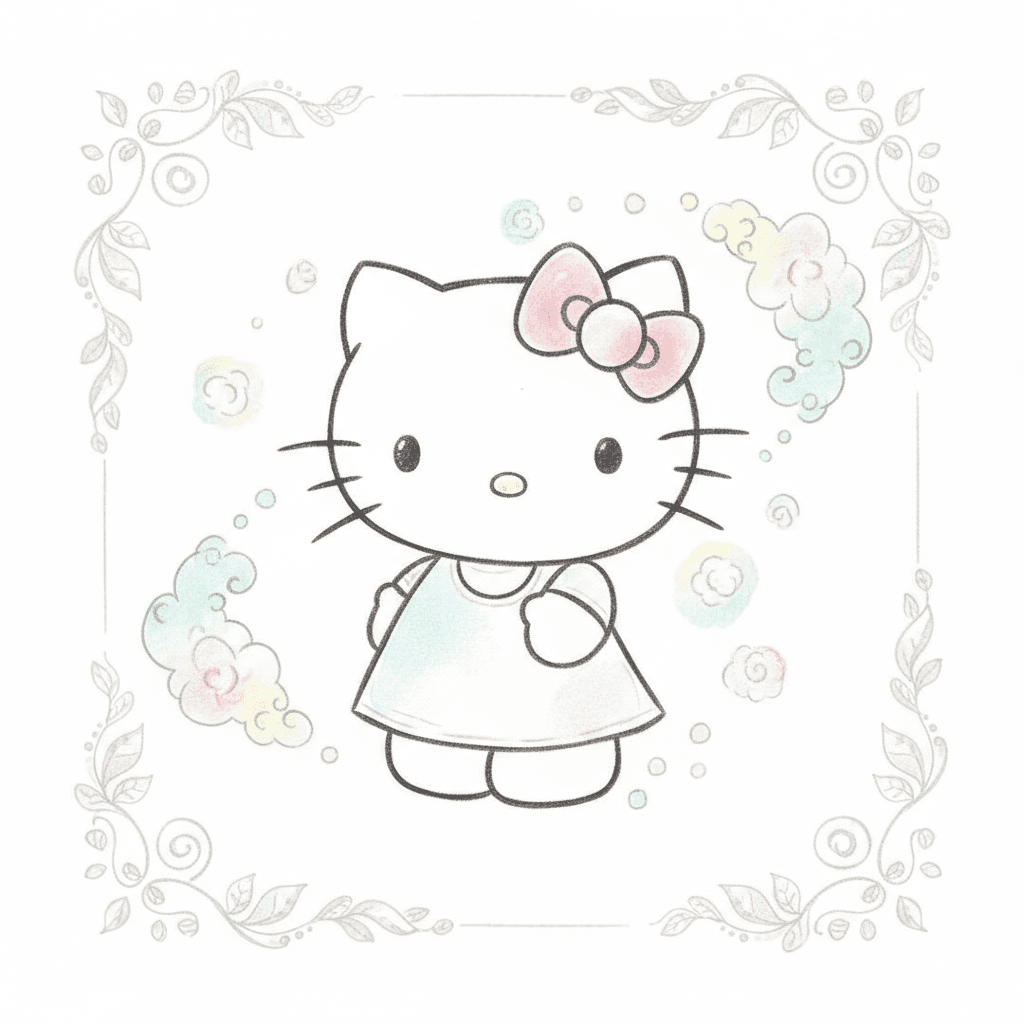
For younger children, pre-draw the large oval and bow and let them trace with a thick washable marker and color with crayons, while older kids can add a body, shading with colored pencils, and refine whiskers and bow details before tracing with the fine-tip marker.
How can we extend or personalize our Hello Kitty drawing after finishing the basic steps?
Personalize the drawing by adding a patterned or glittery bow (apply glitter glue after coloring), drawing a background scene or outfit, and signing your name before sharing the finished drawing on DIY.org.
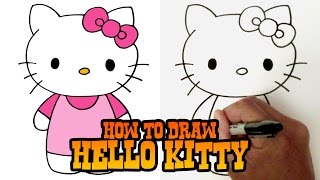
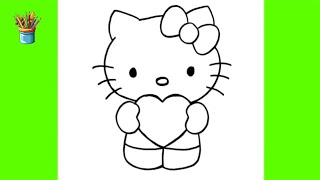
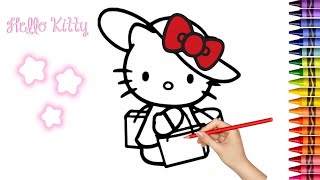
Watch videos on how to draw a Hello Kitty face
How to Draw Hello Kitty - Step by Step Video
4 Videos
How to Draw Hello Kitty - Step by Step Video
How to Draw Hello Kitty Picture Easy Step by Step - Cute Character Hello Kitty Picture Drawing
How to Draw Hello Kitty Easy Step by Step for Kids | Fun Drawing Tutorial for Beginners
How To Draw and Color Hello Kitty Step by Step for Beginners
Facts about drawing and coloring for kids
🐱 Hello Kitty famously has no mouth — Sanrio says this helps her "express" feelings through her eyes so everyone can relate.
🎀 Hello Kitty was created in 1974 by the Japanese company Sanrio and designed by Yuko Shimizu.
✏️ Her face is made of very simple shapes (circles and ovals), which is why she's a great beginner drawing subject.
🌎 Officially her full name is Kitty White and she's described as a British girl from a suburban London family.
🎨 Practicing step-by-step shapes and neat coloring — like in this activity — is how many artists learn good proportions and tidy fills.
How do you draw a simple Hello Kitty face step-by-step?
What materials do I need to draw Hello Kitty?
What ages is drawing Hello Kitty suitable for?
What are some variations and tips for drawing Hello Kitty?
