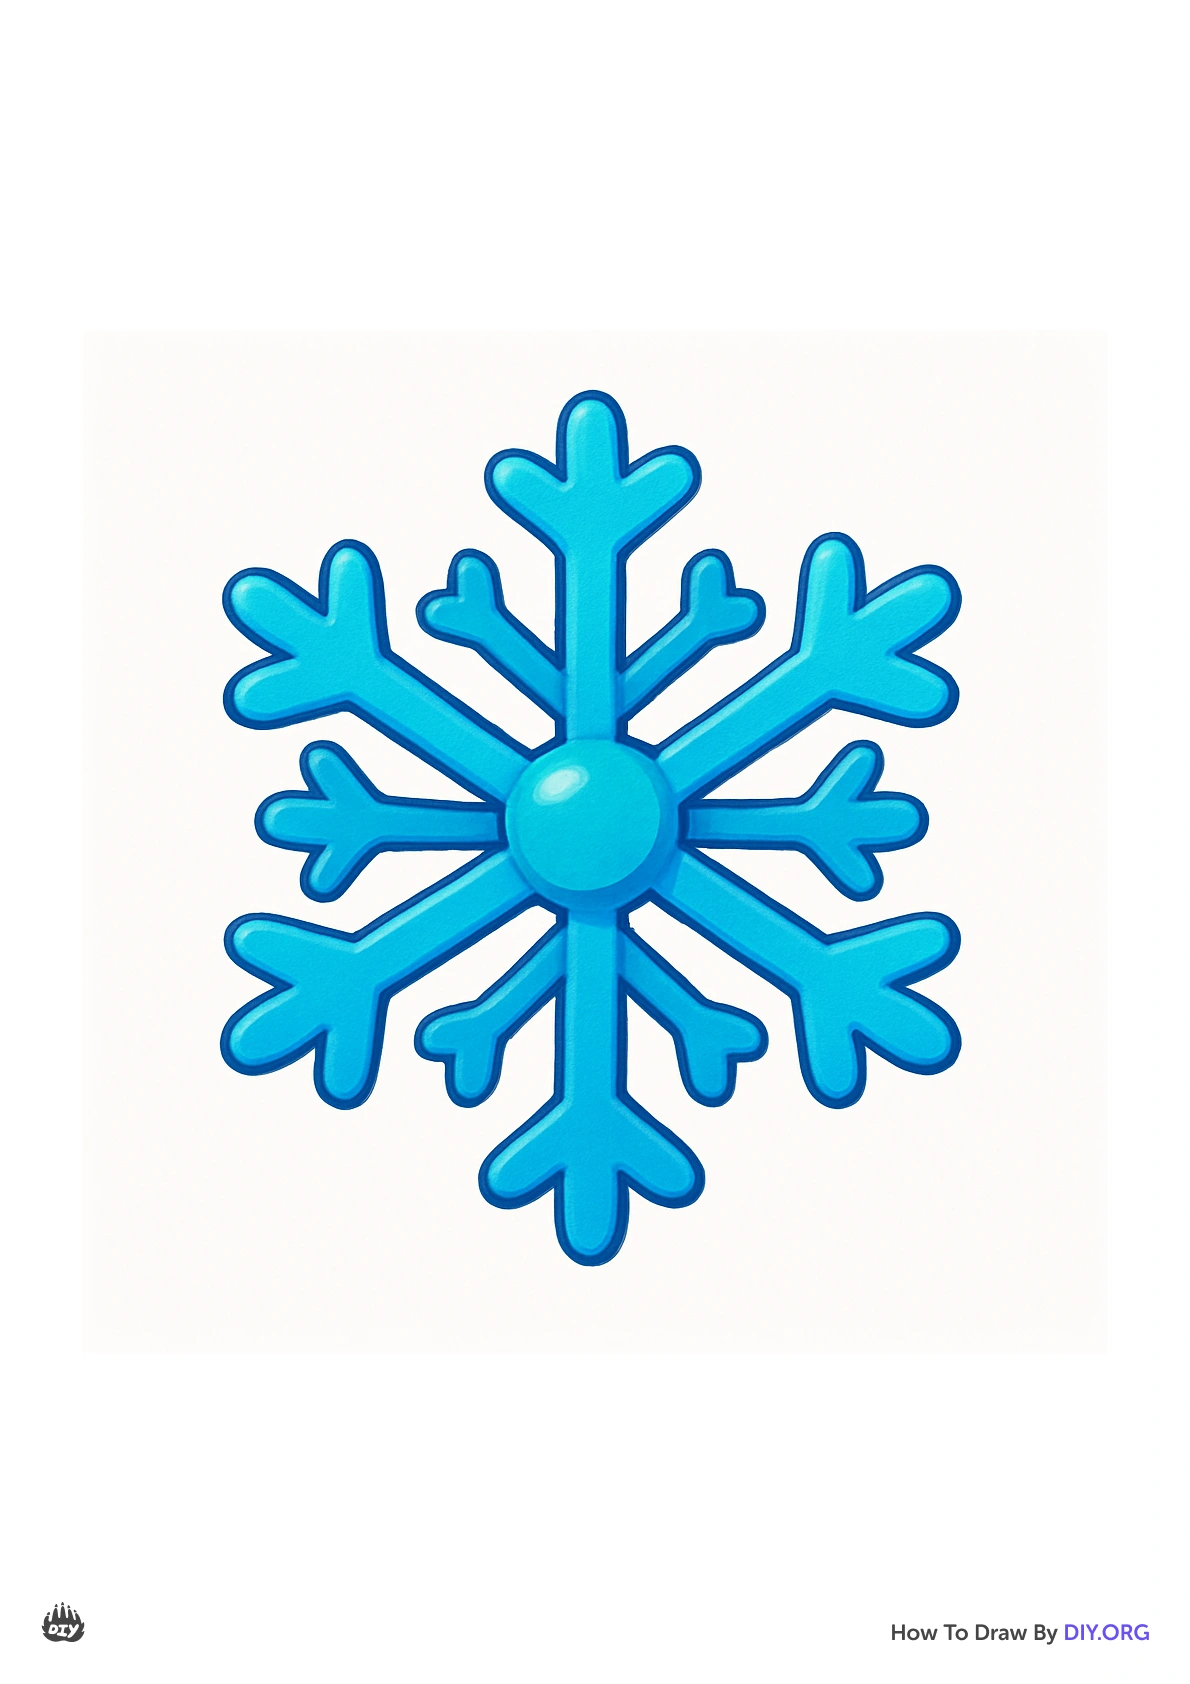
Learn how to draw a snowflake easily with DIY.org's step-by-step guide!

Creating a beautiful snowflake through drawing is a delightful and engaging task that allows for creative expression and exploration of symmetry. To begin this artistic journey, you will need a few essential supplies, including paper, pencils, and possibly colored tools like markers or crayons to add a personal touch. As you embark on this activity, envision the intricate patterns and unique designs that snowflakes showcase, each one being a work of art in its own right. By approaching your drawing with an open mind, you'll unlock the beauty of these winter wonders, focusing on shapes, lines, and angles to capture their delicate essence.
As you draw, you'll experience the process of designing and refining the snowflake's structure, which can lead to interesting discoveries about symmetry and shape. Don't hesitate to experiment with different styles and sizes, as every snowflake is distinct. Once your design is complete, you can enhance it with colors or additional decorations, breathing life into your winter masterpiece. This artistic endeavor not only allows for a fun, hands-on experience but also fosters a greater appreciation for the science and beauty behind snowflakes, making it a rewarding and educational activity.


How to draw a snowflake
Step 1
Set Your Stage 📄: Grab a piece of paper and find a comfy spot to draw. Make sure you have some space to let your imagination sparkle! Tip: A plain white paper makes for the perfect snowy backdrop!
Step 2
Draw a Big Plus Sign ✏️: In the center of your paper, draw a big plus sign (+). Make the lines nice and straight and go all the way from the top to the bottom and side to side. This will be the heart of your snowflake! Tip: You can use a ruler if you want extra straight lines!
Step 3
Add a Cross in the Middle ✖️: Now, draw a smaller cross (like an X) right in the center where your plus sign meets. This will help make your snowflake look super cool and symmetrical! Tip: Keep it balanced; the top should look just like the bottom!
Step 4
Create Some Points! ⛄: At the end of each line of the plus sign, draw a small triangle pointing outward. Do this for all four directions! These will be the points of your snowflake! Tip: Make the triangles as tall or short as you like!
Step 5
Time for Fancy Shapes! ✨: Now it’s time to add some unique designs! Between each triangle, draw a wavy line that connects the outer points of your snowflake to create a beautiful swirl. Feel free to get creative! Tip: Let your imagination go wild—every snowflake is unique!
Step 6
Add Tiny Details 🧊: To make your snowflake stand out, sprinkle in some smaller shapes! You can draw tiny circles, stars, or more mini triangles between the larger elements of your design. Use your pencil to add flair wherever you want! Tip: Don’t be shy, fill in those gaps!
Step 7
Outline Your Snowflake 🖊️: Once you’re happy with your design, grab a black marker or pen and carefully trace over your pencil lines. Make those magical shapes pop! Tip: Take your time and feel like an artist—each line should shine!
Step 8
Time to Color! 🎨: Get your favorite colors—blues, whites, and sparkly glitter are perfect for a snowflake! Color in your snowflake, being careful not to smudge the ink. You can choose to color in just the shapes or make the whole background a snowy scene! Tip: Combine shades of blue or add some glitter for extra sparkle!
Step 9
Show Off Your Snowflake! 🌟: Once you’re done coloring, hold your masterpiece up for everyone to see! Share with your family and friends, and maybe even make some more snowflakes to decorate your room!
Step 10
🎉 You did it! 🎉: Wowza! You’ve just created a breathtaking snowflake that’s one-of-a-kind, just like you! Keep practicing and soon you'll have a whole flurry of snowflakes to brighten up your winter! 🥳

Start your 7 day free trial
Our Mission
To create a safe space for kid creators worldwide!
Games & Tools
2025, URSOR LIMITED. All rights reserved. DIY is in no way affiliated with Minecraft™, Mojang, Microsoft, Roblox™ or YouTube. LEGO® is a trademark of the LEGO® Group which does not sponsor, endorse or authorize this website or event. Made with love in San Francisco.