How to draw a pumpkin - a free pumpkin drawing guide
Draw a pumpkin step by step using simple shapes, lines, shading, and color. Practice proportions, texture, and shading to create a finished pumpkin drawing.

Drawing Apps
Get inspired with these


Instructions
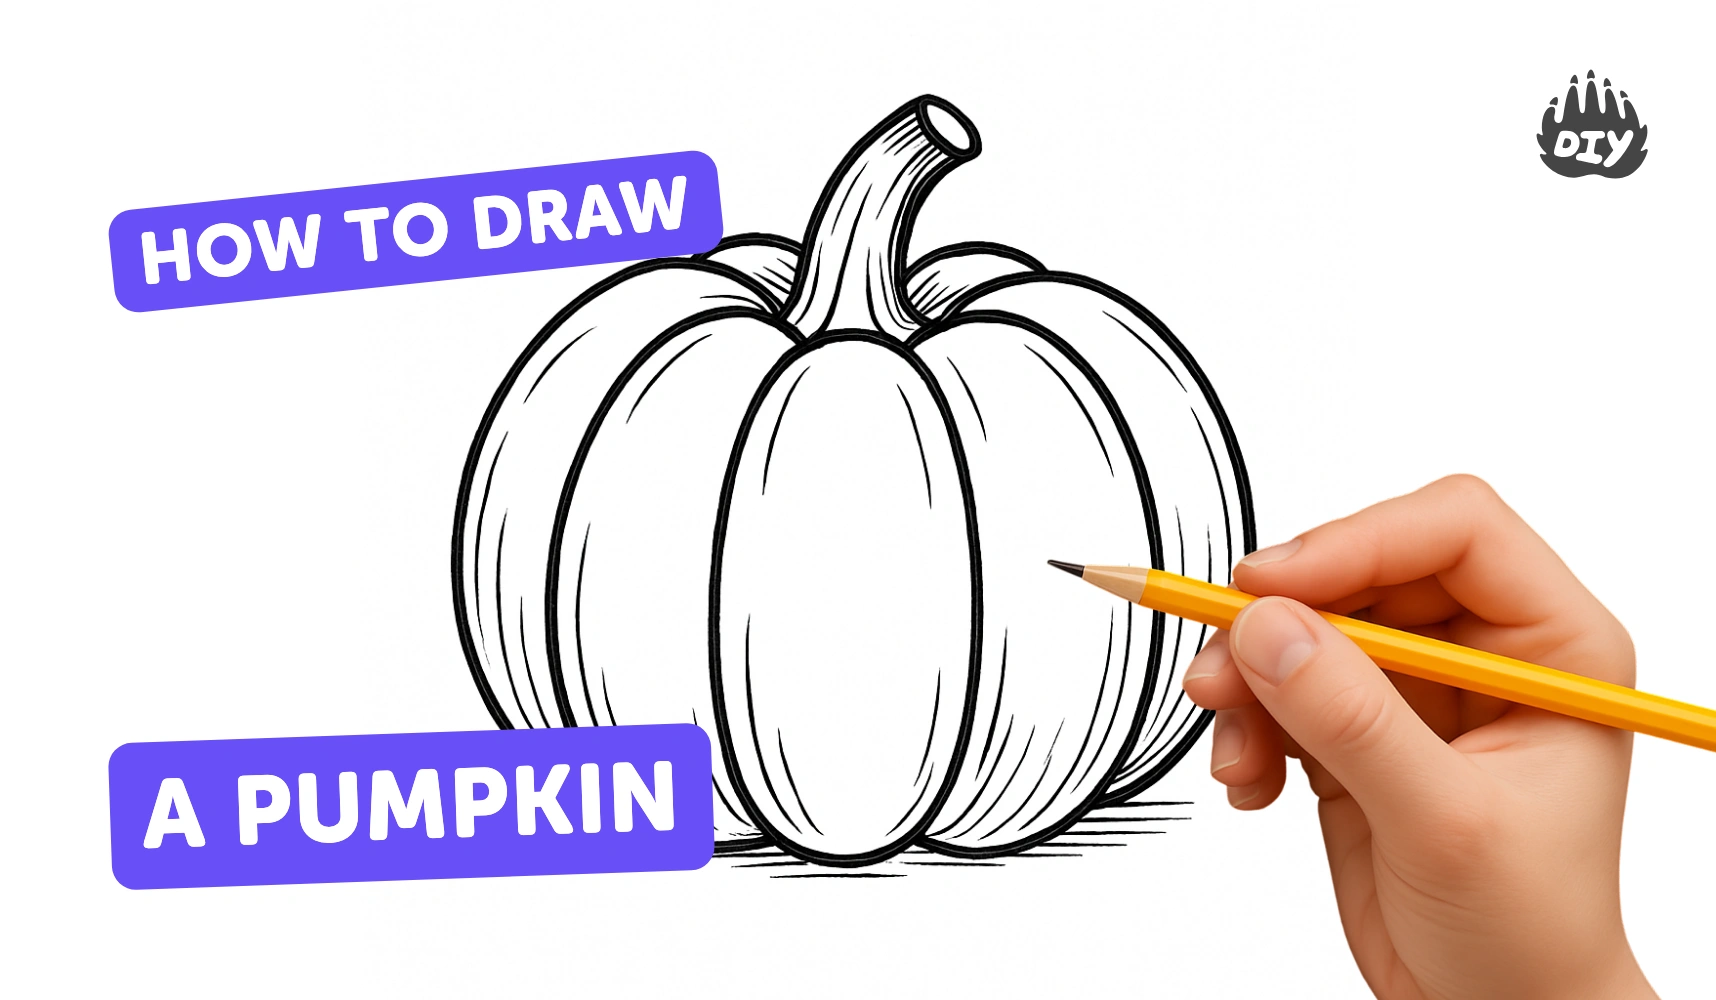
How to Draw Pumpkin Step by Step | Easy PUMPKIN Drawing for Kids
Step 1
Draw a light oval shape in the middle of your paper to be the pumpkin body.
Step 2
Put a tiny pencil dot at the top center and another at the bottom center of the oval as guides.
Step 3
Draw 5 to 7 gentle curved vertical lines from the top dot to the bottom dot to make the pumpkin ribs.
Step 4
Redraw the outer edge of the oval so it follows the curves of the ribs and looks slightly wavy.
Step 5
Erase the top and bottom guide dots so the ribs meet cleanly at the ends.
Step 6
Draw a short thick stem on the top center of the pumpkin with a slight tilt.
Step 7
Draw one or two leaves and a little curly vine coming out from the stem.
Step 8
Choose which side the light is coming from and lightly mark that side with a small pencil dot.
Step 9
Shade the opposite side of each rib with gentle pencil strokes to create shadow.
Step 10
Smudge the shaded areas lightly with your finger or a tissue to make the shadows smooth.
Step 11
Trace your favorite pencil lines with the black pen to make the pumpkin look crisp if you want bold edges.
Step 12
Color the whole pumpkin with a base layer of orange.
Step 13
Add darker orange or brown along the shaded ribs and blend into the base color.
Step 14
Color the stem and leaves and add a few light marks or a lighter color for highlights on the pumpkin.
Step 15
Share your finished pumpkin drawing on DIY.org.
Help!?
What can we use instead of a black pen, orange color, or tissue if we don't have them?
Use a fine-tip dark marker or dark colored pencil to 'trace your favorite pencil lines', substitute crayons, watercolor, or orange pastels for 'color the whole pumpkin with a base layer of orange', and use a cotton swab, Q‑tip, or blending stump to 'smudge the shaded areas lightly' if you don't have a tissue.
My ribs don't meet cleanly after I erase the guide dots or the outer edge looks wrong—what should I do?
Lightly redraw the top and bottom convergence points and touch up the ends of each rib with a sharp pencil before erasing stray marks, then carefully 'redraw the outer edge of the oval so it follows the curves of the ribs' so the ribs meet cleanly at the ends.
How can I change the activity for younger kids or make it more challenging for older kids?
For younger children, simplify by drawing 3–4 gentle ribs, skipping shading and smudging and using crayons for 'color the whole pumpkin', while older kids can add more ribs, detailed stem veins, layered shading along the 'shaded ribs', highlights, and a cast shadow on the ground.
What are some ways to extend or personalize the finished pumpkin drawing?
Add a carved face or decorative patterns before you 'color the whole pumpkin with a base layer of orange', experiment with mixed media like a watercolor wash under colored-pencil shading on the 'shaded ribs', include a background or cast shadow, and then photograph it to 'share your finished pumpkin drawing on DIY.org'.
Related videos
How to Draw a Pumpkin - The Easiest Step-by-Step Tutorial for Beginners 🎃
4 Videos

How to Draw a Pumpkin - The Easiest Step-by-Step Tutorial for Beginners 🎃
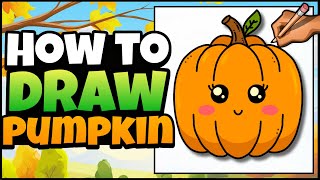
How to Draw a Cute Pumpkin | Art for Kids
Easy Halloween Tutorial: How to Draw a Cute Pumpkin for Kids - Step-by-Step Beginner's Guide

How To Draw a Pumpkin Easy | Draw & Color Tutorial
Fun Facts
🎃 Pumpkins are botanically a fruit — specifically a type of berry called a "pepo".
🥇 The heaviest pumpkin ever recorded weighed over 2,600 pounds (more than 1,180 kg)!
✏️ To make pumpkin ribs look round, artists use curved contour lines and at least three tonal values: highlight, midtone, and core shadow.
🎨 Pumpkins come in many colors — orange, white, green, and even blue — because of different carotenoid pigments and varieties.
🍂 Pumpkin stems dry and turn brown after harvest; leaving a bit of stem attached helps painted or display pumpkins last longer.
How do I draw a pumpkin step-by-step with my child?
What materials do I need to draw a realistic pumpkin?
What ages is drawing a pumpkin suitable for?
What are the benefits and safety tips for pumpkin drawing activities?
