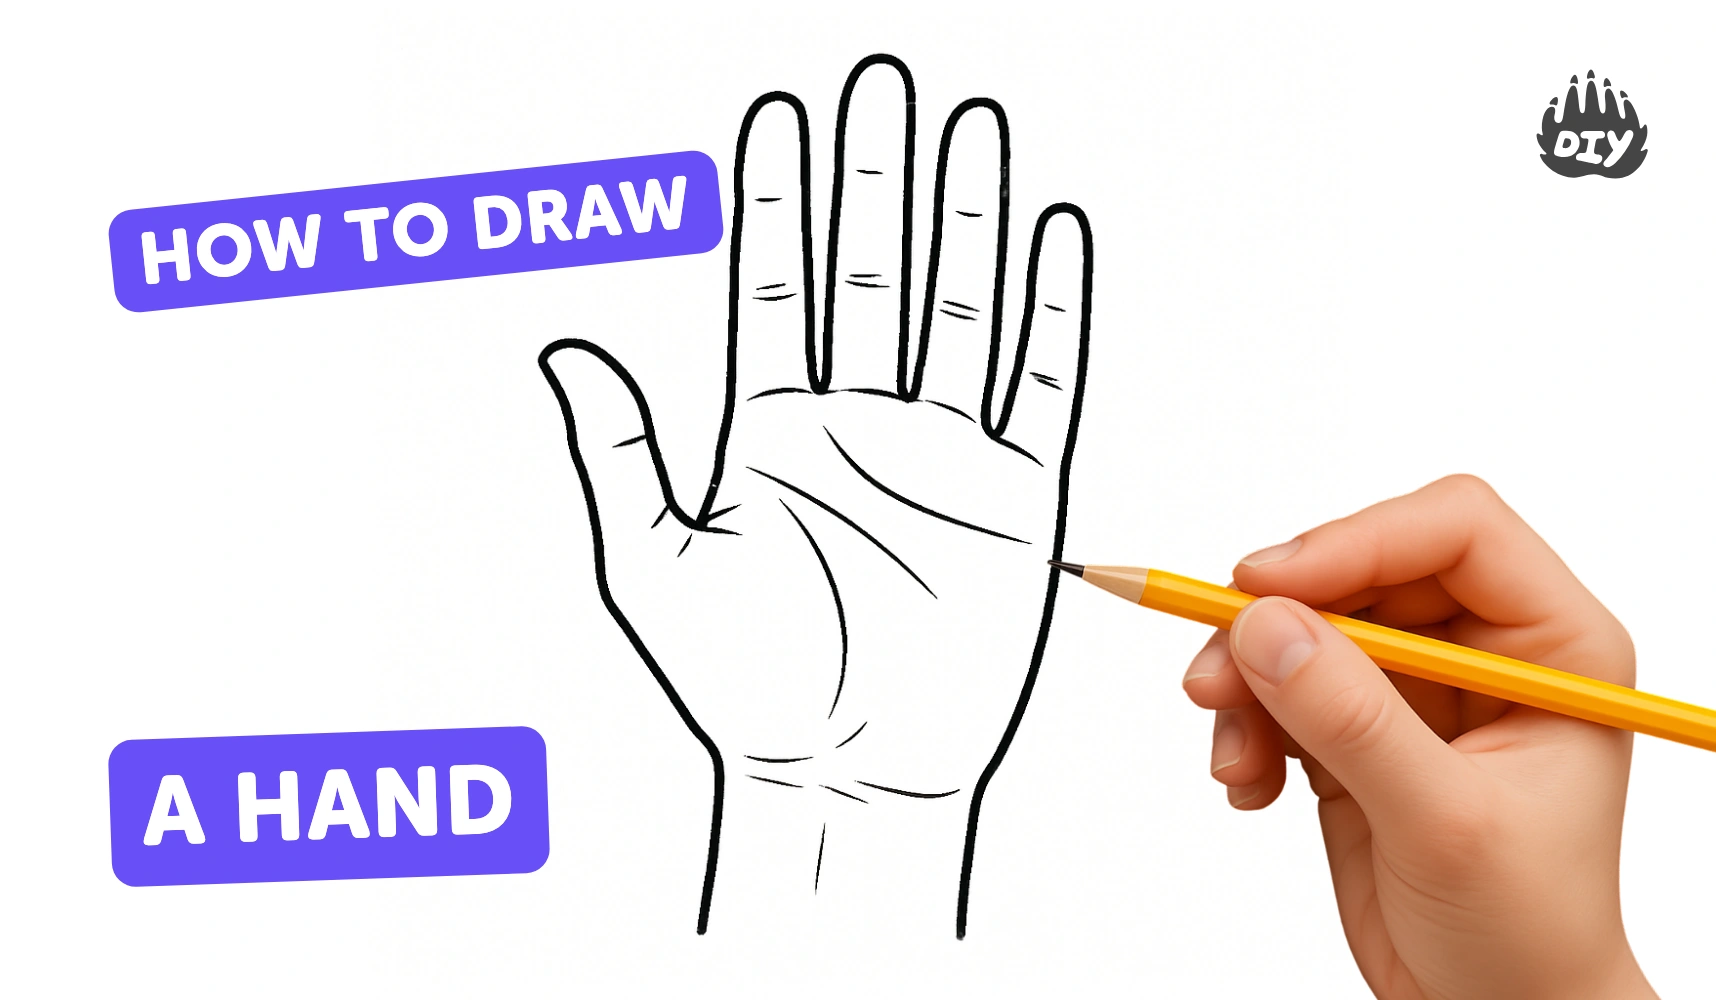
How to draw a hand - a free hand drawing guide
Draw a detailed hand step-by-step using pencil and observation. Practice proportions, finger placement, and shading to improve drawing and fine motor skills.

Drawing Apps
Get inspired with these


Instructions
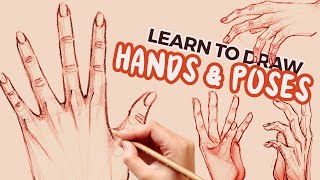
How to draw Hands in 10 Minutes | Tutorial | Drawlikeasir
Step 1
Gather the paper pencil eraser sharpener and a blending tool so everything is ready.
Step 2
Sit at a table with good light so you can see shadows on your hand.
Step 3
Place your non-drawing hand on the table in a relaxed pose to use as a reference.
Step 4
Lightly draw the palm shape as an oval or rounded rectangle and add a short wrist line at the bottom.
Step 5
Draw five light guide lines from the top of the palm for the fingers and one angled guide for the thumb.
Step 6
Mark knuckle and joint locations along each guide with small dots to show where fingers bend.
Step 7
Sketch each finger using slightly tapered segments that connect the joint dots.
Step 8
Sketch the thumb as two tapered segments starting from the side of the palm at an angle.
Step 9
Draw small curved shapes at the tips of the fingers to show fingernails.
Step 10
Add simple crease lines on the knuckles and the palm where the skin folds.
Step 11
Gently erase the guide lines and dots to clean up the sketch.
Step 12
Decide where the light is coming from so you know which side will be shaded.
Step 13
Shade softly on the side opposite the light to build shadows on the fingers and palm.
Step 14
Use the tissue or cotton swab to lightly blend the shaded areas for a smooth realistic look.
Step 15
Take a photo of your finished hand drawing and share your creation on DIY.org.
Help!?
What can we use instead of a blending tool if we don't have a tissue or cotton swab?
If you don't have a blending tool, use a clean fingertip, a folded tissue, a cotton ball, or the corner of a soft cloth to lightly blend the shaded areas as instructed.
My fingers look stiff after I sketched the tapered segments and joint dots—how do I fix that?
If fingers look stiff after sketching the tapered segments and joint dots, lightly erase the heavy guide marks with your eraser, redraw softer curved strokes following the joint dots for natural bends, and then gently clean up remaining guide lines.
How can I adapt this hand-drawing activity for younger or older kids?
For younger kids, have them trace their relaxed hand and add simple nail shapes and one shaded side, while older kids should follow the full five guide lines and joint-dot method, refine knuckle creases, and practice tissue blending for realistic shadows.
How can we enhance or personalize our finished hand drawing?
To enhance the drawing, try different light directions when you decide where the light is coming from, add jewelry or nail details, use colored pencils or heavier shading for contrast, then take a photo of your finished, blended hand drawing and share it on DIY.org.
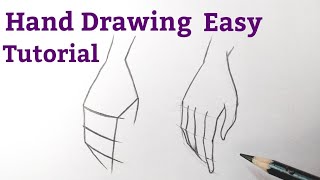
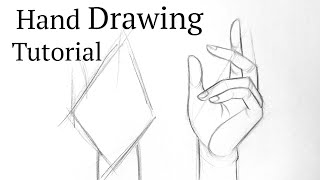
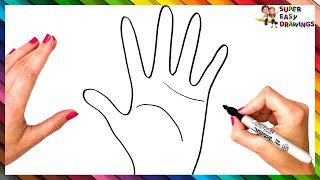
Related videos
How to draw hand/hands easy for beginners Hand drawing easy step by step tutorial with pencil.
4 Videos
How to draw hand/hands easy for beginners Hand drawing easy step by step tutorial with pencil.
How to draw hand/hands for beginners Hand drawing basics easy step by step tutorial with pencil.
How To Draw A Hand Step By Step ✋ Hand Drawing Easy
how to draw hands for beginners | step by step tutorial
Fun Facts
🖐️ A human hand has 27 bones — sketching basic bone shapes helps fingers look believable.
✏️ Artists often simplify the hand into a boxy palm and cylindrical fingers to lock in proportion fast.
⏱️ Doing quick 30–60 second gesture sketches of hands trains you to capture pose and flow before details.
🎨 Soft shading along finger sides and around knuckles is a tiny trick that makes a flat drawing look 3D.
📐 Many artists use a pencil as a measuring tool (thumb as a caliper) to compare angles and lengths accurately.
How do you draw a realistic hand step-by-step?
What materials do I need to draw a realistic hand?
What ages is realistic hand drawing suitable for?
What are the benefits of learning to draw a realistic hand?
