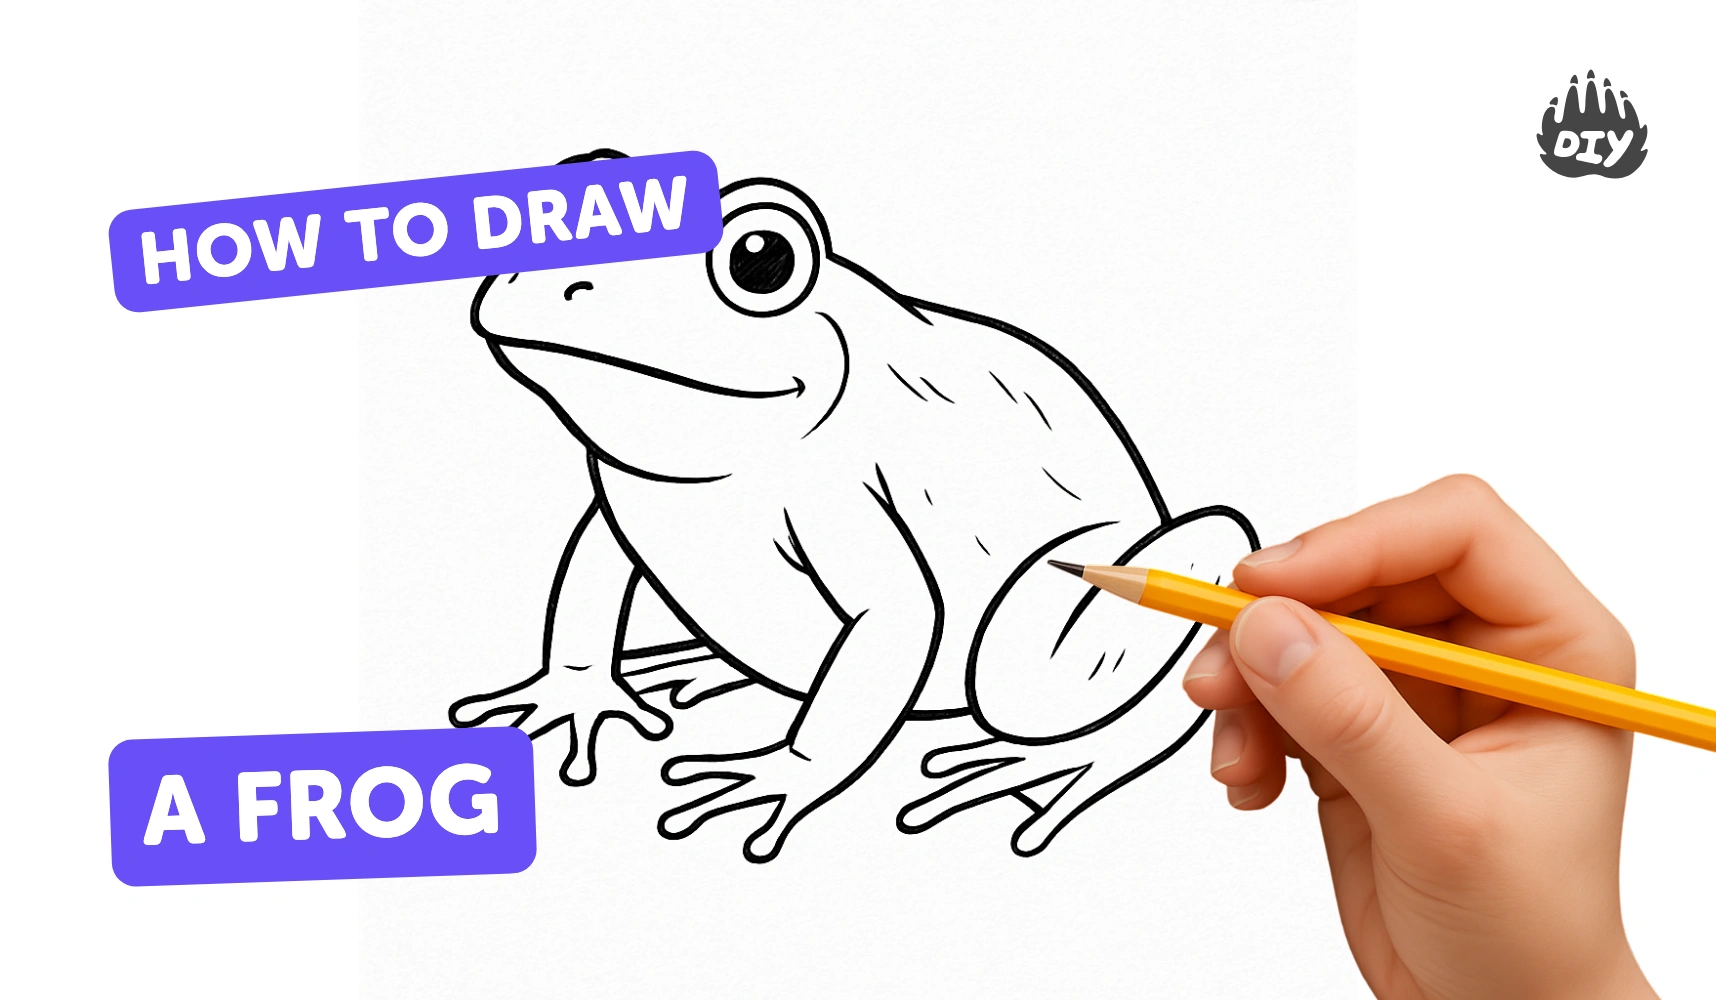
How to draw a frog - a free frog drawing guide
Draw a simple cartoon frog step by step using pencil, eraser, and colored pencils. Practice shapes, proportions, and adding textured skin patterns.

Drawing Apps
Get inspired with these


Instructions
How to Draw a Frog for Kids | Easy Drawing Tutorial
Step 1
Put your paper on a flat surface so you have space to draw.
Step 2
Lightly sketch a big oval near the center of the paper for the frog’s body.
Step 3
Draw a slightly smaller circle overlapping the top of the oval for the frog’s head.
Step 4
Lightly draw a vertical center line through the head and body to help keep both sides symmetrical.
Step 5
Draw two large circles on top of the head one on each side of the center line for the eyes.
Step 6
Add small dark pupils inside each eye and leave a tiny white dot in each pupil for a shiny highlight.
Step 7
Draw a curved smile centered on the vertical line and add two tiny nostril dots above the smile.
Step 8
Draw both front legs as curved arms coming down from the front sides of the body and add three small round toes on each.
Step 9
Draw both hind legs as bent shapes at the back sides of the body and add webbed toes at each foot.
Step 10
Trace over the pencil lines you want to keep with the black marker to make the outline bold.
Step 11
Wait for the marker to dry and then erase the pencil guidelines and the center line gently.
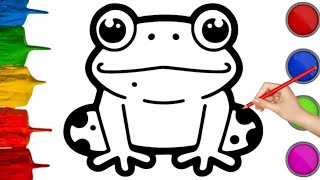
Step 12
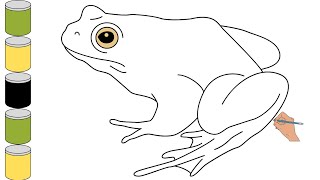
Color the frog with a base color and add darker shading near the belly and the joint areas to show depth.
Step 13
Share your finished frog illustration on DIY.org.
Help!?
What can I use if I don't have a black marker or certain colors?
If you don't have a black marker, trace the final pencil lines with a fine-tip ballpoint or gel pen and let it dry before you gently erase the pencil guidelines as instructed.
My frog looks uneven or the marker smudged when I erased—what should I do?
If the frog looks uneven, use the light vertical center line to re-sketch one side to match the other, and if the marker smudges when erasing pencil guidelines, wait longer for it to dry and erase gently with a soft or kneaded eraser along the center line.
How can I adapt this drawing for different ages or skill levels?
For younger children, skip the vertical center line and use glued pre-cut ovals/circles for the body and head with simple toes, while older kids can add detailed webbed toes, darker shading near the belly and joints, and try different poses before tracing with the marker.
How can we extend or personalize the frog drawing once it's finished?
Personalize it by adding a painted pond background with lily pads, using patterned or metallic colors and extra textured shading around the belly and joint areas as in the coloring step, then photograph your finished frog to share on DIY.org.
Related videos
🐸 How to Draw a Simple Frog | Step-by-Step Lesson 🍃
4 Videos
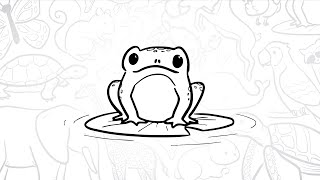
🐸 How to Draw a Simple Frog | Step-by-Step Lesson 🍃
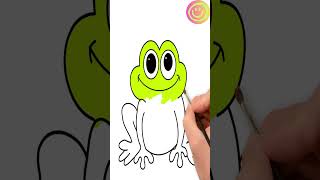
EASY Cute Frog Drawing and Painting Tutorial for Kids!
How To Draw A Frog | Frog Drawing Easy Step By Step | Easily Frog Drawing For Kids & Beginners
How to Draw a Cute Frog - Easy Step-by-Step Tutorial for Kids
Fun Facts
🐸 Frogs belong to the order Anura, which includes over 7,000 described species worldwide — lots of frog shapes to study!
🎨 Frogs come in vivid colors and patterns (from bright warning colors to sneaky camouflage) — perfect for practicing color choices.
✏️ Most frogs are bilaterally symmetrical, so drawing one side first and mirroring it helps keep your frog balanced.
🔆 Shading with a single light source makes a frog look 3D — shadows often appear under the belly and behind the legs.
📏 A frog's hind legs are usually much longer than its front legs; exaggerating that proportion makes your drawing look hoppier and more realistic.
How do I draw a frog step-by-step with my child?
What materials do I need to draw a frog with kids?
What ages is a step-by-step frog drawing suitable for?
What are the benefits of drawing frogs with children?
