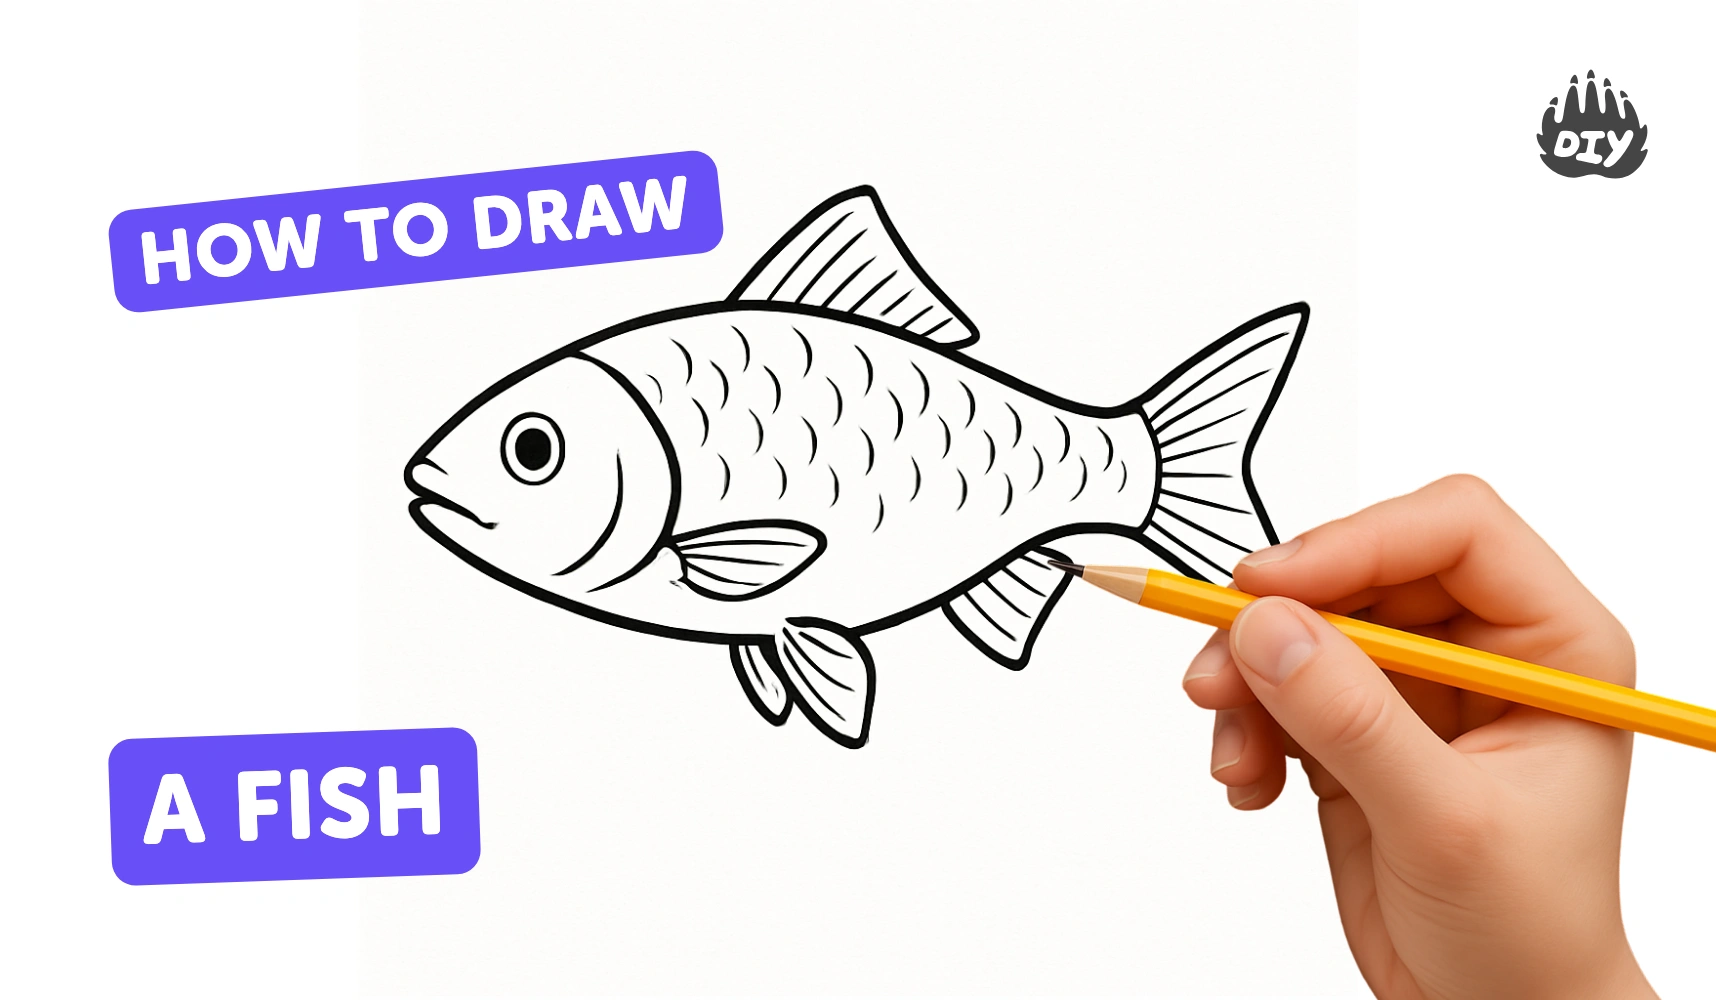
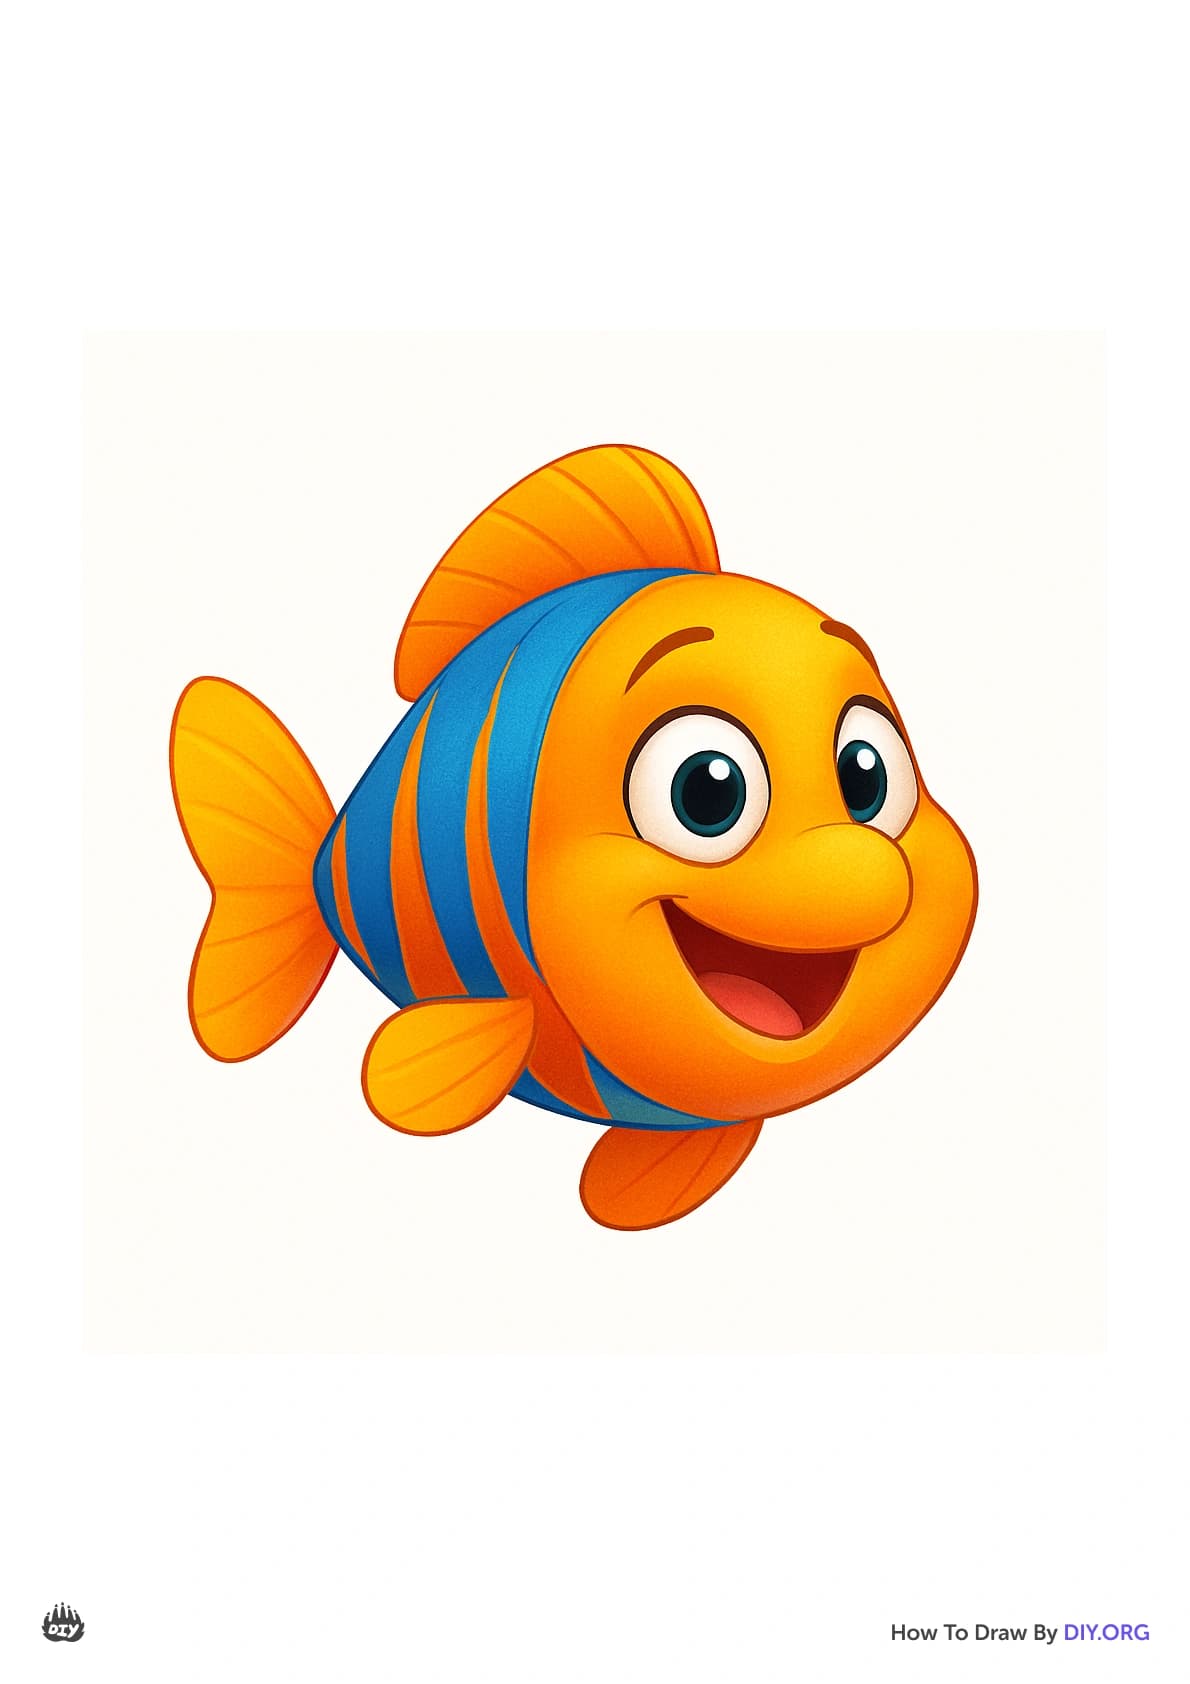
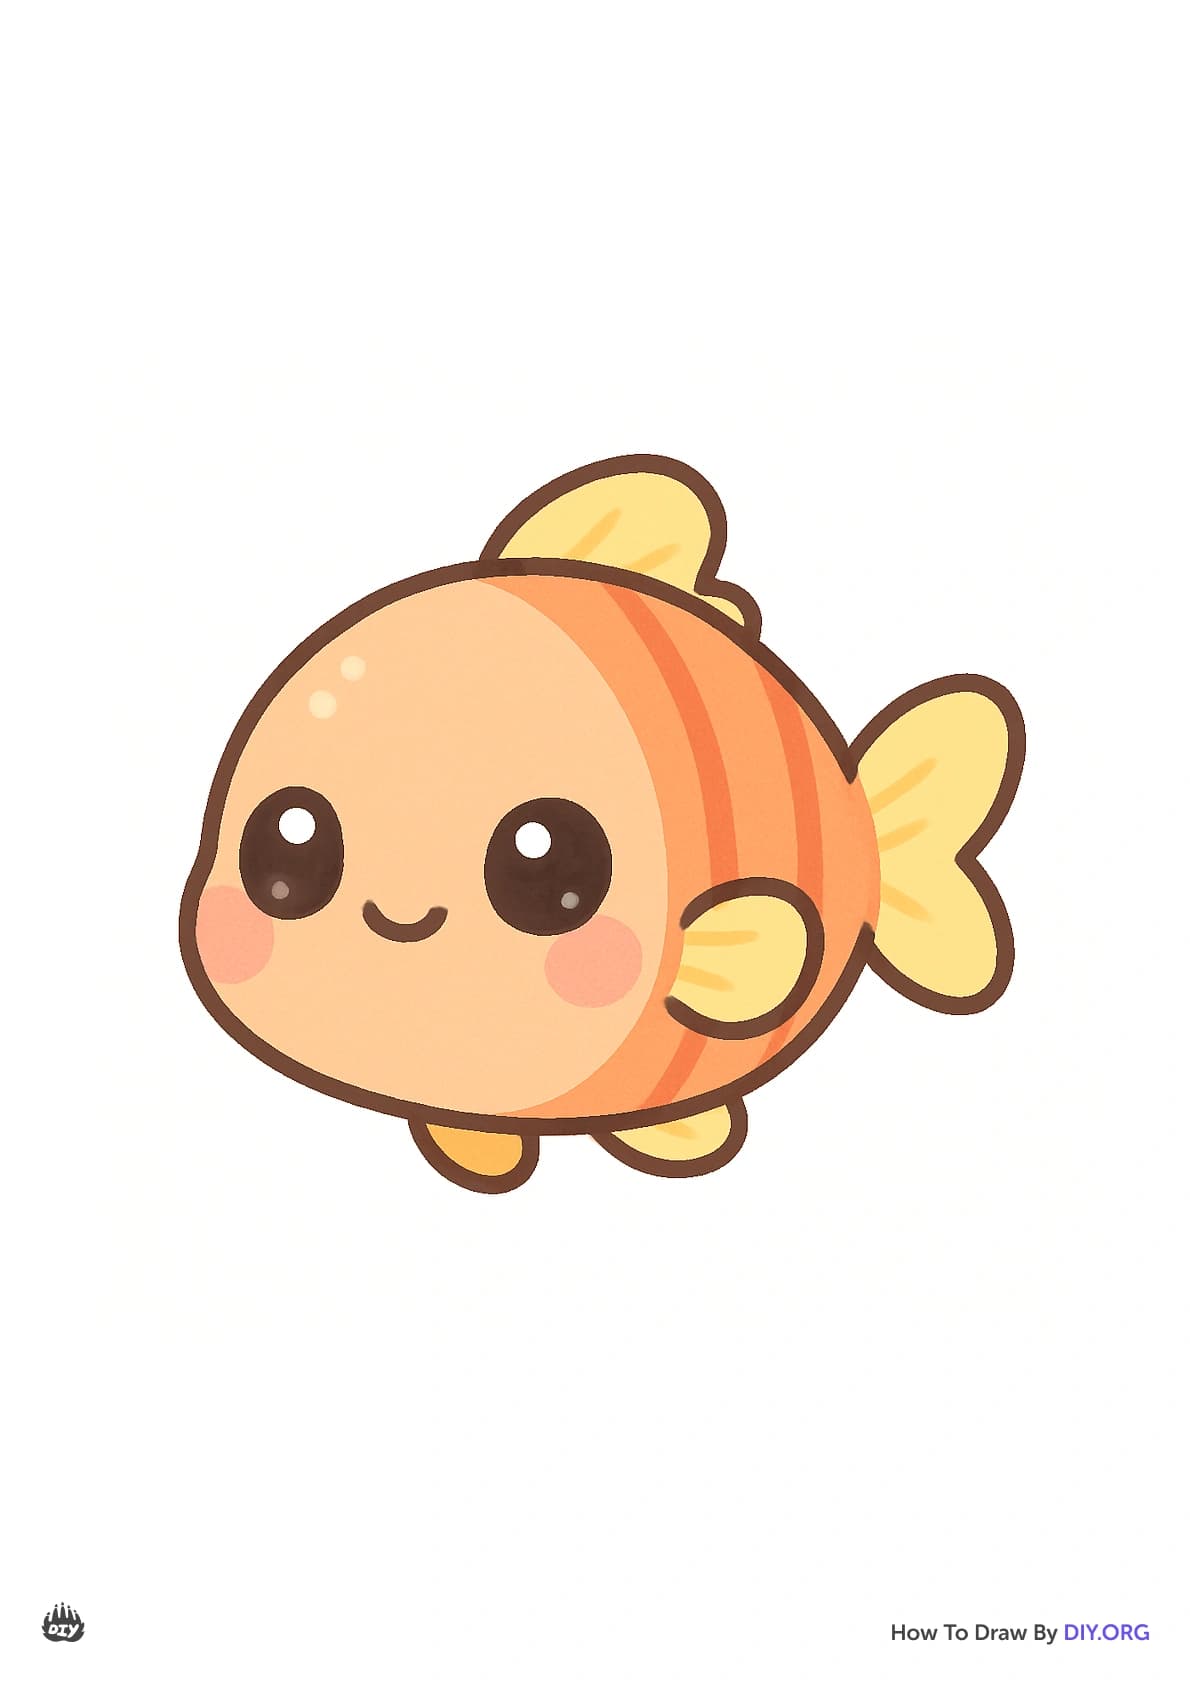
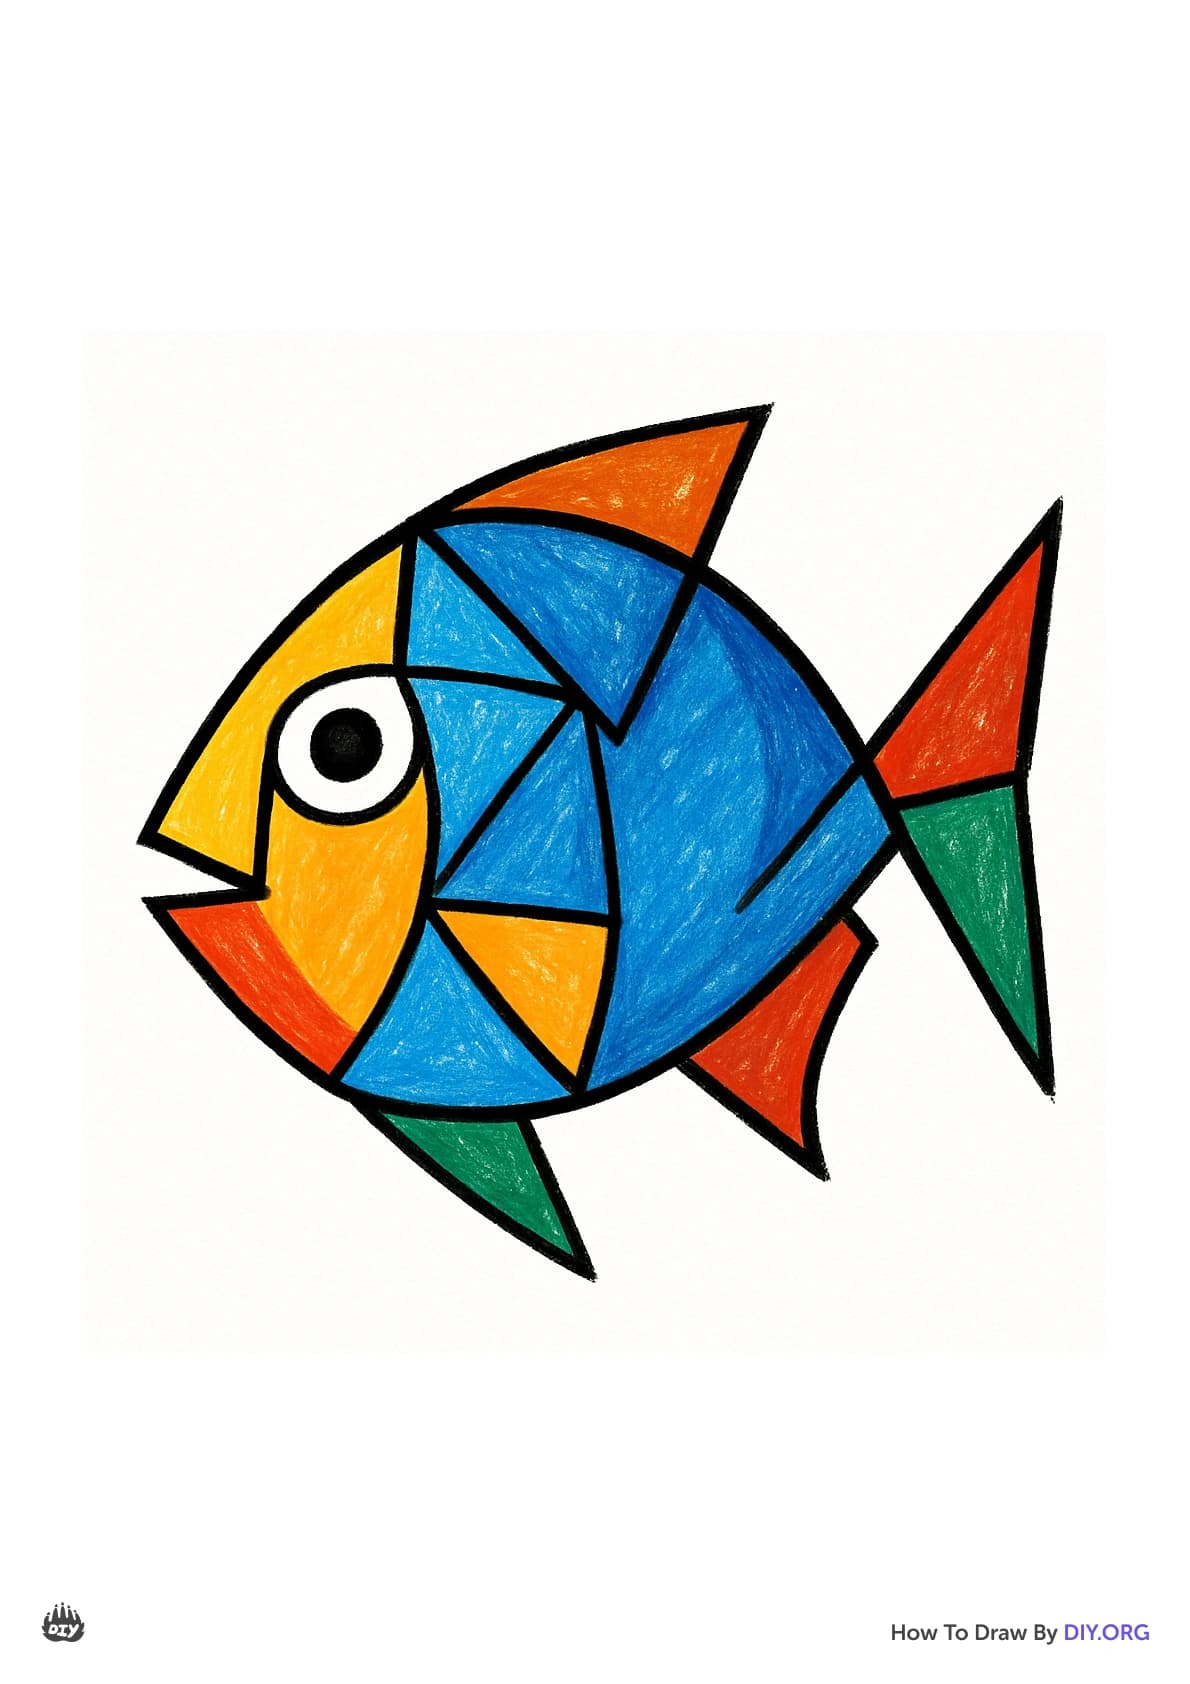
How to draw a fish - a free fish drawing guide
Draw a simple, colorful fish step-by-step using pencil, paper, and markers. Practice shapes, symmetry, basic shading, and adding fins and scales.

Drawing Apps
Get inspired with these
Instructions
How to draw a simple fish: Drawing Lesson for Kids
Step 1
Place your paper on a flat surface where you can draw comfortably.
Step 2
Lightly draw a horizontal guideline across the middle of the paper to help place your fish.
Step 3
Sketch a large oval centered on the guideline for the fish body.
Step 4
Add a triangle shape at the back of the oval for the tail.
Step 5
Draw a small circle near the front of the oval for the eye.
Step 6
Draw a short curved line near the front for the mouth.
Step 7
Add a curved line behind the eye to show the gill.
Step 8
Draw a top fin and a bottom fin using curved teardrop shapes.
Step 9
Fill the body with overlapping semicircles to create scales.
Step 10
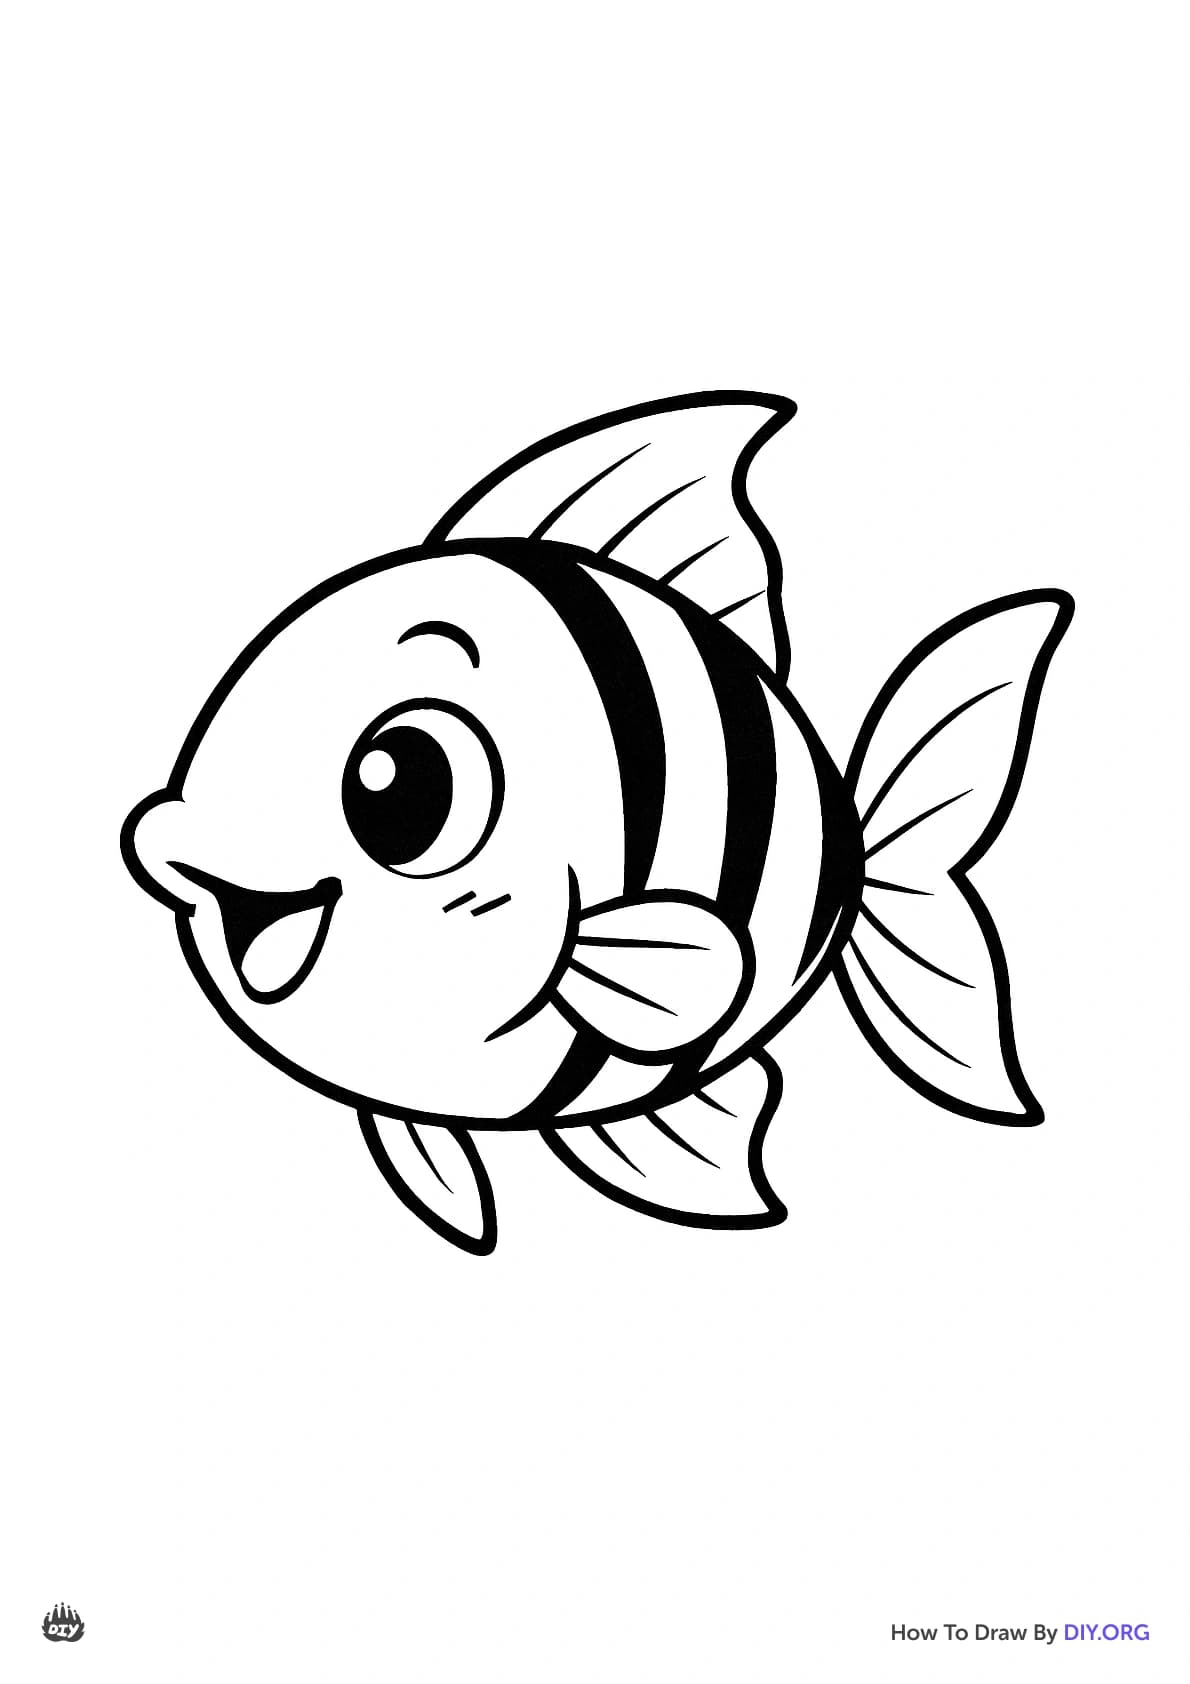
Add fun patterns like stripes spots or zigzags on the body for decoration.
Step 11
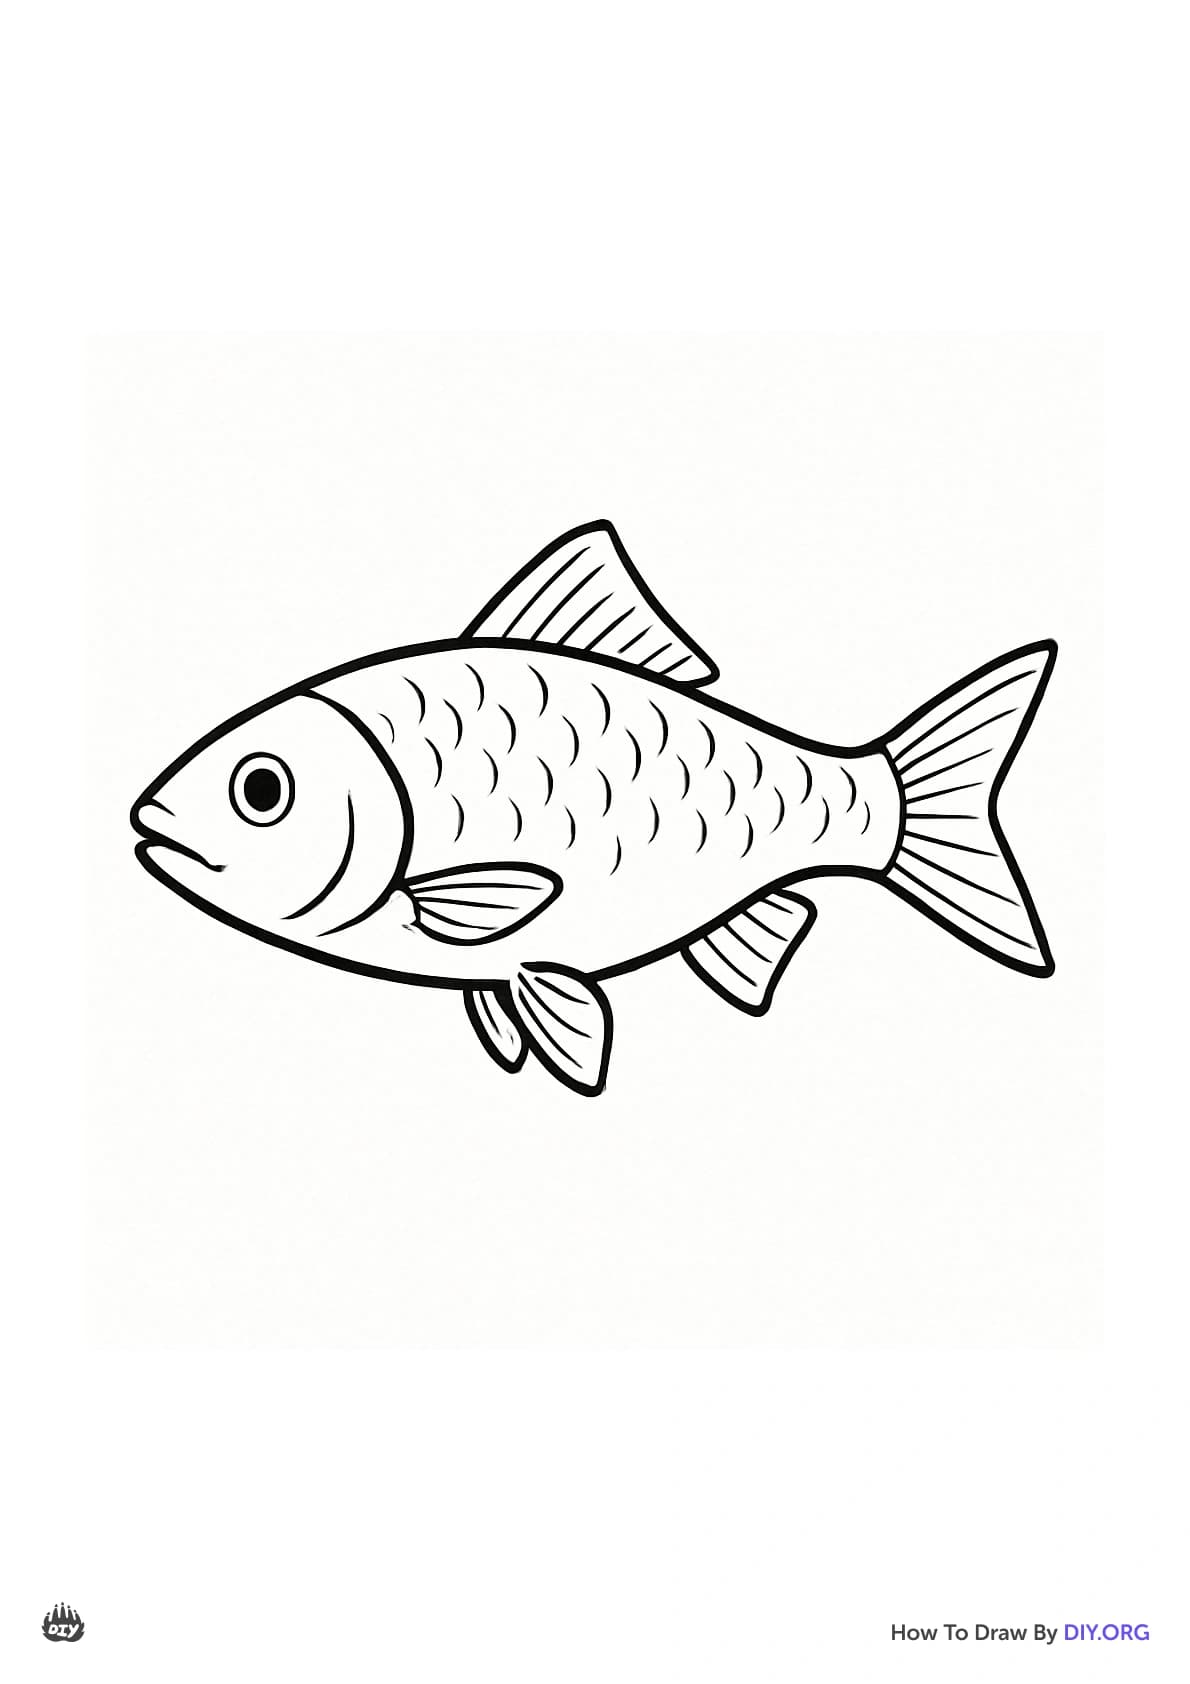
Trace the strongest lines of your fish with a black marker to make it bold.
Step 12
Erase any light pencil guidelines and extra sketch marks gently.
Step 13
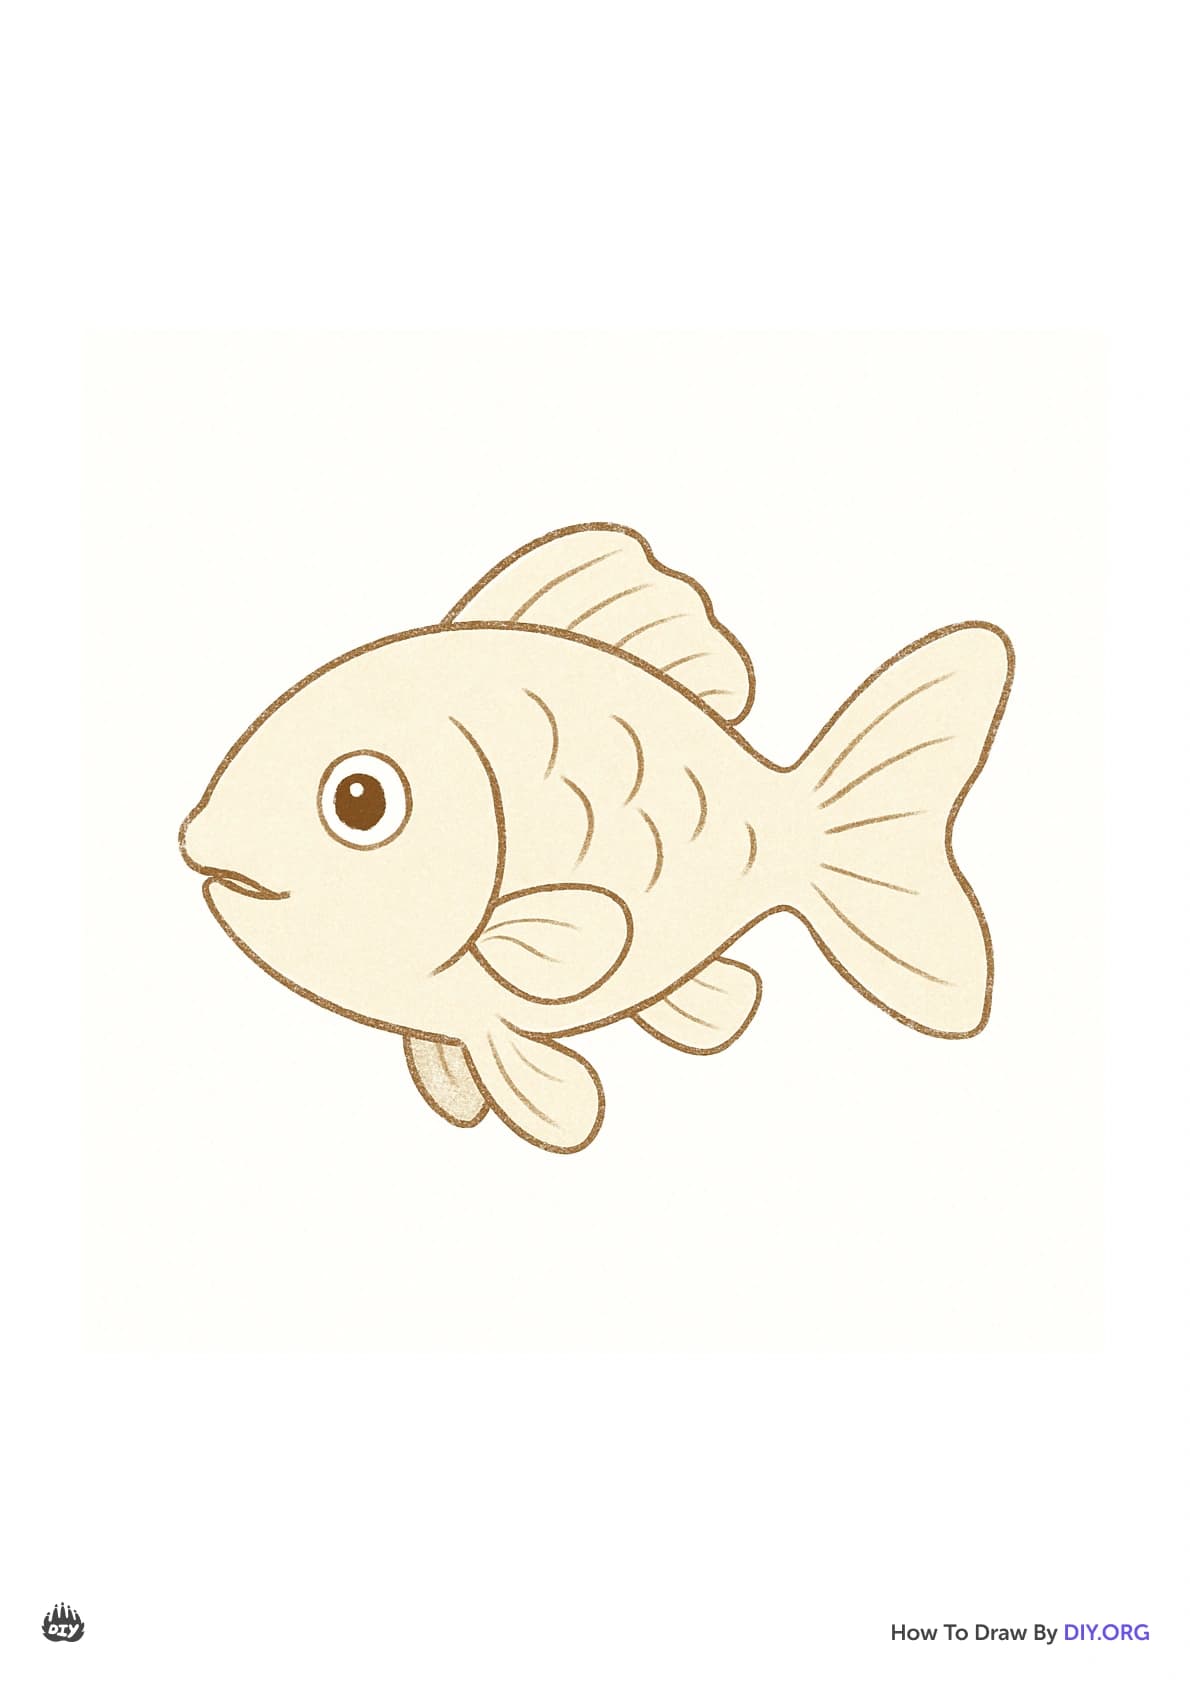
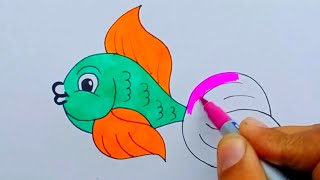
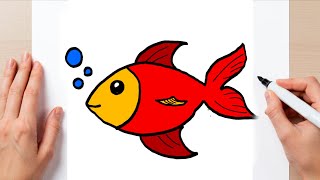
Color your fish using your coloring materials to bring it to life.
Step 14
Share your finished fish creation on DIY.org.
Help!?
What can we use instead of a black marker or special coloring materials if they are hard to find?
If you don't have a black marker or named coloring materials, follow the 'trace the strongest lines of your fish with a black marker' step using a dark crayon or ballpoint pen, color your fish with crayons or colored pencils, and use printer paper or cereal-box cardstock placed on a flat surface instead of specialty paper.
My fish's oval or tail looks off or the scales smudge—how can I fix that?
To fix a lopsided oval, re-center the 'large oval centered on the guideline' using the horizontal guideline, redraw the triangle tail then erase lightly, draw scales with light pencil first and wait for marker lines to dry before erasing extra sketch marks to avoid smudging.
How can I adapt this drawing activity for different ages?
For younger children, pre-draw the 'large oval' and 'triangle tail' and let them add the eye, mouth, and big shapes with chunky crayons, while older kids can add detailed 'overlapping semicircles' scales, complex 'fun patterns' and background shading or multiple fish.
What are some ways to extend or personalize the fish drawing?
To extend the activity, cut the colored fish out and glue it onto a painted ocean background, add 3D fins with folded paper or googly eyes after the 'color your fish' step, or create a series of fish with different 'fun patterns' and share the collection on DIY.org.
Related videos
Simple Fish Drawing Tutorial | Easy for Kids & Beginners
4 Videos
Simple Fish Drawing Tutorial | Easy for Kids & Beginners
How to Draw a Cute Fish | Easy Fish Drawing for Kids | Step by Step Drawing
Fish Drawing for Kids | Easy Step by Step Fish Drawing and Coloring | Simple Fish Art Tutorial

How to Draw a Fish | Easy Step by Step for Beginners
Fun Facts
🐟 There are over 34,000 known species of fish — they’re the most diverse group of vertebrates.
🔍 Fish scales often show growth rings (circuli/annuli) that scientists can use to estimate age.
🎨 Koi have been selectively bred for centuries for bright color patterns—some rare koi sell for thousands of dollars.
🧭 Different fins do different jobs: the caudal (tail) fin powers swimming, dorsal fins add stability, and pectoral fins help steer.
👁️ Many fish don’t have eyelids, so they can’t blink and keep their eyes open most of the time.
How do I teach my child to draw a detailed fish step by step?
What materials do I need to draw a detailed fish with my child?
What ages is step-by-step fish drawing suitable for?
What are the benefits of drawing detailed fish for kids and how can I add variations?
