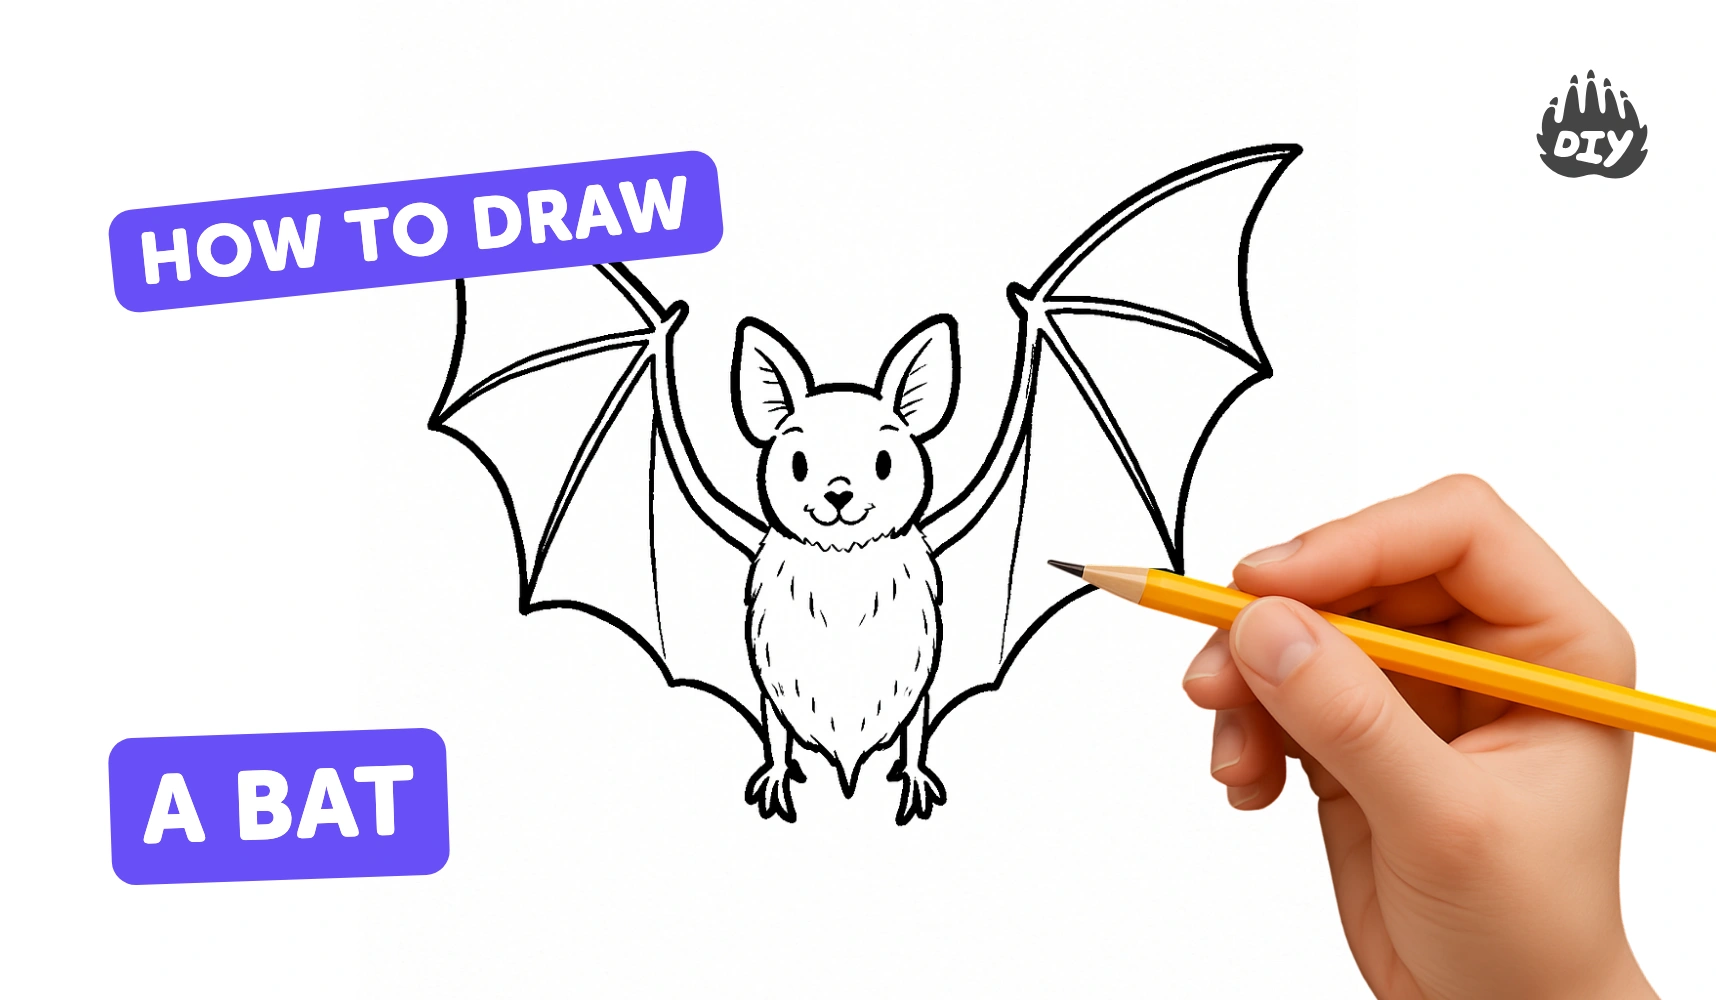
How to draw a bat - a free bat drawing guide
Draw a realistic bat with simple shapes, step-by-step lines, wing details, and facial features. Practice proportions, symmetry, and shading techniques.

Drawing Apps
Photos of bat drawing examples


Step-by-step guide to draw a bat
How to Draw a Bat Easy | Step by Step Drawing Tutorial for Kids
Step 1
Lightly draw a vertical center guideline down the middle of your paper to help keep your bat symmetrical.
Step 2
Draw a small oval near the top of the guideline for the bat’s head.
Step 3
Draw a larger oval below the head along the guideline for the bat’s body.
Step 4
Draw a light horizontal line across the head to mark where the eyes will go.
Step 5
Draw two pointed ear shapes on top of the head, one on each side of the guideline.
Step 6
Put a small dot on each side of the upper body where the wings will attach.
Step 7
From the right dot draw three long curved lines outward to make the right wing “finger” bones.
Step 8
From the left dot draw three long curved lines outward to make the left wing “finger” bones.
Step 9
Connect the tips of the right wing fingers to the body with smooth curved lines to form the right wing membrane.
Step 10
Connect the tips of the left wing fingers to the body with smooth curved lines to form the left wing membrane.
Step 11
Add shallow V-shaped scallops along the trailing edge of each wing to show the wing edge detail.
Step 12
Draw two eyes on the eye line a small nose and a tiny mouth with little fangs to give the bat a realistic face.
Step 13
Erase the guideline and any extra sketch marks and darken the final outlines with your pencil or a black pen.
Step 14
Shade under the body and along the wing folds with light pencil strokes and blend gently with a tissue or blending stump for realistic shading.
Step 15
Share your finished creation on DIY.org
Help!?
What can we use if we don't have a blending stump, tissue, or a black pen from the materials list?
If you don't have a blending stump or tissue, gently smudge the shading under the body and along the wing folds with a clean fingertip or a cotton swab, and if you don't have a black pen darken the final outlines with a sharp #2 pencil or a fine-tip marker.
My bat's wings look uneven—what step should I redo or change to fix them?
Use the light vertical guideline and the small dots where the wings attach as anchors, erase and redraw the three curved 'finger' lines on the side that looks off so both wings mirror each other before connecting the membrane curves.
How can I adapt this bat drawing for different ages or skill levels?
For younger children simplify by drawing only the head and body ovals with single curved wings and skipping the V-shaped scallops, while older kids can add the shallow scallops, tiny fangs, and detailed shading under the body with a tissue or blending stump for realism.
What are some ways to enhance or personalize the finished bat drawing?
Personalize your bat by inking the final outlines with a black pen, adding short fur strokes on the body, creating a moonlit background with darker pencil shading, or drawing several bats at different sizes to make a scene before sharing on DIY.org.
Watch videos on how to draw a bat
🎨🦇 How To Draw A BAT - Easy Step-by-Step Guide For Kids | Chiki Doodle 🌈
4 Videos
🎨🦇 How To Draw A BAT - Easy Step-by-Step Guide For Kids | Chiki Doodle 🌈
How to Draw Bats Easy (using Numbers 6-7) for Kids!
"How to Draw & Color a Bat 🦇🎨🖌️| Easy & Fun Drawing Tutorial for Kids!"
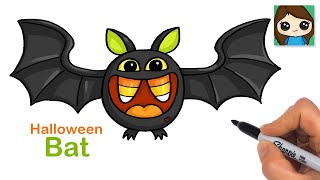
How to Draw a Bat Easy | Cute Halloween Art | 🎯
Facts about animal drawing for kids
🦇 Bats are the only mammals that can truly fly—their wings are made from skin stretched over very long finger bones.
🧭 Some bats use echolocation, sending out clicks and listening for echoes to 'see' in total darkness.
✨ The largest bats, called flying foxes, can have wingspans over 5 feet (about 1.5 meters) — that's wider than some kids are tall!
🎨 Shading uses light, midtone, and dark values to turn flat shapes into round-looking forms on paper.
⚖️ Bats are bilaterally symmetrical, so drawing one side and mirroring it helps keep wing proportions balanced.
How do I teach my child to draw a realistic bat step by step?
What materials do I need to draw a realistic bat with my child?
What ages is drawing a realistic bat suitable for?
What are the benefits of drawing realistic bats for kids?
