Write a thank you card
Make and decorate a handwritten thank you card, choose kind words, practice gratitude, and address it before delivering to someone special.


Step-by-step guide to make and decorate a handwritten thank you card
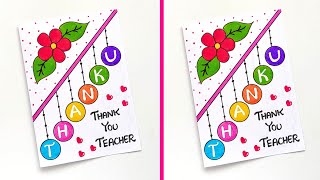
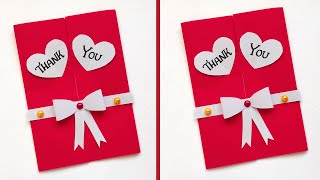
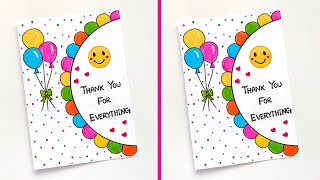
Cute DIY Thank You Card (in under 5 minutes!)
Step 1
Pick one person you want to thank!
Step 2
Fold your paper in half to make a card.
Step 3
Choose which decorations you will use.
Step 4
Decorate the front cover using your colouring materials and stickers.
Step 5
Write a list of three things you are thankful for about that person.
Step 6
Pick kind words from your list to make a short message.
Step 7
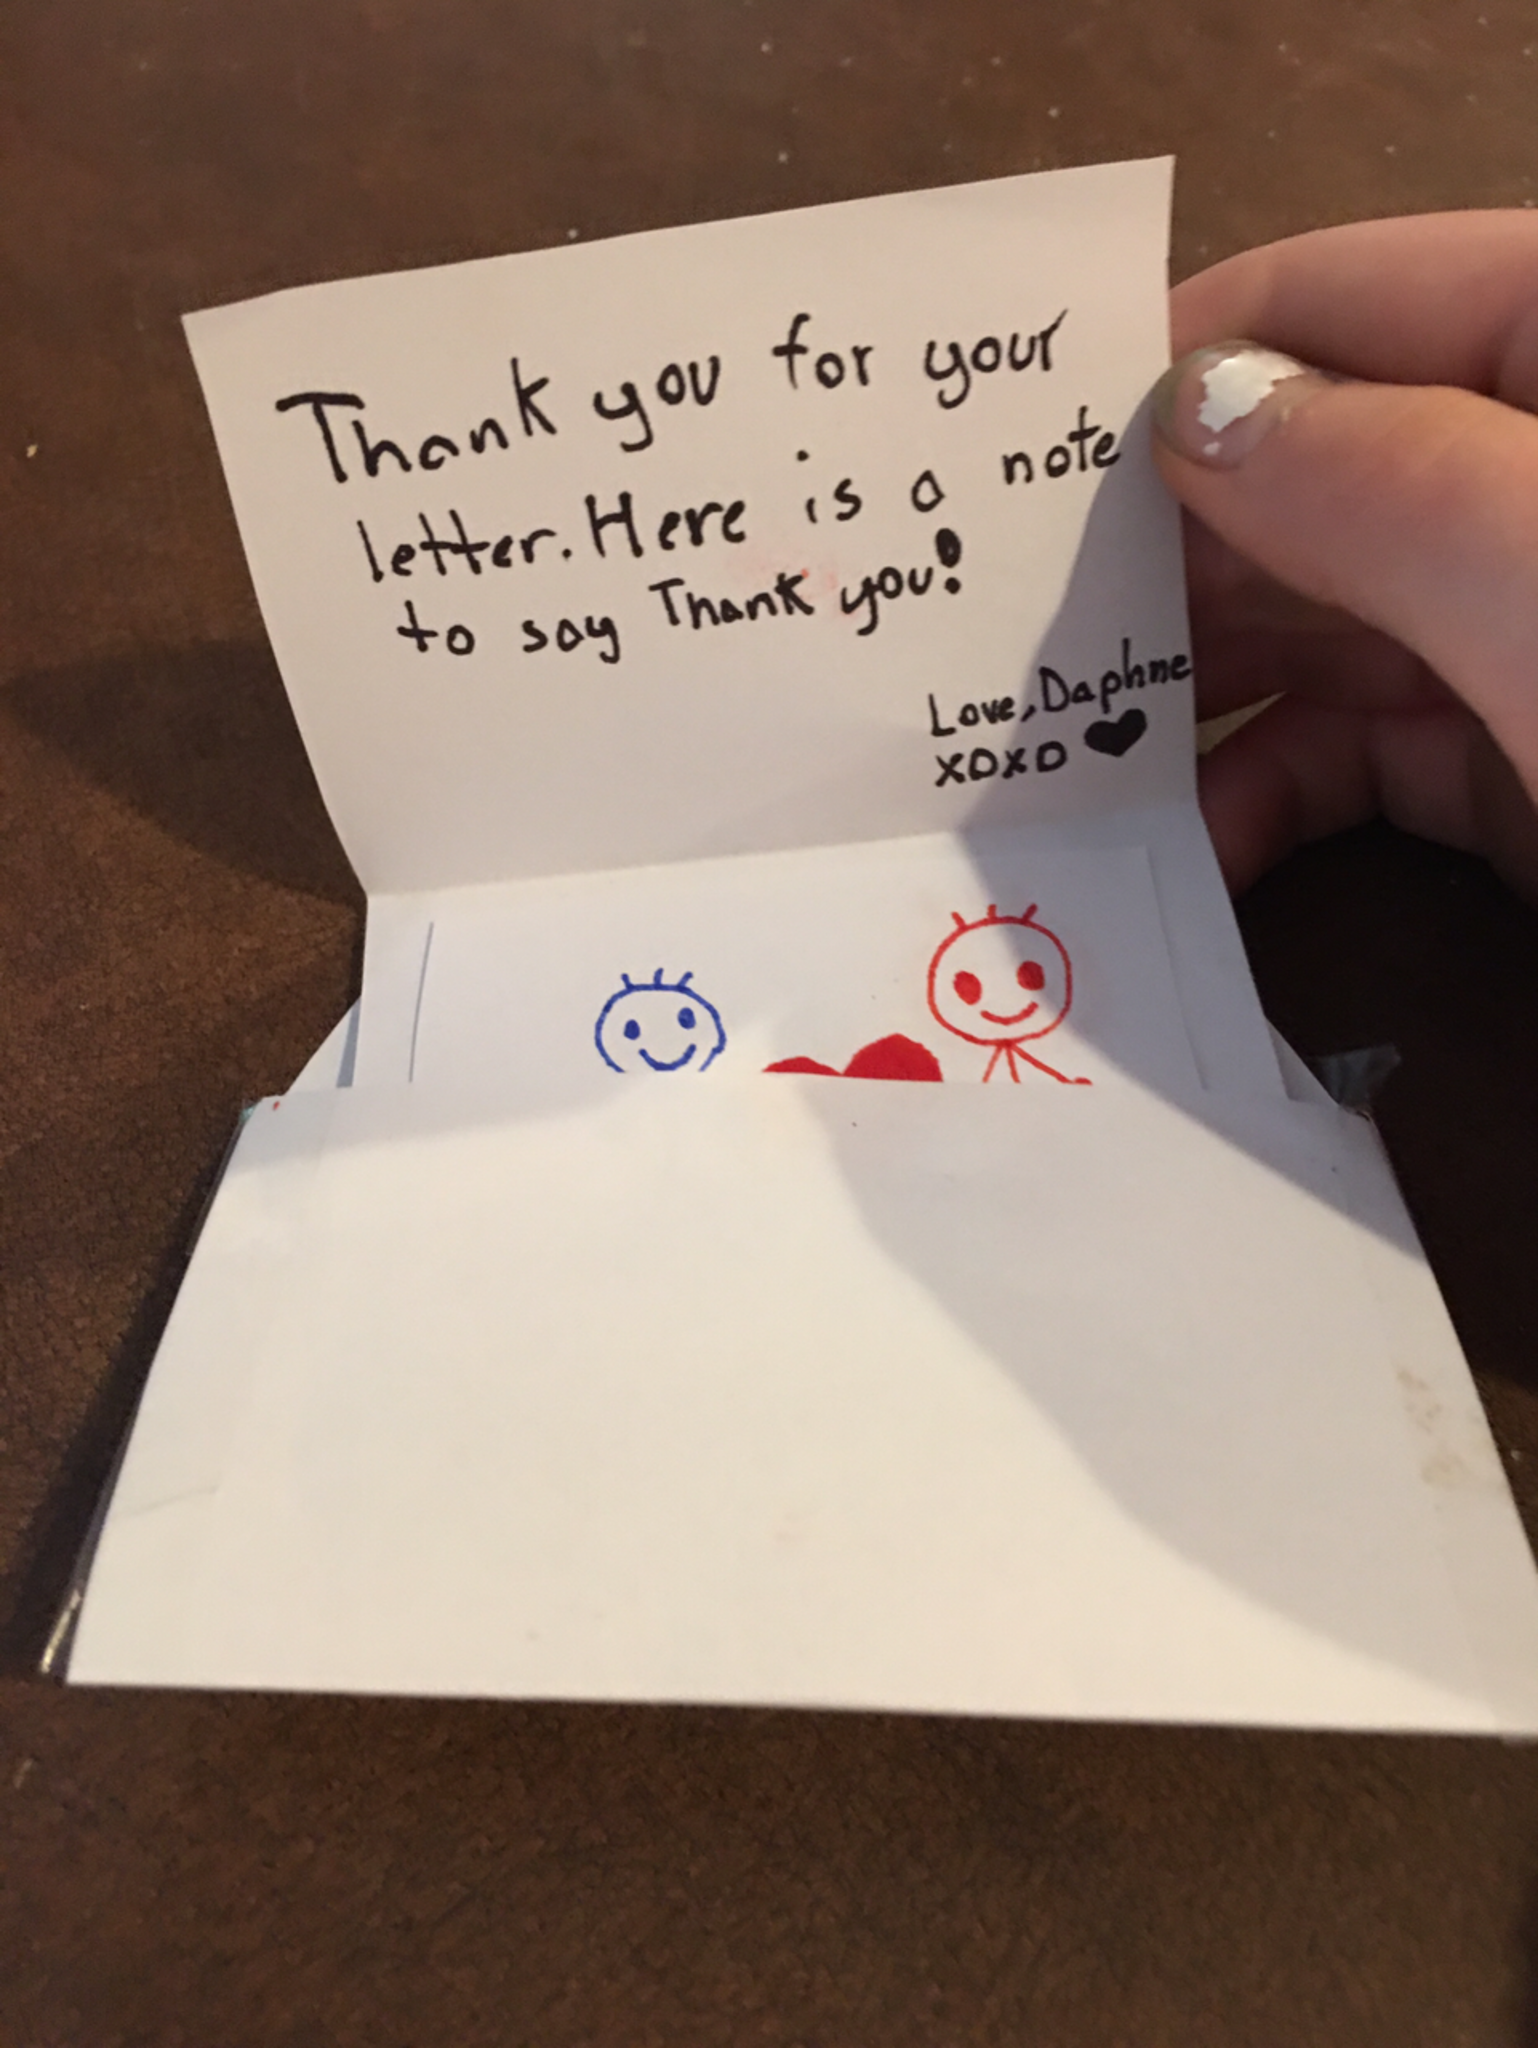
Write the short thank you message inside the card.
Step 8
Write a friendly closing like With love or Thanks again.
Step 9
Sign your name at the bottom of the message.
Step 10
Write the date near your signature.
Step 11
Write the recipient's name on the front of the envelope.
Step 12
Write your name and address on the back flap as the return address.
Step 13
Put the card into the envelope and seal it.
Step 14
Give the card to the person or put it in the mailbox if you are mailing it.
Step 15
Share a photo of your finished card on DIY.org to show your thank you.
Help!?
What can we use instead of an envelope, stickers, or special colouring materials if we don't have them?
If you don't have an envelope, fold a second sheet of paper into a pocket to 'Put the card into the envelope and seal it', and if you lack stickers or fancy colouring materials, cut pictures from magazines or hand-draw designs to 'Decorate the front cover'.
My fold is crooked and my handwriting smudged; how can I fix these problems?
To fix a crooked fold use a ruler or the table edge when you 'Fold your paper in half to make a card', and if your writing smudges, lightly write the 'short thank you message inside the card' in pencil first then trace with pen once the pencil is dry.
How can I adapt this activity for younger or older kids?
For younger children have an adult help write the 'list of three things you are thankful for' and the 'short thank you message', while older kids can add a dated memory, longer message, or a photo when they 'Sign your name' and 'Write the date'.
How can we make the card more special or longer-lasting?
Make the card extra special by gluing in a small photo or creating a simple pop-up inside after you 'Write the short thank you message inside the card', decorate the envelope with the recipient's name before you 'Put the card into the envelope and seal it', and then share a photo on DIY.org to show your finished card.
Watch videos on how to make and decorate a handwritten thank you card
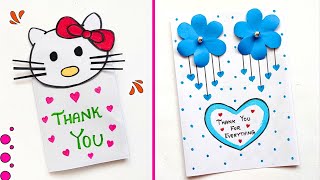
😍 Thank You Card Ideas 😍 | Easy & Cutest Thanks Giving Greeting Card | How to Make Thank You Card
4 Videos
😍 Thank You Card Ideas 😍 | Easy & Cutest Thanks Giving Greeting Card | How to Make Thank You Card
Easy and Beautiful Thank you Card | How to make Thank you card | Special Thank you card for teachers
😍 Thank You Card Ideas 😍 | Easy & Simple Thanks Giving Greeting Card | How to Make Thank You Card
2 Easy & Special Thanks Card Ideas | Thank You Greeting Card for Teacher | How to make Thanks Card
Facts about cardmaking and gratitude for kids
✉️ Handwritten thank-you notes feel more personal and are often kept as keepsakes by recipients.
😊 Practicing gratitude regularly has been shown to boost happiness and can improve sleep and mood.
🖊️ Writing by hand helps kids remember spelling and ideas better than typing on a keyboard.
🏢 Hallmark, one of the world's largest greeting-card companies, was founded in 1910.
📬 Adding a clear recipient address and your return address greatly increases the chance your card will arrive or be returned if undeliverable.
How do you write a thank you card with a child?
What materials do I need to make a thank you card?
What ages are suitable for this thank you card activity?
What are the benefits of making thank you cards?
