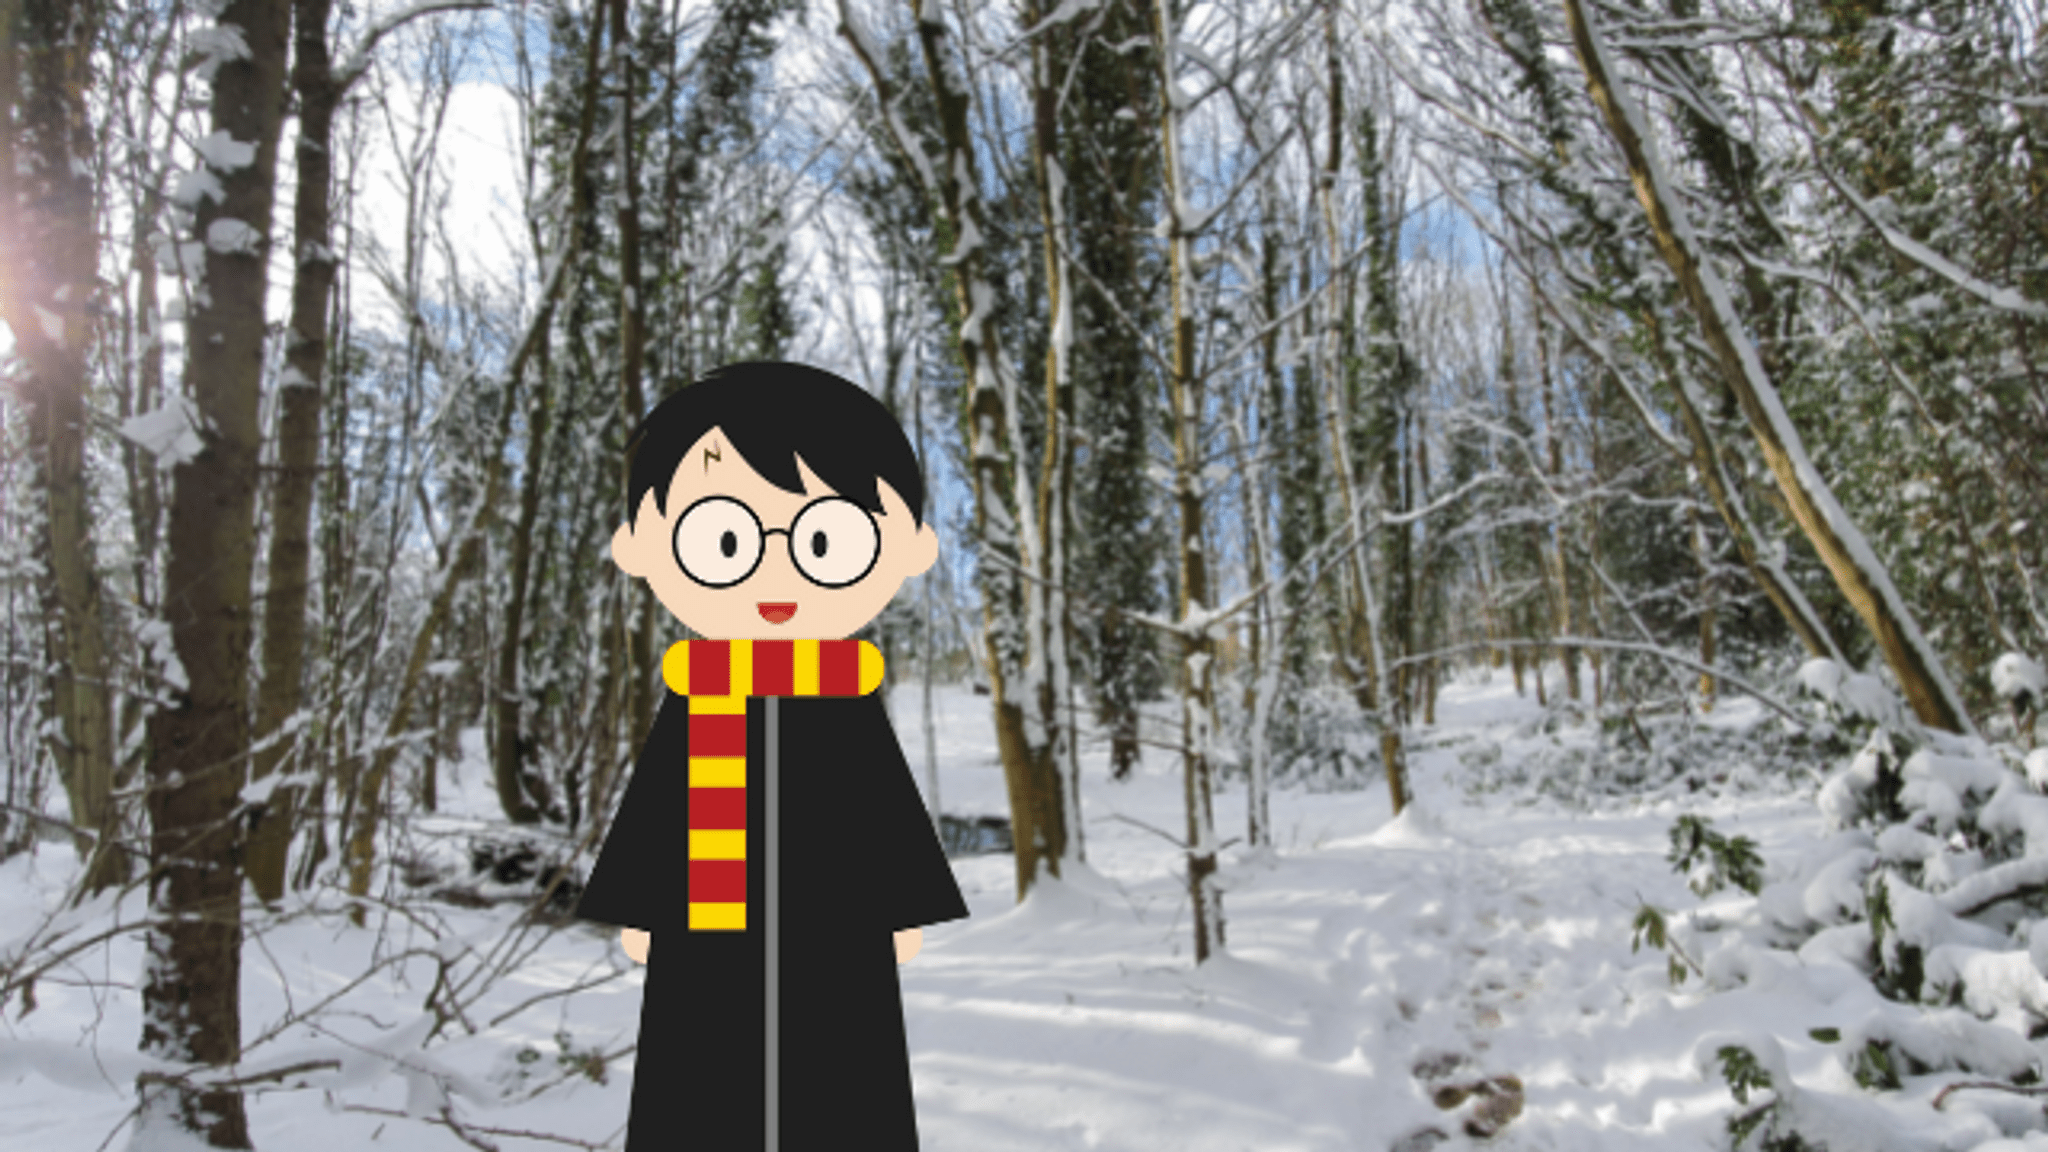
What's Your Pick: Hogwarts or Narnia?
Create a miniature Hogwarts or Narnia diorama using a shoebox, paper, and simple crafts to recreate a favorite scene and tell its story.


Step-by-step guide to create a Hogwarts or Narnia shoebox diorama
Did The Chronicles of Narnia Inspire Hogwarts' Founders In Harry Potter
Step 1
Choose whether you will make Hogwarts or Narnia and pick one favorite scene to recreate.
Step 2
Gather your shoebox paper coloring materials scissors glue and craft scraps in one workspace.
Step 3
Turn the shoebox on its side so the open face becomes your diorama stage.
Step 4
Cut a sheet of plain or colored paper to fit the back wall of the shoebox.
Step 5
Glue the cut paper to the back inside wall to create your scene backdrop.
Step 6
Draw and color the background on the glued paper to show castle towers or snowy forests.
Step 7
Make small props by cutting folding and shaping colored paper and craft scraps into trees towers a wardrobe a lamppost or characters.
Step 8
Add details to each prop with coloring materials and glue small craft scraps for texture like cotton snow or tree bark.
Step 9
Arrange the props inside the shoebox until the scene looks just right to you.
Step 10
Secure each prop in place with a dab of glue or a bit of tape so nothing falls over.
Step 11
Write a short title and a 2 to 3 sentence story that explains your scene on a small piece of paper.
Step 12
Place the story card inside the diorama where viewers can read it.
Step 13
Share your finished diorama on DIY.org
Help!?
What can I use instead of a shoebox, glue, or cotton snow if I can't find them?
Use a cereal or shipping box turned on its side as your diorama stage, swap liquid glue for a glue stick or double-sided tape when attaching the backdrop paper in step 5, and replace cotton snow in step 6 with torn white tissue, polyester batting, or crumpled white paper.
My props keep falling over or the backdrop curls—how can I fix that?
Trim the backdrop paper carefully to fit the back wall (step 4) and press it under a heavy book until glued, and stabilize props by adding folded paper tabs or glued cardboard bases and securing them with tape or extra glue as described in step 9.
How can I adapt this diorama activity for younger or older kids?
For younger children, pre-cut the colored paper and larger props and let them color and glue pieces from step 6, while older kids can add painted details, layered 3D props, battery fairy lights, and write a more detailed 2–3 sentence story card in step 10.
What are simple ways to enhance or personalize my Hogwarts or Narnia scene before sharing?
Personalize your scene by adding a hand-lettered title and textured materials like fabric for cloaks or sand for pathways (steps 11–12), suspend characters with clear fishing line for movement, or place a small LED tea light behind the castle towers for dramatic lighting.
Watch videos on how to create a Hogwarts or Narnia shoebox diorama
The 4 founders of Hogwarts 🦁🦡🐦⬛🐍 ll Narnia x Harry Potter #anmol_potter #harrypotter #narnia
3 Videos
The 4 founders of Hogwarts 🦁🦡🐦⬛🐍 ll Narnia x Harry Potter #anmol_potter #harrypotter #narnia

Narnia Meets Hogwarts 🏰 | The Hidden Origins of the Four Magical Houses Revealed! ✨📚
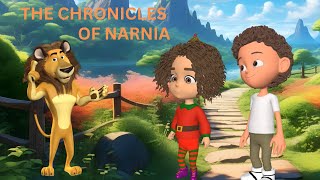
The Chronicles of Narnia - Kids Adventure Story
Facts about diorama and miniature crafts
🪄 Hogwarts first appears in J.K. Rowling's 'Harry Potter and the Philosopher's Stone' (1997).
🦁 C. S. Lewis published The Chronicles of Narnia between 1950 and 1956, beginning with 'The Lion, the Witch and the Wardrobe'.
🎨 The diorama as a museum and theatrical display was invented in 1822 by Louis Daguerre and Charles‑Marie Bouton.
✂️ Papercraft lets you turn flat paper into 3D models — with cutting, folding, and gluing you can create tiny, detailed scenes.
📦 A shoebox makes a perfect mini-stage for dioramas because it’s a ready-made box with walls, floor, and a backdropspace.
How do I make a Hogwarts or Narnia shoebox diorama?
What materials do I need to build a Hogwarts or Narnia diorama?
What ages is the Hogwarts vs Narnia diorama activity suitable for?
What are the benefits of making a Hogwarts or Narnia diorama?
