What's in a flower?
Carefully dissect a common flower to identify petals, sepals, stamens, and pistil; draw, label, and observe pollen with a magnifying glass.


Step-by-step guide to dissect a common flower
Step 1
Gather all Materials Needed and bring them to a clean flat table.
Step 2
Wash your hands well before you touch the flower.
Step 3
Place the flower flat on the tray so you can see all sides.
Step 4
Use the magnifying glass to look closely and find the petals and the sepals.
Step 5
Carefully use scissors to cut off one petal and set it on the tray.
Step 6
Repeat cutting off each petal one at a time until all petals are separated.
Step 7
Use tweezers to gently pull away the sepals and place them on the tray.
Step 8
Use tweezers to remove each stamen and line the stamens up on the tray.
Step 9
Use tweezers to gently pluck out the pistil and place it on a clean part of your paper.
Step 10
Very gently rub one stamen onto the paper to leave a small pollen spot.
Step 11
Use the magnifying glass to observe the pollen spot up close.
Step 12
Write one short sentence about what the pollen looks like.
Step 13
Draw the separated flower parts on your paper showing where each piece came from.
Step 14
Label each drawing part as petal sepal stamen or pistil.
Step 15
Share your finished creation and what you learned on DIY.org.
Help!?
What can we use if we don't have a magnifying glass or tweezers?
Use a smartphone camera with zoom or a cheap clip-on macro lens to inspect petals and a clean toothpick or fingernail to lift sepals and stamens carefully in place of tweezers.
I'm having trouble getting a pollen spot when I rub a stamen onto the paper — what should I try?
If rubbing one stamen doesn't leave a pollen spot, select a fresher stamen from the flower, press it a bit firmer as described in the 'very gently rub one stamen onto the paper' step, or switch to a lighter-colored paper so the spot shows up.
How can I adapt this activity for different ages?
For younger children have an adult handle the scissors and tweezers while the child watches, sorts parts, and draws and writes the short sentence, and for older kids add measuring, scientific names, multiple flower types, and posting findings on DIY.org.
How can we extend or personalize the flower dissection after labeling and drawing?
After you draw and label each part, press petals between paper to make bookmarks, photograph each dissection step to create a tutorial for DIY.org, or dissect several flower species and compare their pollen spots side-by-side.
Watch videos on how to dissect a common flower
Plant Parts - Flowers
4 Videos
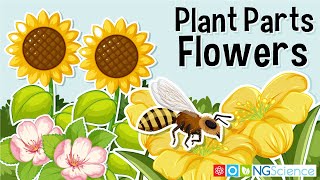
Plant Parts - Flowers
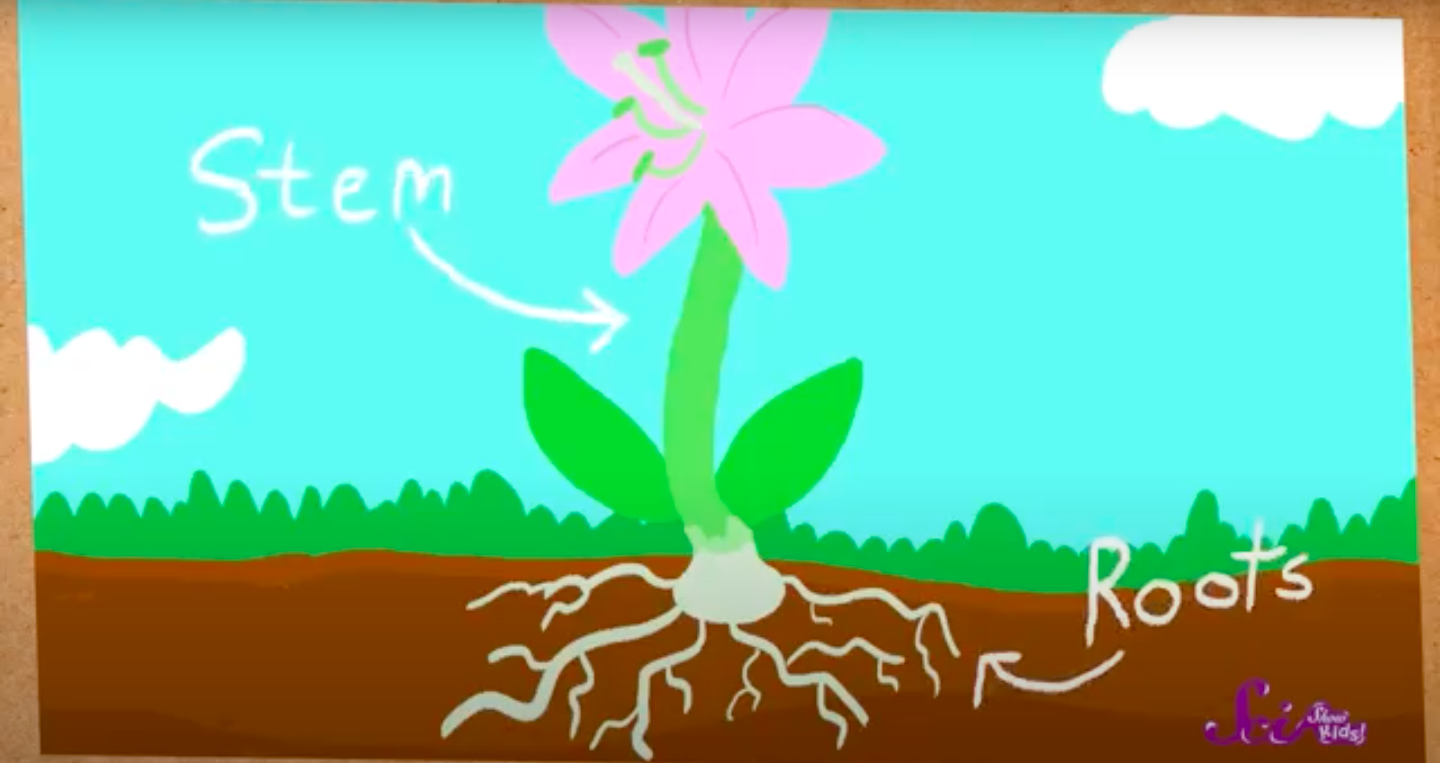
🌱Explore the Amazing Parts of a Plant! | Roots, Stems, Leaves & Flowers Explained🌸

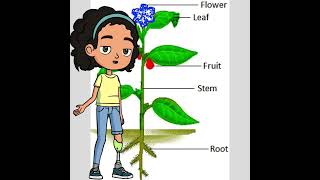
Parts of Plants for Kids | Learn all about plant parts and their functions
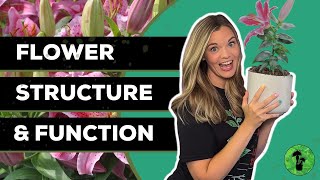
Parts of a Flower | Flower Dissection Lab | Pollination
Facts about plant biology for kids
🌸 Many flowers use bright colors and sweet scents to attract pollinators like bees, butterflies, and hummingbirds.
🐝 Bees can see ultraviolet patterns on petals that humans can't — these 'nectar guides' point insects to food.
🌼 Some flowers contain both stamens (male) and a pistil (female) in one bloom; these are called 'perfect' or bisexual flowers.
🌿 Sepals protect the flower bud before it opens and sometimes look like tiny green petals.
🔬 Pollen grains are tiny and come in many unique shapes; you can often see the powdery dust or clumps with a magnifying glass.
How do I do the "What's in a flower?" dissection activity?
What materials do I need to dissect and study a flower?
What ages is the flower dissection activity suitable for?
What safety precautions should I take for the flower dissection?
