Watercoloring: Citrus Fruits Edition
Paint bright watercolor illustrations of oranges, lemons, and limes while practicing wet on wet and layering techniques, learning color mixing and observation skills.

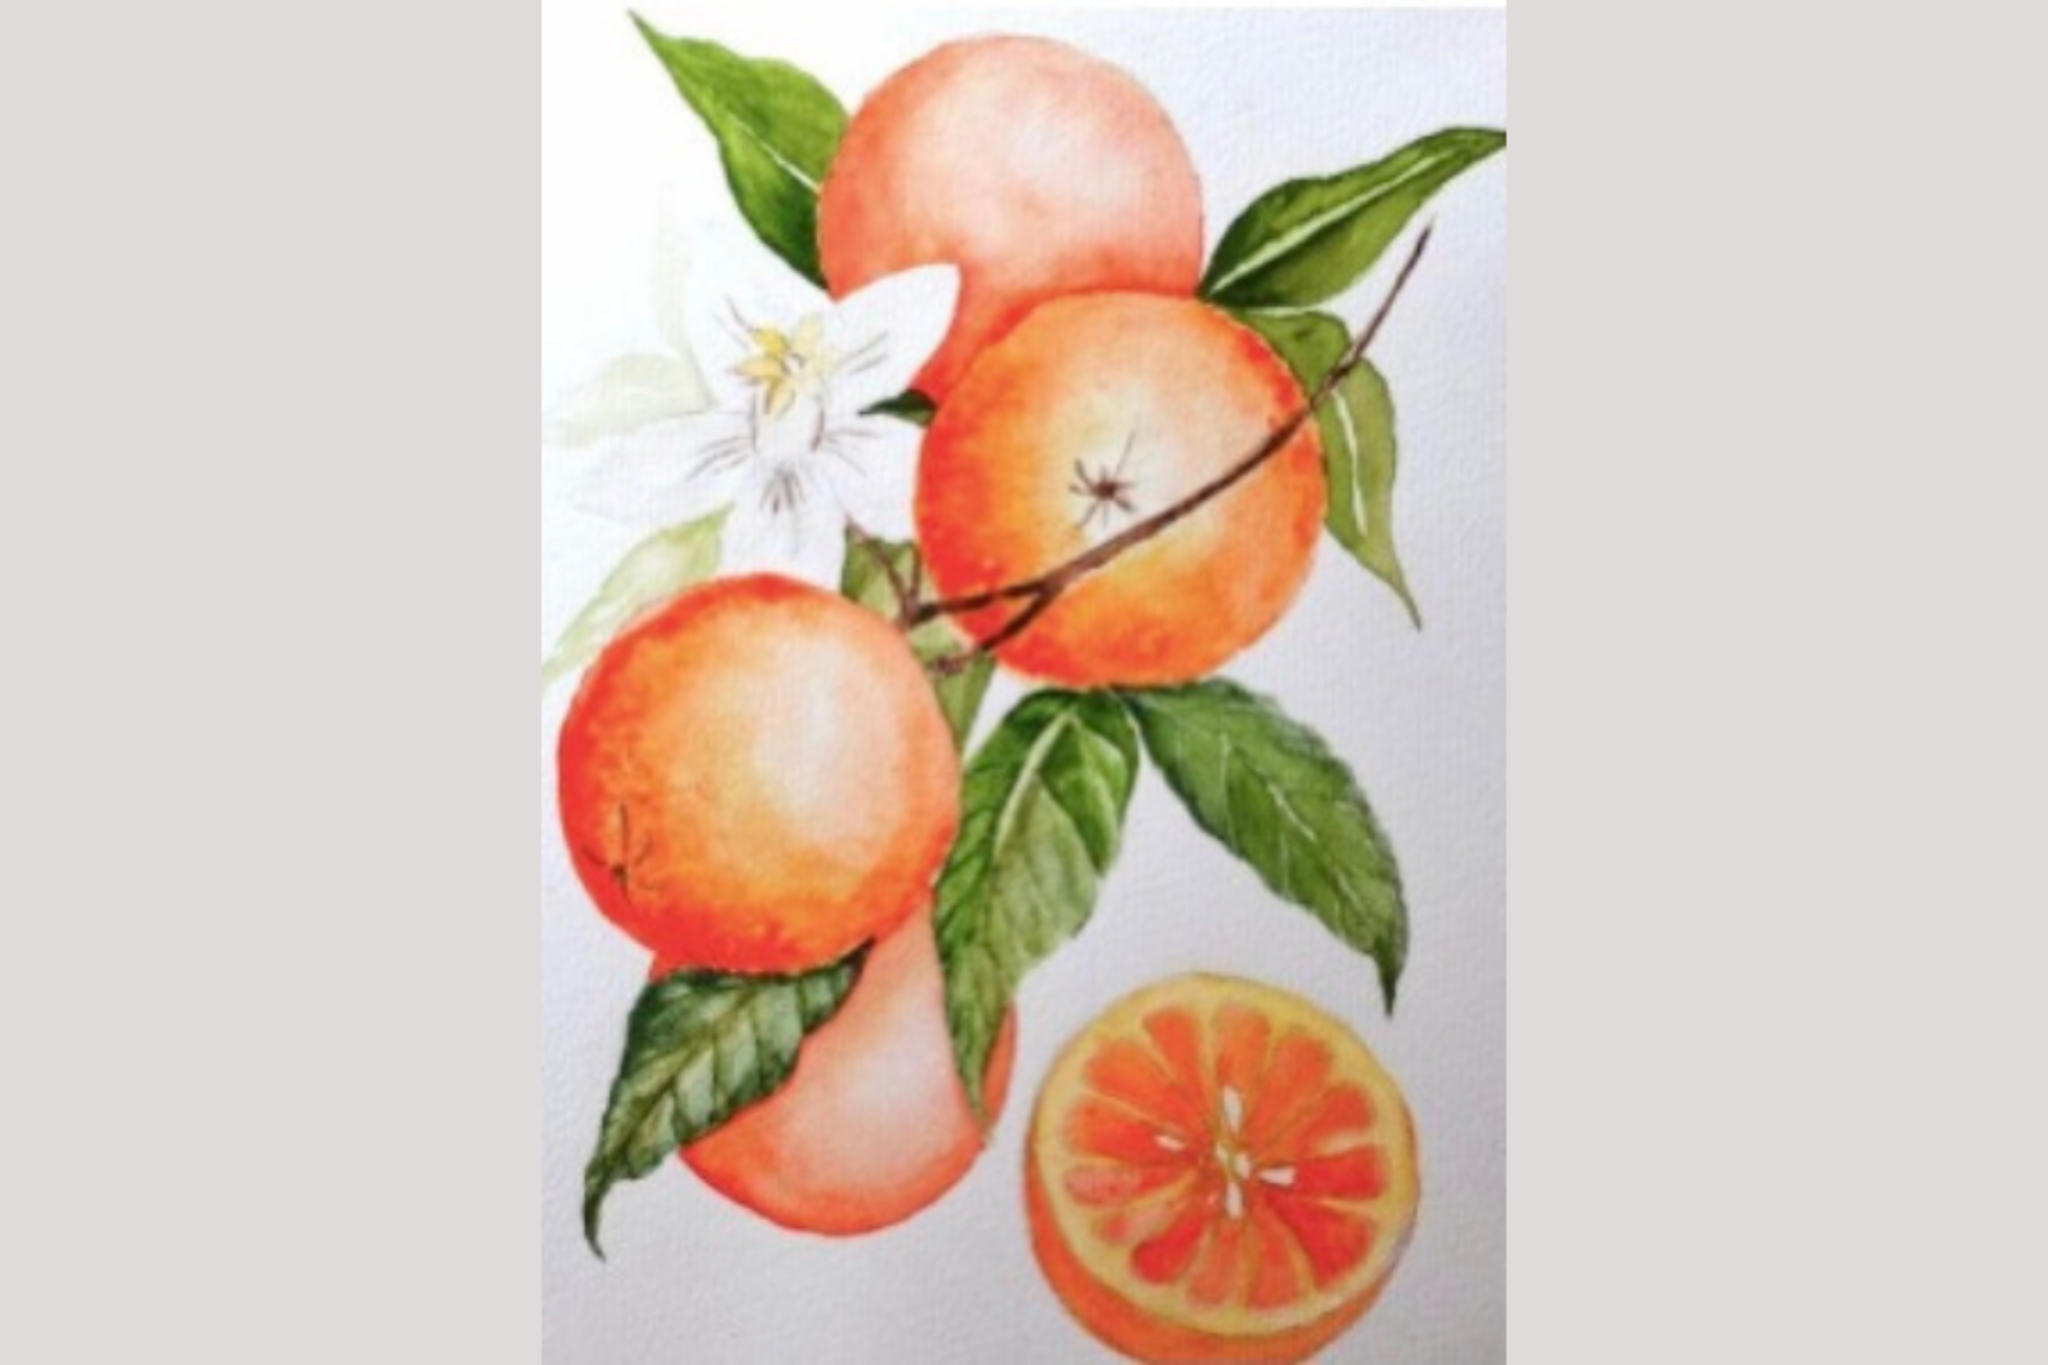

Step-by-step guide to Watercoloring: Citrus Fruits Edition
BEGINNER Watercolor Tutorial: CITRUS SLICES
Step 1
Gather all Materials Needed and set them on a clean flat workspace within reach.
Step 2
Tape the edges of your watercolor paper to the table with masking tape to make a nice clean white border.
Step 3
Look closely at a real fruit or a photo and pick one fruit to paint first.
Step 4
Lightly draw the basic outline of your chosen fruit on the paper with a pencil.
Step 5
Use a clean brush to wet the area inside your pencil outline with a thin even layer of water to prepare for wet-on-wet.
Step 6
Mix a base color for the fruit on your palette until you like the shade and test it on a scrap of paper.
Step 7
Apply the base color onto the wet area and watch the paint spread to create soft blended edges.
Step 8
When the wash is dry to the touch add a slightly darker color where the shadow falls to build form using a new layer.
Step 9
Use a clean damp brush to lift a little paint from a highlight spot to make the fruit look shiny.
Step 10
Mix green by blending yellow and blue then paint leaves and stems next to the fruit.
Step 11
Let your painting dry completely before touching it.
Step 12
Carefully peel off the masking tape to reveal the clean border.
Step 13
Sign your name in one corner of the painting.
Step 14
Share your finished creation on DIY.org
Help!?
I don't have masking tape—what can I use to make a clean border on my watercolor paper?
Use blue painter's tape or low-tack washi tape as substitutes for masking tape to tape the edges of your watercolor paper so you still get a clean white border.
Why does my paint form hard edges instead of soft blends when I apply the base color?
If paint forms hard edges, make sure you wet the area inside your pencil outline with a thin even layer of water before applying the base color and test the paint-to-water ratio on a scrap of paper to avoid too-strong pigment.
How can I adapt this citrus watercolor activity for younger or older children?
For younger children, pre-draw the fruit and let them use big brushes and simpler wet washes without precise lifting, while older kids can follow every step including wet-on-wet, mixing green by blending yellow and blue for leaves, adding shadow layers, and lifting highlights.
What are simple ways to extend or personalize my citrus painting after finishing the steps?
Extend the project by painting a series of different citrus fruits, add texture to the base wash with a sprinkle of salt, write a tiny label near your signature, and then share the finished piece on DIY.org.
Watch videos on how to watercolor citrus fruits (Citrus Fruits Edition)
Easy Watercolor Orange Tutorial - Paint a Citrus Slice
4 Videos
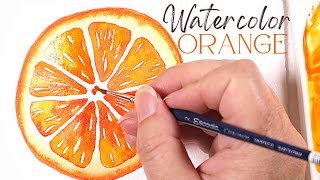
Easy Watercolor Orange Tutorial - Paint a Citrus Slice
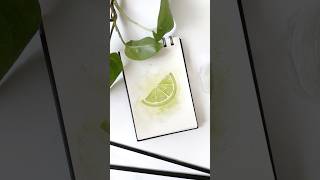
1 minute tutorial | How to paint lemon slice with watercolors | Easy painting method | Citrus fruit
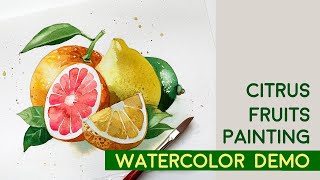
Citrus fruits watercolor painting demonstration
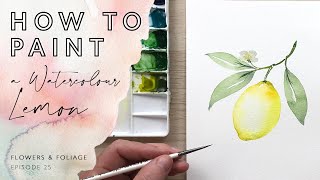
How to Paint a Watercolour Lemon
Facts about watercolor painting for kids
🎨 Watercolor paint is mostly pigment and water, so its translucency lets colors glow when you layer them.
🍊 The sweet orange (Citrus × sinensis) is actually a hybrid of the pomelo and mandarin.
🍋 Sailors historically used lemons and limes to prevent scurvy because they're high in vitamin C.
🟩 Mixing blue and yellow makes green — a simple color-mixing trick perfect for painting limes and leaves.
💧The wet-on-wet watercolor technique (painting on wet paper) creates soft edges and surprising color 'blooms' that look dreamy.
How do I do the Watercoloring: Citrus Fruits Edition activity with my child?
What materials do I need for citrus fruit watercolor painting?
What ages is the Watercoloring: Citrus Fruits Edition activity suitable for?
What are the benefits of painting citrus fruits with watercolors, and are there safe variations?
