Watercolor With Coins
Create colorful coin-stamp watercolor art by dipping coins in paint and pressing them onto paper, exploring patterns, sizes, layering, and color mixing.

Step-by-step guide to Watercolor With Coins
How to Teach Art: 12 Watercolor Techniques for Kids!
Step 1
Cover your table with scrap paper to protect it and lay out all your materials.
Step 2
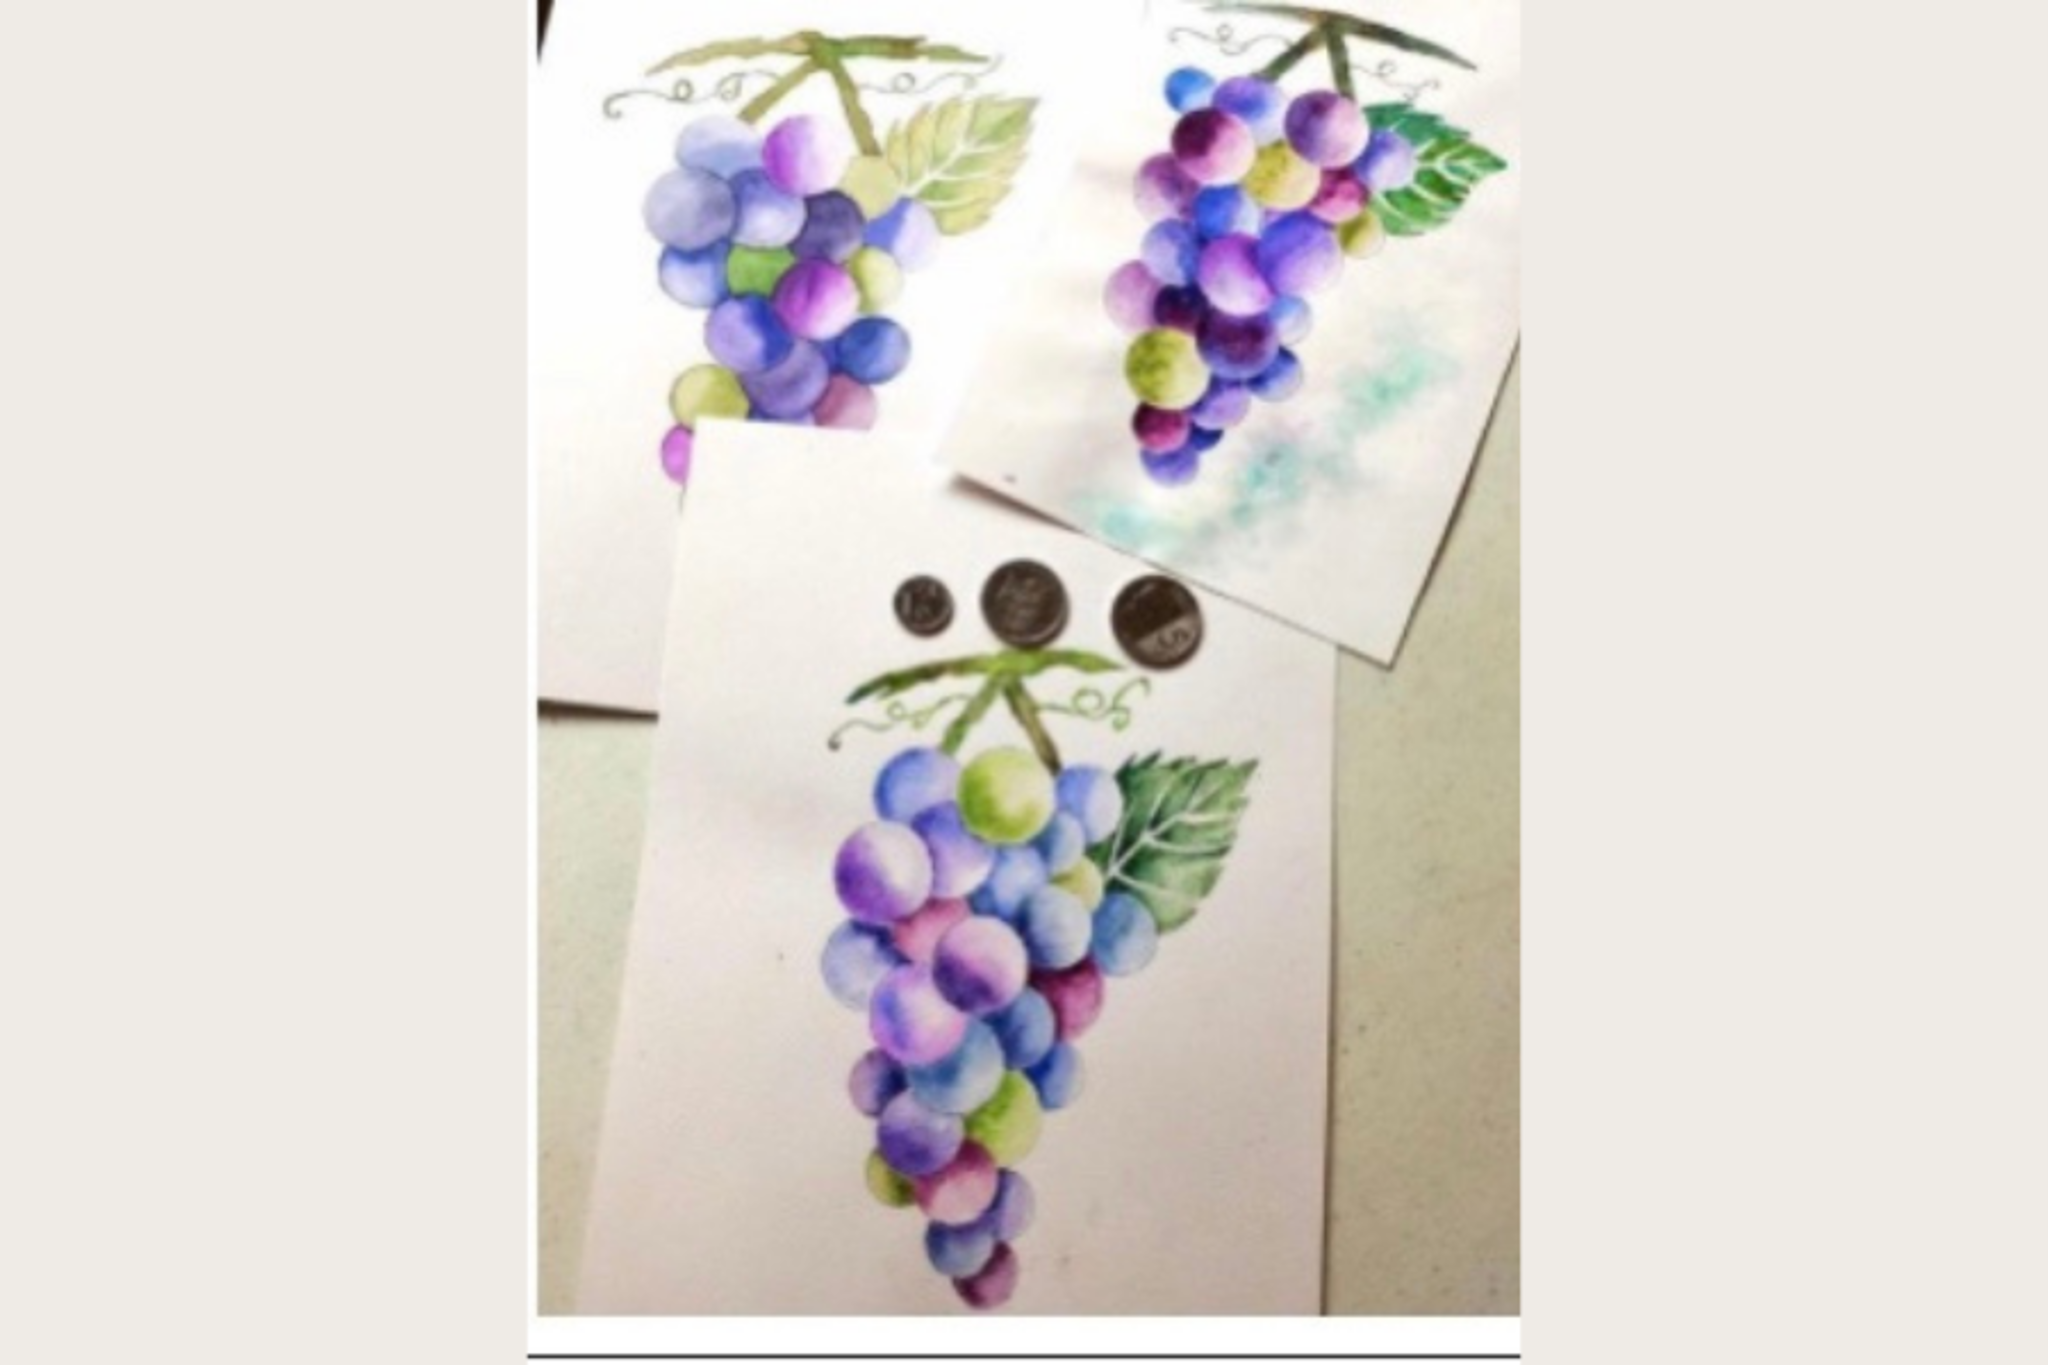
Choose 3 to 5 coins of different sizes and line them up so you can see the size differences.
Step 3
Add a little water to each watercolor pan and swirl with your brush until the paint becomes soft and juicy.
Step 4
Use your brush to swipe some paint from a pan onto the paper plate to make a shallow paint puddle.
Step 5
Press one coin into the paint puddle so the face and rim are coated with paint.
Step 6
Stamp the paint-coated coin firmly onto your watercolor paper and lift straight up to leave a clear circle.
Step 7
Repeat stamping with other coins and colors to build a pattern across the paper.
Step 8
Wipe each coin on a paper towel before changing to a new color.
Step 9
Let the first stamped layer dry until it is only slightly tacky before adding more on top.
Step 10
Stamp a new color so it overlaps the old prints to mix colors and create layered effects.
Step 11
Use your paintbrush to add tiny dots or lines inside or around the coin prints for extra decoration.
Step 12
Share your finished coin-stamp watercolor art on DIY.org.
Help!?
What can I use if I don't have coins or watercolor pans?
If you don't have coins, use bottle caps, jar lids, or large washers for stamping, and if you lack watercolor pans you can dilute poster paint, food coloring, or powdered tempera on a paper plate to make paint puddles for step 4.
My coin prints are faint or smudgy — how can I fix that?
Make prints clearer by adding a little more water to the watercolor pan (step 3) so the paint is juicy, pressing the coin firmly and lifting straight up when you stamp (step 6), and wiping the coin on a paper towel between colors (step 8) to prevent smears.
How can I adapt the activity for different ages?
For toddlers use larger coins or bottle caps and an adult to press coins (steps 2 and 6), for early elementary let kids try overlapping layers and simple brush decorations (steps 9–11), and for older kids encourage finer details, color‑mixing experiments, or designing a stamped repeating pattern to share on DIY.org (step 12).
How can my child personalize or extend their coin-stamp watercolor art?
To personalize the piece, try a crayon resist before stamping, sprinkle salt on slightly tacky overlapped areas (steps 9–10) for texture, add tiny brush marks or pen outlines inside the coin prints (step 11), or glue on sequins and write a title before sharing on DIY.org (step 12).
Watch videos on how to Watercolor With Coins
Basic Watercolor Techniques for Kids
4 Videos
Basic Watercolor Techniques for Kids
Let's Make Art Matter | Children's Watercolor Art Activity by Nicole Miyuki of Let's Make Art

5 things I wish I knew before I started watercolor
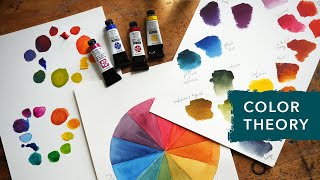
Learn Color Theory | Watercolor 101 with Sarah Cray of Let's Make Art
Facts about printmaking and watercolor techniques for kids
🎨 Watercolor painting has been used for centuries and is loved for its glowing, transparent layers that mix beautifully when wet.
🪙 Coins come in different sizes — a US dime is 17.91 mm, a penny 19.05 mm, a nickel 21.21 mm and a quarter 24.26 mm — try stamping a mix for fun patterns.
🧪 Overlapping wet watercolor stamps can mix pigments right on the paper, so stamping blue then yellow often makes green without extra paint.
🖼️ Coin-stamping is a playful form of monoprinting: each stamped composition is unique and can’t be exactly repeated.
🌈 Color tip: complementary colors (opposite on the wheel) like purple and yellow make each other look brighter — use them to make stamps pop.
How do you create watercolor coin-stamp art?
What materials do I need for watercolor coin-stamp art?
What ages is coin-stamp watercolor suitable for?
What are some creative variations and benefits of coin-stamp watercolor art?
