Vlog a Week in Your Life
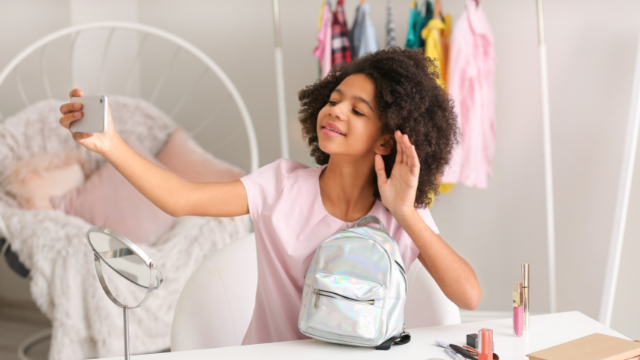
Film short daily videos for one week, then edit clips into a vlog to share stories, routines, and favorite moments.

Step-by-step guide to Vlog a Week in Your Life
Step 1
Pick a fun theme for your vlog week and one goal you want to show like "my morning routine" or "favorite things."
Step 2
Write one short topic for each day of the week in your notebook so you have seven simple ideas.
Step 3
Choose a time each day to film a short clip and write the filming time next to each day in your notebook.
Step 4
Gather any props you want to show and set up a steady tidy spot to film each day.
Step 5
Film a 30 to 60 second clip on Day 1 about that day's topic while holding the camera steady and speaking clearly.
Step 6
For the next six days, film one short clip each day following the topic you wrote for that day.
Step 7
Open a video editing app and import all seven clips into a new project.
Step 8
Trim each clip to keep the best 10 to 45 seconds and remove any mistakes.
Step 9
Put the trimmed clips in the order of the week and add a simple title screen at the start.
Step 10
Add soft background music at low volume and add short captions where they help explain your moments.
Step 11
Export your finished vlog file and share your creation on DIY.org
Help!?
If I don't have a camera or tripod, what can I use instead?
Use a smartphone to film and steady it by propping it on a stack of books or a cup in your 'steady tidy spot' while gathering any props as the instructions say.
My clips are shaky or my voice is hard to hear—how can I fix that?
Follow the 'set up a steady tidy spot' step and hold the device with both hands or place it on a stable surface, film in a quiet room and 'speak clearly', and add captions during the 'Trim' and 'Add short captions' steps to cover any audio problems.
How can I adapt this week-long vlog activity for different ages?
For younger kids shorten each clip to 10–20 seconds and have an adult help with the 'Open a video editing app' and 'Trim each clip' steps, while older kids can choose more complex themes, longer clips, and advanced edits when they 'add soft background music' and titles.
What are some ways to make the final vlog more creative or personal?
Create a custom title screen with your theme and name, insert one short B‑roll prop shot each day, use low‑volume music and descriptive captions as instructed, and add a behind‑the‑scenes outro before you 'Export your finished vlog file and share' on DIY.org.
Watch videos on how to Vlog a Week in Your Life
HOW TO START VLOGGING in 2025 For Beginners (TACTICAL Tips from Someone Who Used to HATE Vlogging)
4 Videos
HOW TO START VLOGGING in 2025 For Beginners (TACTICAL Tips from Someone Who Used to HATE Vlogging)

10 Youtube Video Content Ideas for Kids | Content Vlog Ideas | Vlog Ideas | Jassey Vlogs
HOW TO VLOG For Beginners // Tips to make better vlogs & become a SUCCESSFUL VLOGGER on YouTube
How to Vlog: Your Simple Guide to Getting Started
Facts about vlogging and digital storytelling for kids
🎥 YouTube was founded in 2005; the first video uploaded to the site was “Me at the zoo” by Jawed Karim.
📱 Many vloggers film on smartphones—most modern phones can record in 1080p and many can shoot 4K video.
✂️ Video editing started as physically cutting and splicing film; today editing apps let you trim clips, add music, and add titles in minutes.
🌍 “Vlog” is short for “video blog” and became a popular online format in the mid-2000s when creators started sharing daily life and stories.
⭐ Filming one short clip each day for a week builds storytelling and editing skills—small daily habits make great vlogs.
How do I vlog a week in my life with my child?
What materials and apps do I need to vlog a week in your life?
What ages is vlogging a week in my life suitable for?
What safety and privacy tips should I follow when vlogging a week in my life?
