Vectorise a Logo in Inkscape
Use Inkscape to trace a simple logo from a photo, adjust nodes and colors, then save it as a clean scalable SVG file.


Step-by-step guide to Vectorise a Logo in Inkscape
Step 1
Open Inkscape so you can start a new vector project.
Step 2
Import the photo of the logo using File > Import and place it on the canvas.
Step 3
Select the photo and lower its opacity to about 50% so you can see your tracing marks.
Step 4
Add a new layer called "Trace" above the image using the Layers dialog.
Step 5
Use Path > Trace Bitmap and click OK to create an automatic vector trace of the logo.
Step 6
Click the new traced shape to select it.
Step 7
Cut the traced shape (Ctrl+X) to move it off the image layer.
Step 8
Click the "Trace" layer to make it active.
Step 9
Paste the traced shape in place on the Trace layer (Ctrl+Alt+V).
Step 10
Hide the original photo layer by clicking its eye icon in the Layers dialog.
Step 11
Ungroup the traced vector with Object > Ungroup so pieces can be edited separately.
Step 12
Use the Node tool to move and delete nodes to tidy curves and corners.
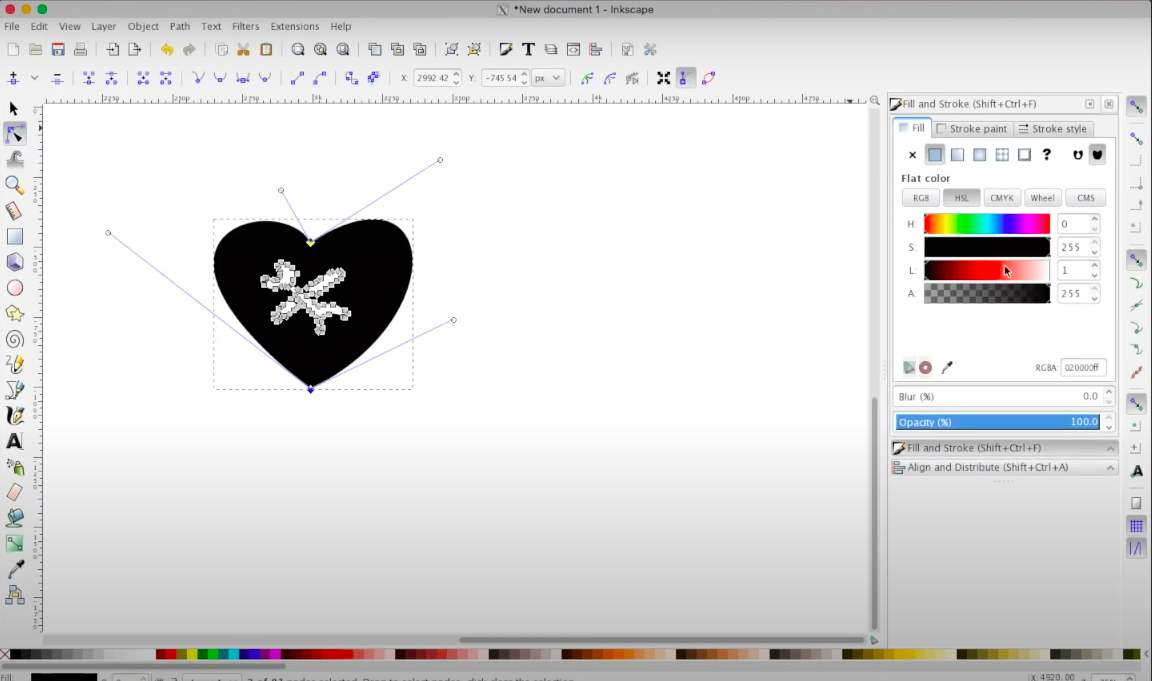
Step 13
Use Fill and Stroke to set the correct colors for each shape to match the logo.
Step 14
Save your clean scalable file with File > Save As and choose Plain SVG.
Step 15
Share your finished SVG vector logo on DIY.org.
Help!?
What can we use if Inkscape or the imported photo file isn't available?
If Inkscape isn't available or the photo won't import, use an alternative vector program or online tracer (for example Adobe Illustrator, Vector Magic, or autotracer.org) after exporting the logo photo as a high-resolution PNG or JPEG so you can run an equivalent 'Trace Bitmap' step.
Why does Path > Trace Bitmap give a poor result and how do we fix it?
If Path > Trace Bitmap produces a messy or empty trace, first confirm the photo was selected after File > Import, then increase the image resolution or contrast in an editor and adjust Trace Bitmap settings (Brightness cutoff, Edge detection, or multiple scans) before clicking OK.
How can we adapt this tracing activity for younger or older kids?
For younger kids, simplify by keeping the automatic Path > Trace Bitmap, lowering opacity, pasting on the Trace layer, and using Fill and Stroke to color shapes, while older kids can Ungroup, use the Node tool to tidy curves, try manual Bezier tracing, and save the finished file as Plain SVG.
How can we enhance or personalize the final vector logo after tracing?
After Ungrouping and cleaning nodes with the Node tool, personalize the design by using Fill and Stroke for custom colors or gradients, adding text with the Text tool, simplifying paths with Path > Simplify, exporting PNGs at different sizes, and then saving as Plain SVG to share on DIY.org.
Watch videos on how to Vectorise a Logo in Inkscape
Turn Yourself Into A Logo in Inkscape | Tutorial
4 Videos

Turn Yourself Into A Logo in Inkscape | Tutorial

Inkscape Tutorial: How to Design a Vector Logo

Inkscape Tutorial: Vector Image Trace

Inkscape Beginner Tutorial: Use Shapes To Draw Objects
Facts about vector graphics and digital illustration
🖥️ Inkscape is a free, open-source vector editor first released in 2003 and used by designers around the world.
🧩 SVG files are written in XML, so they’re text-based and can scale perfectly from tiny icons to giant billboards.
✏️ Vector artwork is made of nodes and paths (often Bézier curves) — moving a node reshapes smoothly, not like pixel art.
⚡ Inkscape’s "Trace Bitmap" can convert a photo of a logo into editable paths quickly, but you’ll often simplify nodes for a cleaner result.
🌐 SVGs are supported by all modern web browsers, which is why many websites use SVG logos for crisp graphics on any screen.
How do you vectorise a logo in Inkscape?
What materials do I need to vectorise a logo in Inkscape?
What ages is vectorising a logo in Inkscape suitable for?
What are the benefits and safety tips for kids vectorising logos?


