Use a Digital Art Software
Create a colorful digital artwork using simple digital art software, learn brushes, layers, and basic tools while practicing drawing, coloring, and saving your picture.


Step-by-step guide to create a colorful digital artwork using digital art software
Learning to Draw Digitally for Beginners
Step 1
Open your digital art software.
Step 2
Create a new canvas using a medium size like 1920 x 1080 or the “tablet” preset.
Step 3
Choose the Brush tool so you can draw lines.
Step 4
Pick 4–6 fun colors to use for your picture.
Step 5
Make a sketch of your idea using simple shapes on a new sketch layer.
Step 6
Add a new layer below the sketch layer for coloring.
Step 7
Use a larger brush to fill in the main colors on the coloring layer.
Step 8
Add another new layer above the color layer for details and highlights.
Step 9
Use a smaller brush to draw details like eyes, patterns, or texture on the detail layer.
Step 10
Use the Eraser tool to clean any color outside your lines.
Step 11
Save or export your artwork as a PNG or JPG file.
Step 12
Share your finished creation on DIY.org.
Help!?
What can we use if we don't have the recommended digital art software?
Use free alternatives like Krita, FireAlpaca, Autodesk SketchBook, or browser apps such as Photopea and still create a 1920×1080 or 'tablet' preset canvas to follow the steps.
My colors bleed outside the lines or my sketch disappears—how do I fix that?
Ensure the sketch layer is above the coloring layer and you are selecting the correct layer to draw on, use the Eraser tool to clean edges, use a larger brush to fill colors on the coloring layer, or use selection/alpha-lock to prevent bleeding.
How can I adapt this activity for different age groups?
For younger kids simplify by using 2–3 big shapes, fewer of the 4–6 colors, and a large brush for the coloring layer, while older kids can add extra detail layers, custom brushes, and higher-resolution canvases as in steps 6–7.
How can we extend or personalize the finished artwork?
Try adding textured brushes or layer blend modes on the detail layer, make multiple exported PNGs for a sticker set, or print the saved PNG/JPG as a poster before sharing on DIY.org.
Watch videos on how to create a colorful digital artwork using digital art software
Digital Art ESSENTIALS For Beginners! (tutorial)
4 Videos

Digital Art ESSENTIALS For Beginners! (tutorial)

Procreate Beginners Series: Part One | The Fundamentals
How To Learn Digital Art For Beginners

How to Use KRITA - Digital Art Tutorial for Beginners
Facts about digital art basics for kids
🎨 Digital art has been made since the 1960s when artists began experimenting with computers to create images.
🖌️ One digital brush can mimic many real-world tools — pencils, oil paint, watercolor, and even spray cans — just by changing settings.
🧩 Layers work like transparent sheets stacked on top of each other so you can edit one part without changing the rest.
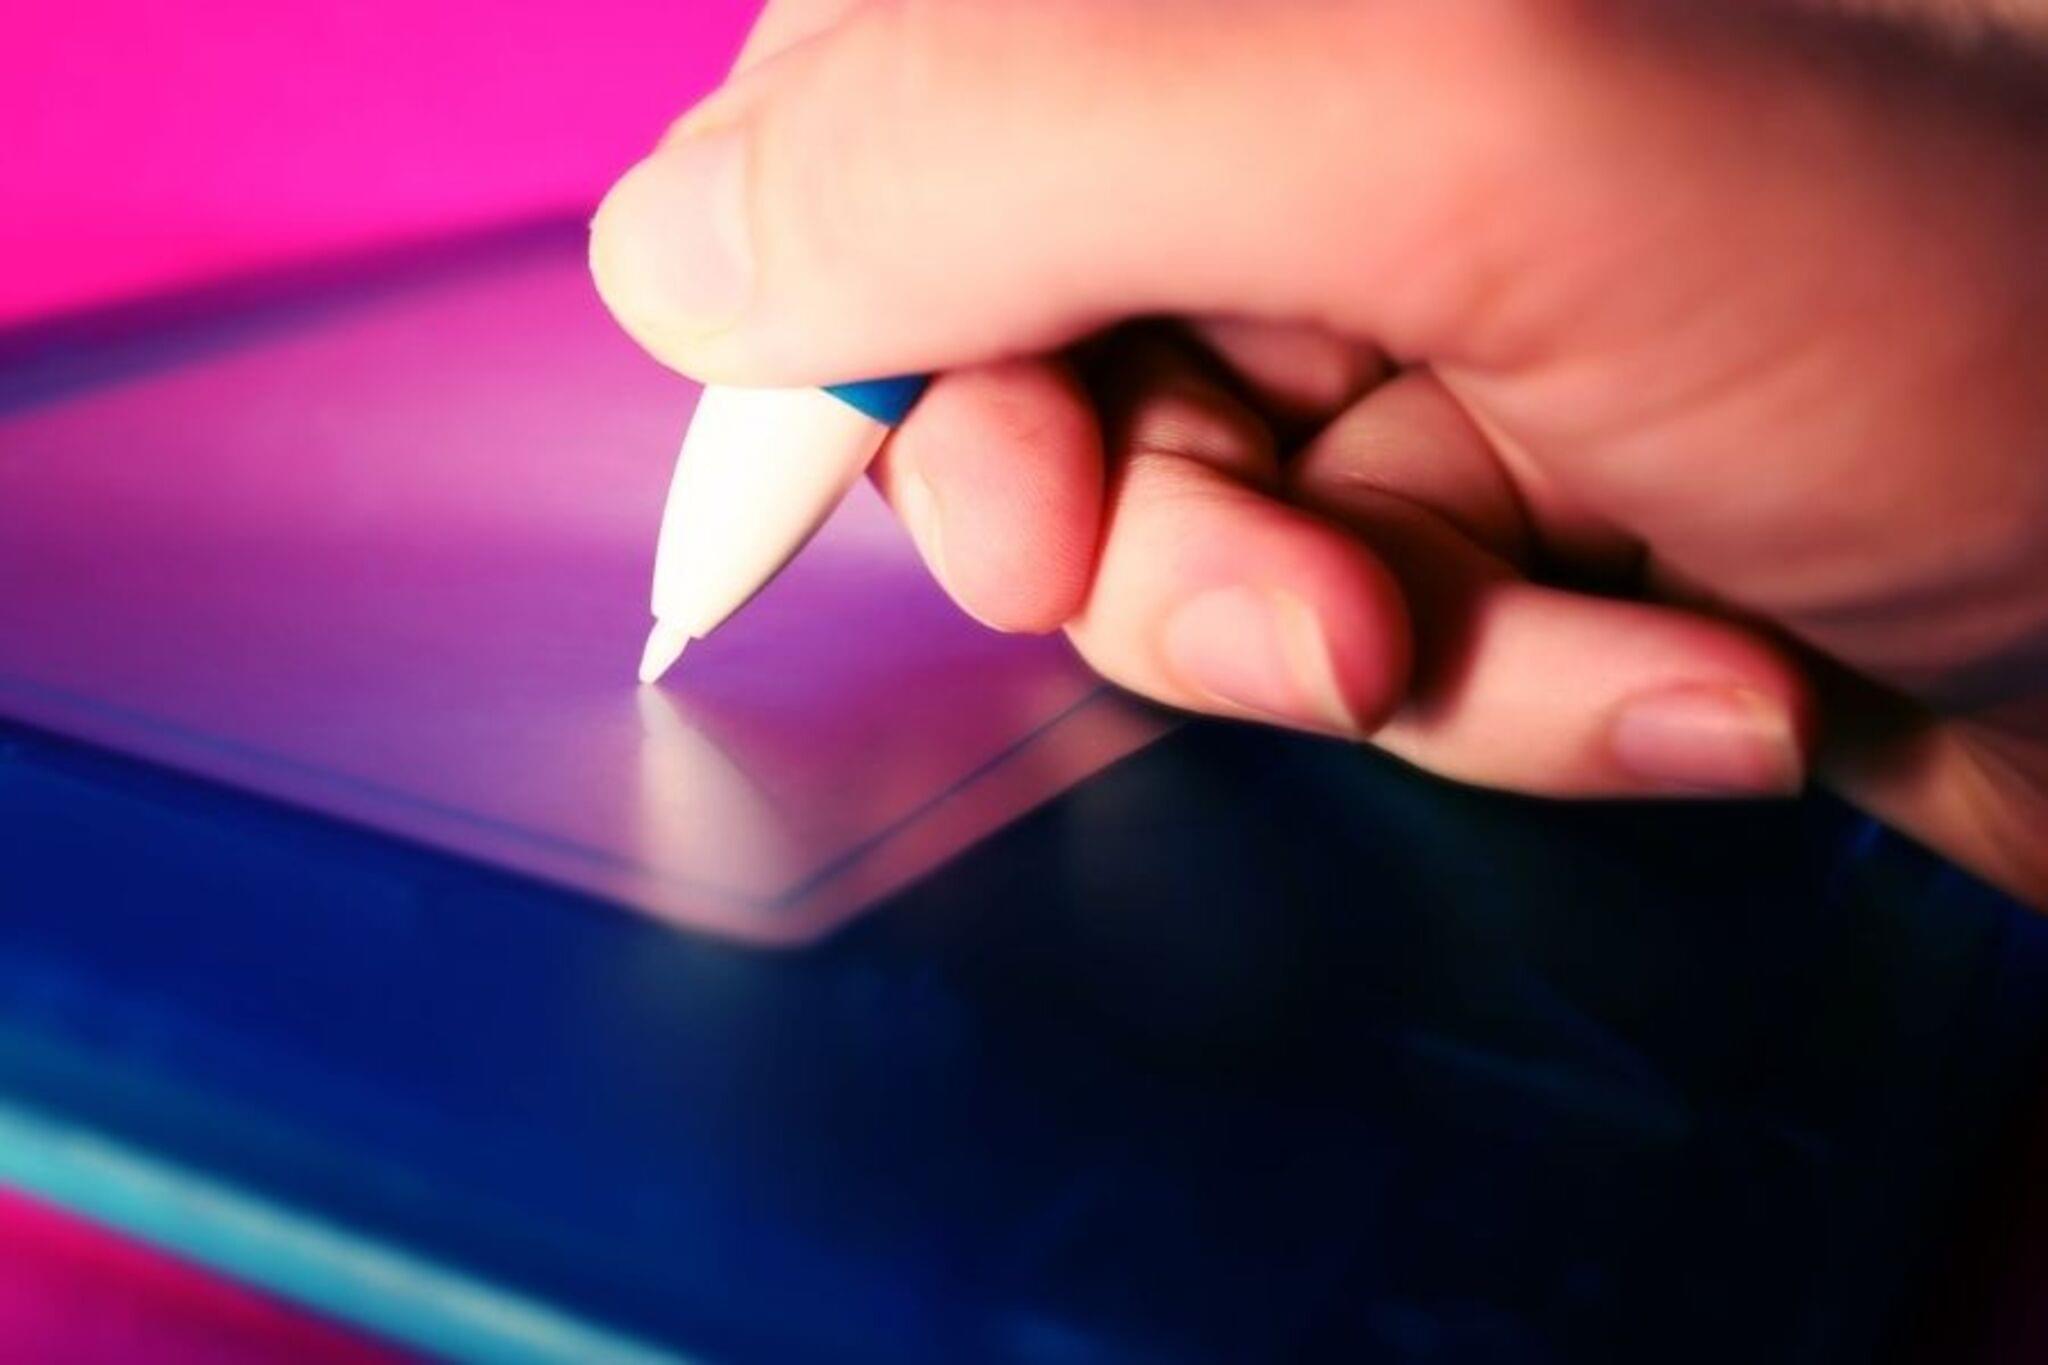
🖊️ Graphics tablets sense pen pressure so pressing harder makes thicker lines, just like a real pen or brush.
💾 Saving as PSD (Photoshop) or XCF (GIMP) preserves layers so you can keep editing later instead of flattening your picture.
How do I guide my child to create a colorful digital artwork using simple digital art software?
What materials and tools are needed for a child to make digital art?
What ages is this digital art activity suitable for?
What are the benefits of children learning digital art with simple software?
